Install plugins
Using WP-CLI
To install a plugin using WP-CLI, follow the steps below:
-
Log in to the server console. Learn how to connect to the server through SSH.
-
Search for the plugin you wish to install using the command below. This example assumes you wish to install the WP Maintenance Mode plugin.
$ sudo wp plugin search "WP Maintenance Mode"The result is a table like the one below:
Success: Showing 10 of 350 plugins. +-----------------------------------------+-------------------------------------------+--------+ | name | slug | rating | +-----------------------------------------+-------------------------------------------+--------+ | WP Maintenance Mode | wp-maintenance-mode | 84 | | ... | ... | ... | -
Once you know the plugin slug, install it using the command below:
$ sudo wp plugin install wp-maintenance-mode
For more information about installing and managing plugins, such as Full API Access, refer to the WordPress documentation. If you run into issues related to server or application permissions, refer to our troubleshooting guide for permission errors.
Using the WordPress administration panel
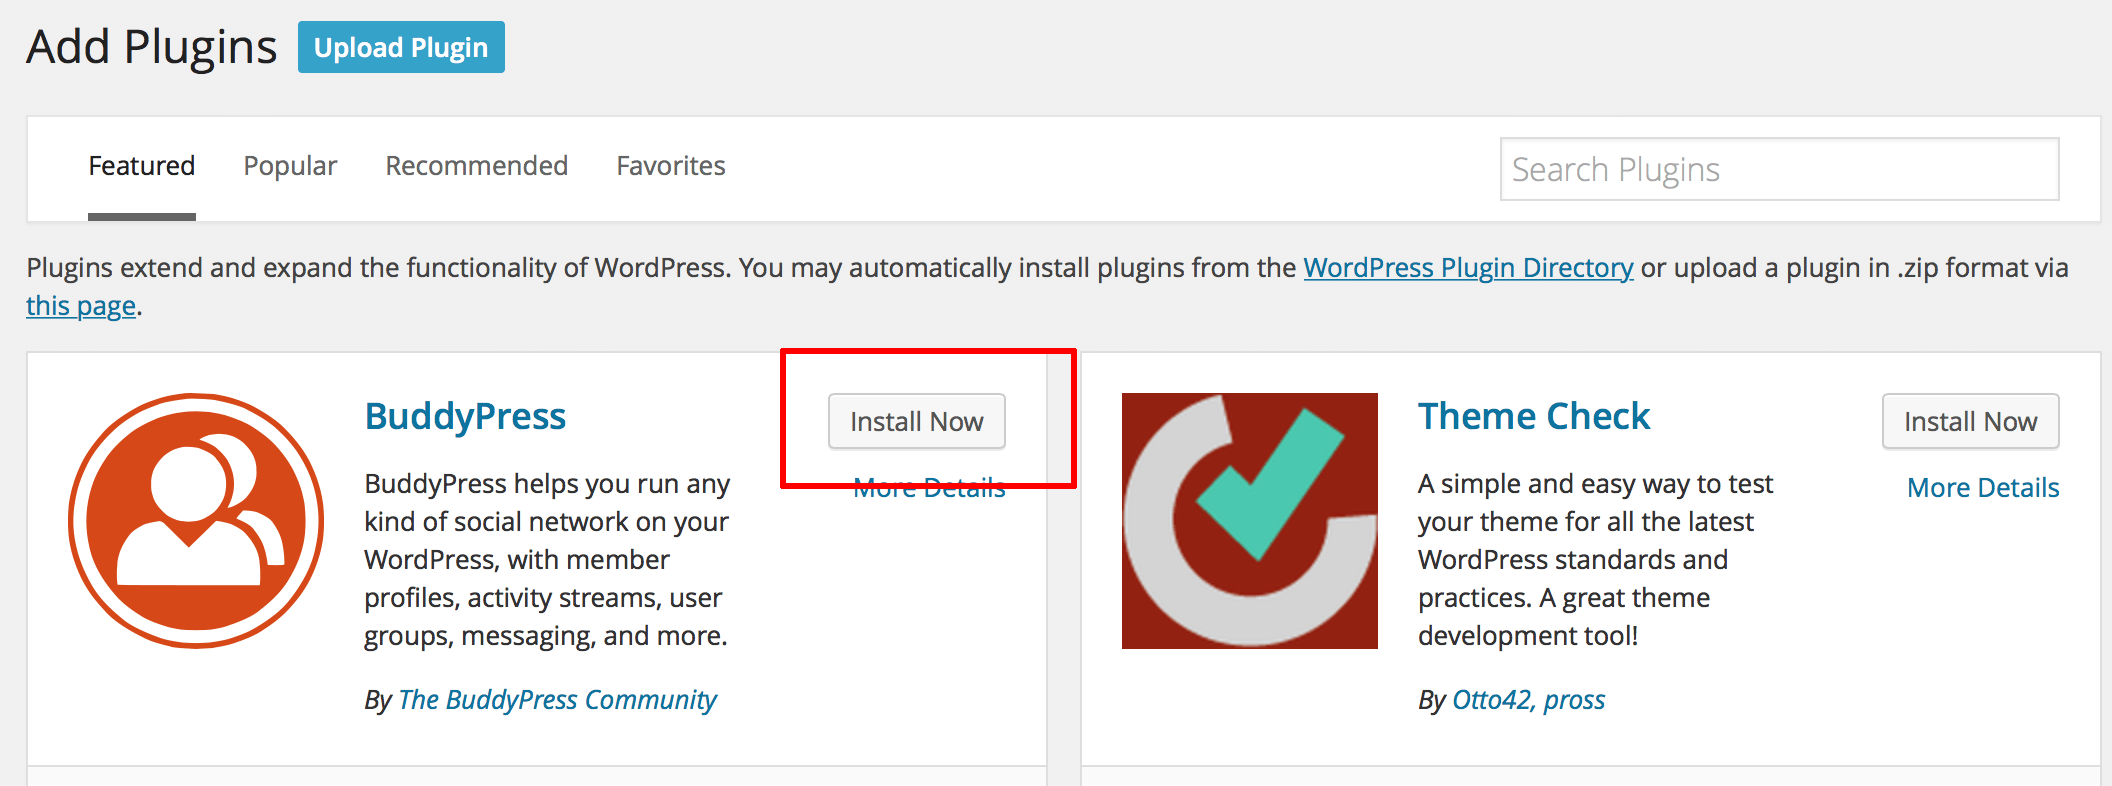
You can install any plugin or theme from the WordPress administration panel. Follow these steps:


