Create and restore application backups with the Jetpack plugin
It’s highly recommended to create backups of your database and WordPress files periodically as a very basic disaster-recovery policy. The easiest way to create backups of your site is using the Jetpack plugin.
The Jetpack plugin implements functionality for backup/restore and security scanning via VaultPress, a real-time backup and security scanning service designed and built by Automattic. This platforms offers the following services:
- Automatic daily or real-time backups of your entire site, with unlimited storage space (refer to the Jetpack backup documentation for more information).
- Malware scanning (refer to the Jetpack security scanning documentation for more information).
- Spam filtering by Akismet (refer to the Jetpack spam filtering documentation for more information).
NOTE: VaultPress services are only available on Jetpack commercial plans.
Enable daily backups
Daily backups and security scans are enabled by default once the Jetpack plugin is configured and a commercial plan is set up.
View backups
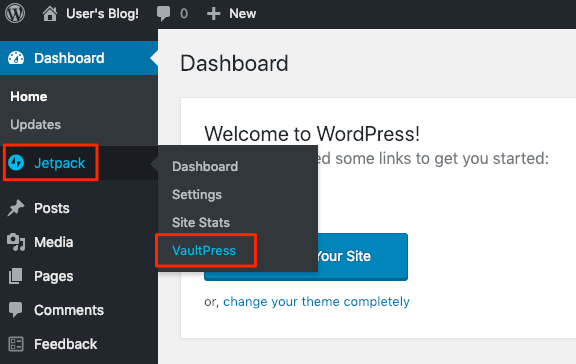
You can access backups from the WordPress administration panel, as follows:
-
Log in to the WordPress administration panel.
-
Select the “Jetpack -> VaultPress” menu item.
-
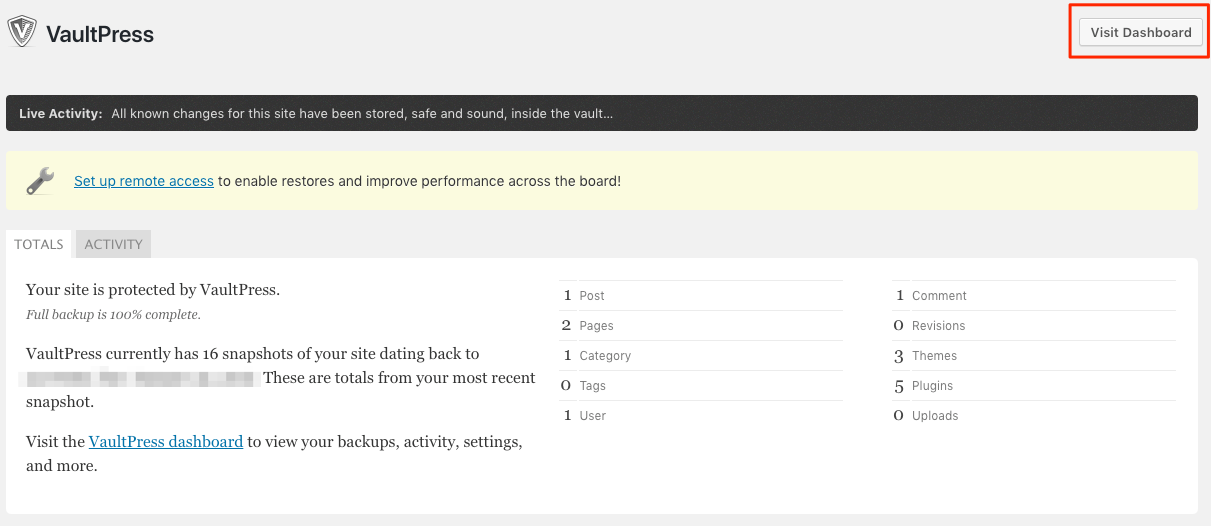
A summary of the activity and the number of backups will be displayed. Click “Visit Dashboard” to be redirected to the VaultPress website.
-
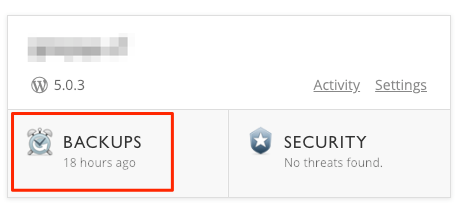
Log in using your WordPress.com credentials (optional).
-
Click the “BACKUPS” link.
-
A dashboard with a summary of every backup, ordered by date, will be displayed. Click the “View Backup” button to display details of a specific backup.
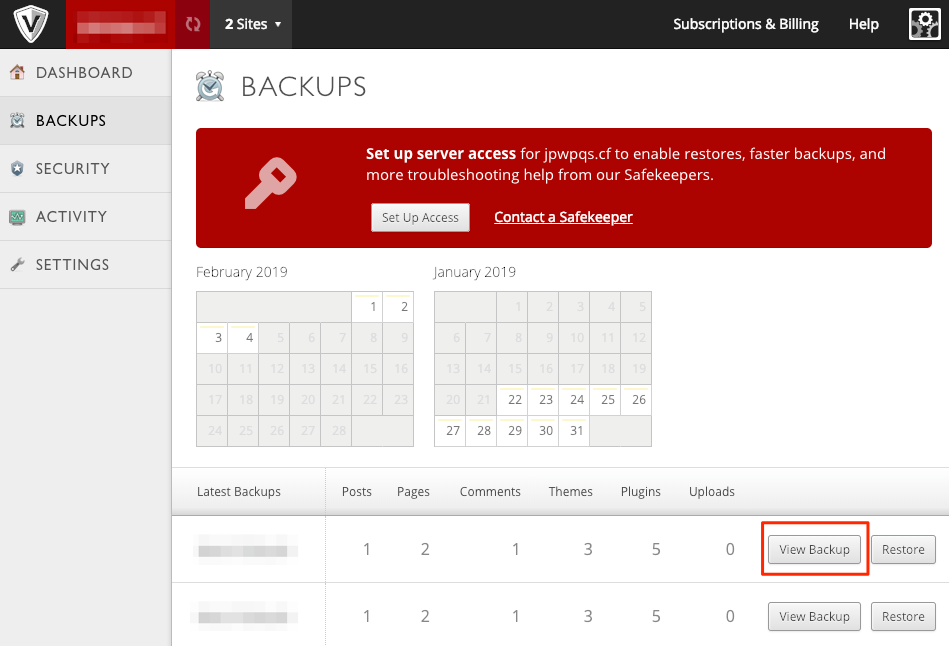
Detailed information about the backup will be displayed.
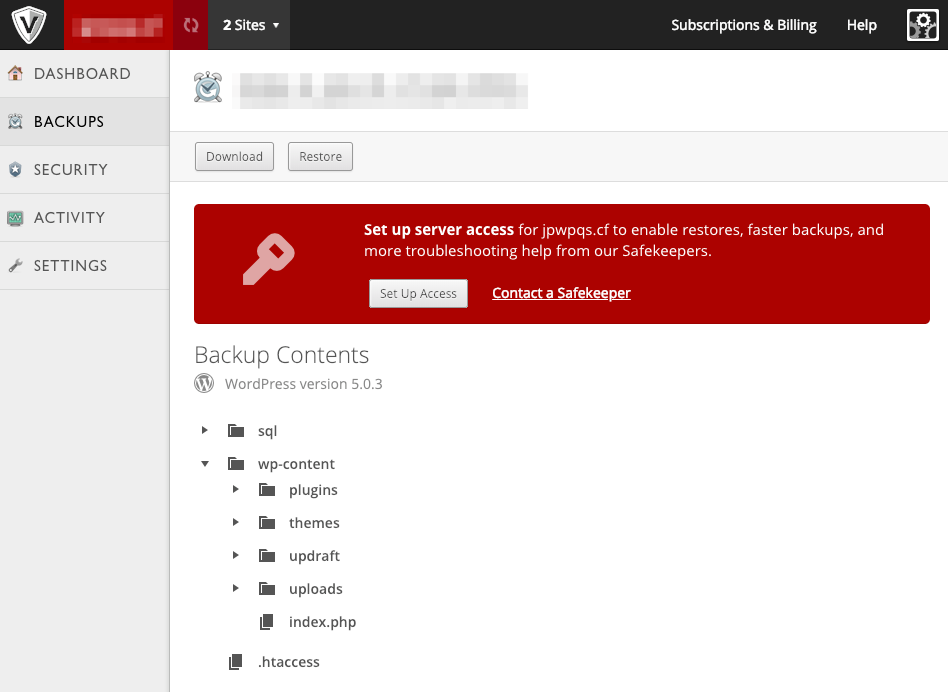
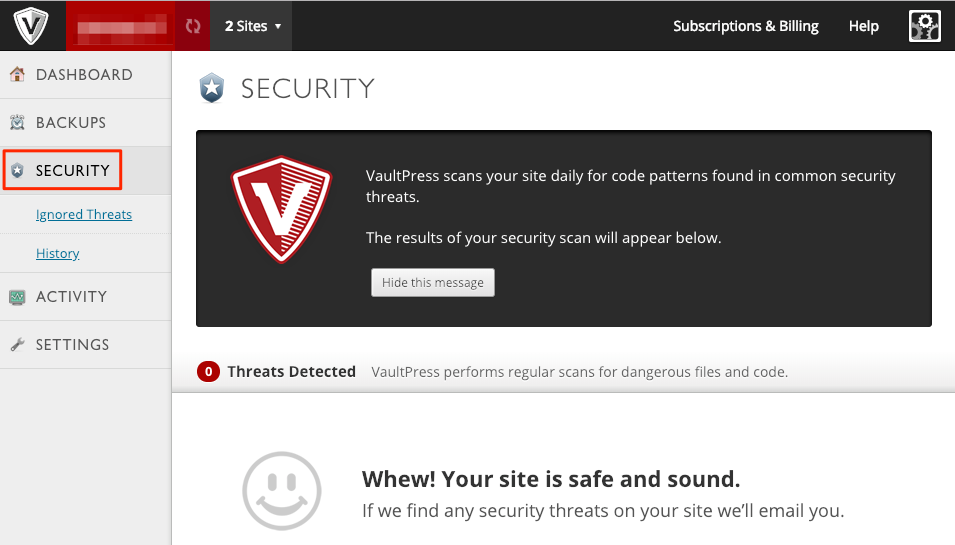
TIP: The VaultPress dashboard also displays the results of the security scans done to your site. Under the left menu, click the “SECURITY” link to display the scans details.
Restore backups
To restore a backup, follow the steps below:
-
Click the “BACKUPS” link.
-
Click the “View Backup” button for the backup you wish to restore.
-
Click the “Download” link.
-
In the “Download” dialog, select all the components and click the “Prepare Backup” button.
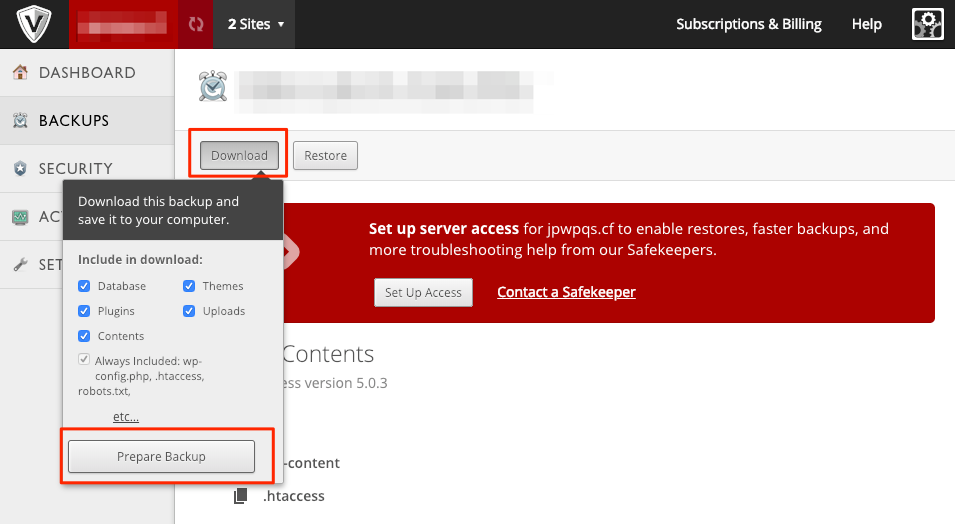
-
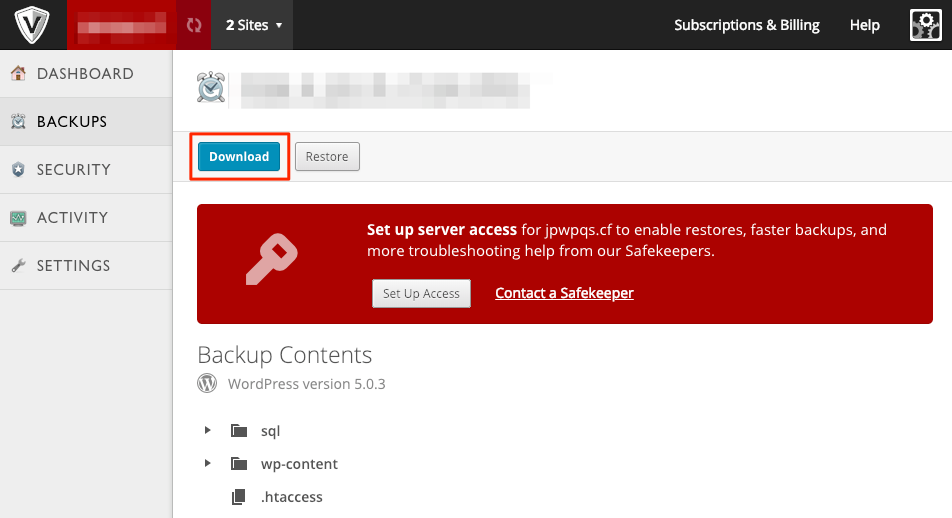
Once the download is prepared, click the “Download” button again.
-
A .tar.gz file will be downloaded with the file name in the form SITE_NAME-themes-plugins-uploads-sqls-roots-contents-BACKUP_DATE.tar.gz, where SITE_NAME and BACKUP_DATE are placeholders for your WordPress domain name and the backup date respectively.
-
Install the WP Maintenance Mode plugin and activate maintenance mode.
-
Create an SSH tunnel to the instance.
-
Upload the backup to the WordPress instance via SFTP.
-
Access the WordPress instance over SSH and uncompress the backup using the following commands:
$ mkdir ~/backup-BACKUP_DATE && tar xfz SITE_NAME-themes-plugins-uploads-sqls-roots-contents-BACKUP_DATE.tar.gz -C ~/backup-BACKUP_DATERemember to replace BACKUP_DATE in the previous commands with the backup date, and SITE_NAME with your WP Domain name.
-
Move the current wp-content directory to a third directory (~/current-content in this example) and replace it with the one in the backup. Run the commands below:
  $ sudo mv /bitnami/wordpress/wp-content ~/current-content
  $ sudo cp -rf ~/backup-BACKUP_DATE/wp-content /bitnami/wordpress/wp-content
  $ sudo find /bitnami/wordpress/wp-content/ -type d -exec chmod 0775 {} \;
  $ sudo find /bitnami/wordpress/wp-content/ -type f -exec chmod 0664 {} \;
  $ sudo chown -R bitnami:daemon /bitnami/wordpress/wp-content
NOTE: Remember to replace BACKUP_DATE in the previous commands with the backup date.
-
Create a backup of the current database (~/current-db.sql in this example) and restore the database with the content in the backup:
$ mysqldump \ --user="$(wp config get DB_USER)" \ --password="$(wp config get DB_PASSWORD)" \ --host="$(wp config get DB_HOST | awk -F ":" '{print $1}')" \ "$(wp config get DB_NAME)" > ~/current-db.sql $ find ~/backup-BACKUP_DATE/sql/ -name '*.sql' | awk '{ print "source",$0 }' | mysql \ --user="$(wp config get DB_USER)" \ --password="$(wp config get DB_PASSWORD)" \ --host="$(wp config get DB_HOST | awk -F ":" '{print $1}')" \ --database="$(wp config get DB_NAME)" -
Log in to the WordPress administration panel again and check that everything works as expected and the backup was restored successfully.