Configure a custom domain
To use a custom domain with a Bitnami stack running on a cloud server, follow these steps:
Configure a static IP address for your cloud server
Configure the domain in your DNS provider
The next step is to update your domain’s DNS settings, specifically by adding an A record that points to the static IP address of your cloud server.
This change can only be accomplished through your domain name provider. You will therefore need to log in to your domain name provider’s management console and make the necessary changes. Step-by-step instructions for some popular providers are listed below:
Remember that once you make the necessary changes, it can take up to 48 hours for the change to propagate across other DNS servers. You can verify the new DNS record by using the Global DNS Propagation Checker and entering your domain name into the search field.
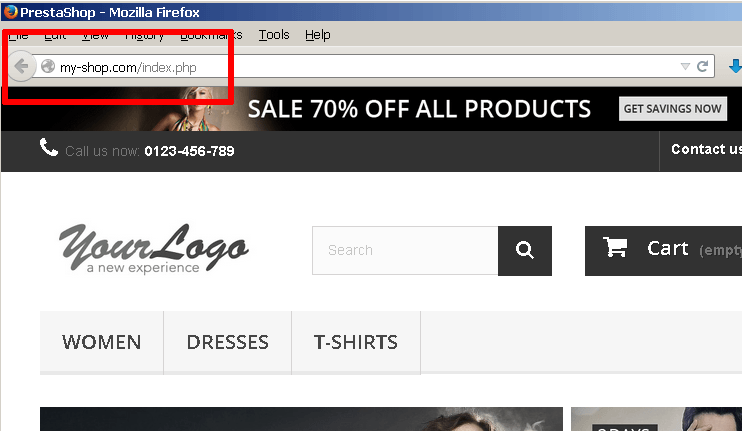
At the end of this step, entering your custom domain name into the browser address bar should take you to your Bitnami application on the cloud server, as shown below:
Update application configuration
For some applications, such as Prestashop, it is also necessary to perform additional configuration so that the application “knows” its domain and the domain name is correctly reflected in application URLs. This is easily accomplished with the command-line tool configure_app_domain, which will update the application configuration and database to use the new domain wherever needed.
To use this tool, follow these steps:
-
Log in to your server console (instructions).
-
Execute the following command:
$ sudo /opt/bitnami/configure_app_domain --domain DOMAIN-NAMEFor example, to configure your application to use the domain my-site.com, use the command below:
$ sudo /opt/bitnami/configure_app_domain --domain my-site.comNOTE: If the previous command shows a command not found error, change to your application directory, usually located under /opt/bitnami/apps/APP-NAME and run the following command:
$ sudo ./bnconfig --machine_hostname DOMAIN-NAMEFor example, to configure Prestashop to use the domain my-shop.com, use the commands below:
$ cd /opt/bitnami/apps/prestashop
$ sudo ./bnconfig --machine_hostname my-shop.com
Or, to configure your WordPress Multisite blog to use the primary domain my-blog.com, use the commands below:
$ cd /opt/bitnami/apps/wordpress
$ sudo ./bnconfig --machine_hostname my-blog.com
Once configured, rename the bnconfig utility to bnconfig.disabled to stop it from running automatically on system restart and resetting the configured domain name.
$ mv bnconfig bnconfig.disabled