Run Subversion in the Cloud
Introduction
One of the first things that you should do before starting a software project is set up a version control system (VCS) for your code. A version control system allows you to track changes for your code, concurrently maintain different versions (eg. production and development) and simplifies the task of merging and integrating contributions from multiple developers.
One of the most popular options is Subversion, an open source, centralized version control system. Key features of Subversion include directory versioning, atomic commits, cheap branching and tagging and sophisticated conflict resolution. Subversion is easy to understand and use, and Subversion clients are available for all major operating systems.
This guide walks you through the process of creating a Subversion repository for your code in the cloud using the Bitnami Subversion Stack.
Assumptions and prerequisites
The steps below assume that:
- You have deployed the Bitnami Subversion Stack on a cloud server.
- You have a Subversion client installed. This guide provides instructions for TortoiseSVN on Windows and the command-line svn client on Linux and OS X.
Step 1: Configure the Subversion server
The first step is to log in to the Subversion server console using SSH and configure repository access.
The repository configuration file is located at /opt/bitnami/repository/conf/svnserve.conf. The variables anon-access and auth-access can be set to the values none, read, or write, which have the following meanings:
- none prohibits both reading and writing;
- read allows read-only access to the repository;
- write allows complete read/write access to the repository.
For example, uncomment these lines for a reasonable starting configuration:
[general]
anon-access = read
auth-access = write
Restart the Subversion server to load the changes:
$ sudo /opt/bitnami/ctlscript.sh restart subversion
Step 2: Initialize an empty Subversion repository
The next step is to initialize an empty Subversion repository. This repository will store your versioned source code. To do this, log in to the Subversion server console via SSH (if you are not already logged in) and execute the commands below. In this example, the repository directory is named myapp but you can choose a different name if you wish.
$ sudo mkdir /opt/bitnami/repositories
$ sudo svnadmin create /opt/bitnami/repositories/myapp
$ sudo chown -R bitnami:bitnami /opt/bitnami/repositories
Step 3: Configure HTTP access to the repository
Update the Apache configuration file at /opt/bitnami/apache/conf/httpd.conf to load the following modules:
LoadModule dav_module modules/mod_dav.so
LoadModule dav_fs_module modules/mod_dav_fs.so
LoadModule dav_svn_module modules/mod_dav_svn.so
LoadModule authz_svn_module modules/mod_authz_svn.so
Update the Subversion-related files inside the /opt/bitnami/apache/conf/vhosts folder, and configure the endpoint URL and path for your Subversion repository. You should also protect this URL from unauthorized access by configuring authentication for different users.
<Location /subversion>
  DAV svn
  SVNPath "/opt/bitnami/repositories/myapp"
  AuthType Basic
  AuthName "Subversion repository"
  AuthUserFile /opt/bitnami/repositories/users
  require valid-user
</Location>
The directives above will let you view the Subversion repository created in Step 2 by browsing to the URL http://SERVER-IP/subversion. Repository access will only be available to those users listed in the /opt/bitnami/repositories/users file and they will need to authenticate themselves before gaining access.
Change the permissions for your repository directory so that the Apache user is able to write to it. This is only necessary if you wish to allow commits over HTTP/HTTPS:
$ sudo chown -R daemon:subversion /opt/bitnami/repositories/myapp
The final step is to create the /opt/bitnami/repositories/users file and add a user account using the following command. You will be prompted to enter a password for the user account (in this example, the user account is named john).
$ sudo /opt/bitnami/apache/bin/htpasswd -c /opt/bitnami/repositories/users john
Repeat this step to add more users, omitting the argument on subsequent invocations. For example:
$ sudo /opt/bitnami/apache/bin/htpasswd /opt/bitnami/repositories/users jane
Restart Apache:
$ sudo /opt/bitnami/ctlscript.sh restart apache
Step 4: Test HTTP access to the Subversion repository
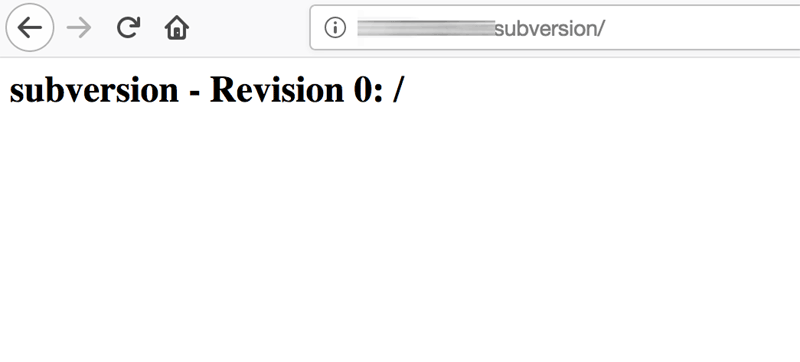
Confirm that the Subversion repository is accessible over HTTP by browsing to http://SERVER-IP/subversion. You should be prompted for a username and password. Enter the credentials configured in Step 3 and you should be able to view your repository, as shown below:
Step 5: Check out and commit changes to the Subversion repository over HTTP
You should now be able to check out and commit changes to the Subversion repository over HTTP. The steps below are only indicative and will differ depending on which Subversion client you use. This section provides instructions for TortoiseSVN on Windows and the command-line svn client on Linux and OS X.
Linux and OS X
Execute the following commands using the Subversion command-line client, svn, to check out the repository, add a new file to it and commit the changes back to the repository. Replace the USERNAME placeholder with one of the configured usernames from Step 3 and enter the corresponding password when prompted.
$ svn checkout http://SERVER-IP/subversion
$ cd myapp
$ echo "This is a test" > README
$ svn add README
$ svn commit -m "Added README file"
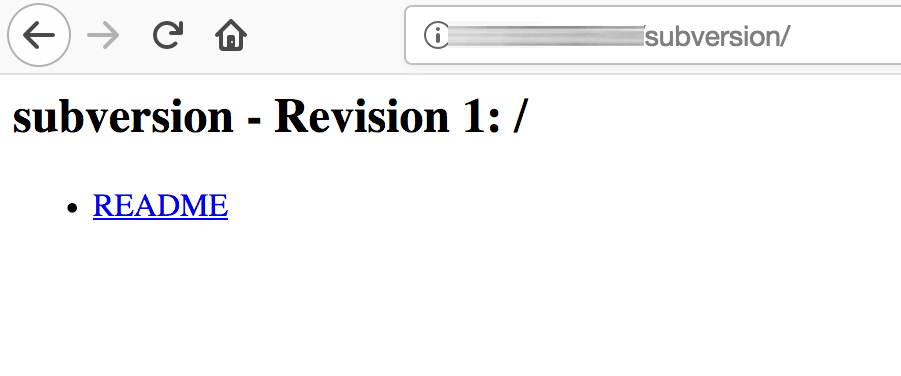
The new file will be committed to the repository. You should be able to view the new commit by browsing to http://SERVER-IP/subversion.
Windows
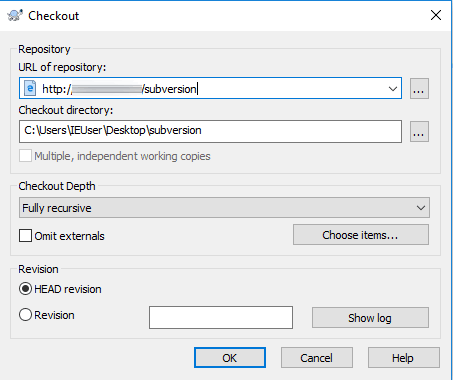
Right-click within the directory you wish to use for the repository and select the “SVN Checkout” menu item. Enter the HTTP URL to the repository in the subsequent dialog, as shown below, and click “OK” to proceed.
Add a new file to the repository and fill it with some test content. Right-click the file and select the “TortoiseSVN -> Add” menu option. This will add the file to the repository.
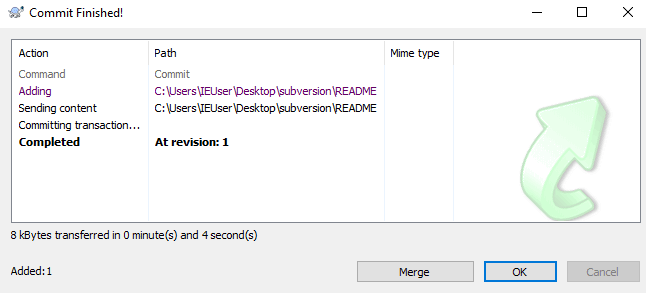
Right-click the parent directory and select the “SVN Commit” menu item. Enter a commit message and click “OK”.
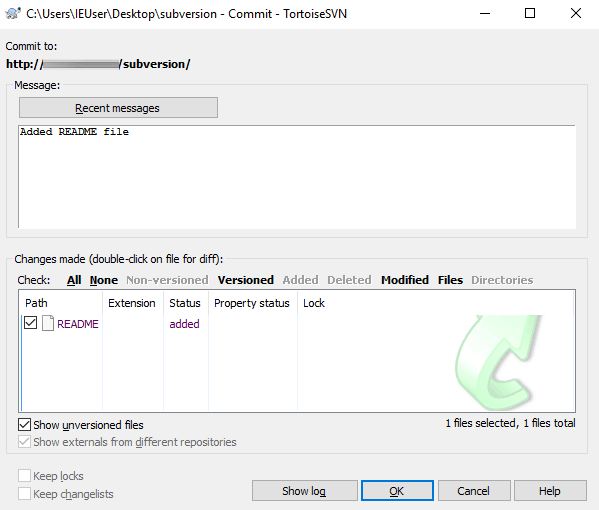
The new file will be committed to the repository and you should see a success notification.
You should also be able to view the new commit by browsing to http://SERVER-IP/subversion.
TIP: For greater security, you should also consider enabling HTTPS access for the repository or enabling SSH access for the repository.