Migrate Data From One Joomla! Instance to Another
Introduction
There are two different ways to upgrade and maintain your Joomla! installation:
-
Use the built-in upgrade feature. Read detailed instructions for this.
-
Migrate your installation to a new server instance with an updated version of the application and/or underlying components.
This guide describes the second option. We recommend that you do this from time to time to make sure that you not only have the best and latest version of Joomla!, but also have the latest (and most secure) versions of Apache, MySQL and other software that Joomla! runs on. We regularly refresh the images available in the Bitnami library to make sure that you always have access to the most up-to-date software.
To migrate Joomla! data from an instance to a new instance running a later release of the Bitnami Joomla! Stack, follow the steps below.
Step 1: Backup existing data
Begin by creating a backup of your existing Joomla! installation with the Akeeba backup plugin. This plugin is an open-source backup component for the Joomla! CMS. It creates a site backup that can be restored on any Joomla!-capable server.
Follow these steps:
-
Browse to the Akeeba website and download the latest stable plugin version of “Akeeba Backup Core”.
-
Browse to your Joomla! administration panel and select the “Extension Manager” tool.
-
Select and install the downloaded plugin.
-
On the plugin is installed, within the Joomla! administration panel, navigate to the “Components -> Akeeba” section and run the installation wizard.
-
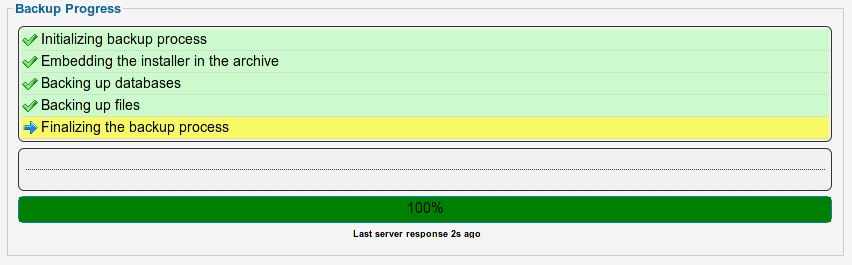
Using Akeeba, create a full backup of the site and download or copy it. This process will create a .jpa file.
-
Create a backup of the configuration files, as shown below. Replace the /home/USERNAME path with a path of your choice.
  $ mkdir /home/USERNAME/backup
  $ cp /opt/bitnami/apps/joomla/htdocs/.htaccess /home/USERNAME/backup/htaccess.backup
  $ cp /opt/bitnami/apps/joomla/conf/httpd-vhosts.conf /home/USERNAME/backup/httpd-vhosts_backup.conf
  $ cp /opt/bitnami/apps/joomla/conf/httpd-app.conf /home/USERNAME/backup/httpd-app_backup.conf
  $ cp /opt/bitnami/apps/joomla/conf/httpd-prefix.conf /home/USERNAME/backup/httpd-prefix_backup.conf
  $ cp /opt/bitnami/apps/joomla/conf/htaccess.conf /home/USERNAME/backup/htaccess_backup.conf
You now have all of the required data to migrate your Joomla! site to a new instance. If you have customized the php.ini, my.cnf, httpd.conf files or any other configuration file, update these configuration files in the new instance.
Step 2: Copy and restore data on the new instance
To copy your files from the old instance to the new one, complete the following steps:
-
Copy the files backed up in the previous step to the new instance, using SFTP or SCP. For more information, refer to the FAQ.
-
Copy the Akeeba backup kickstart script from the Akeeba website.
-
Start the Bitnami Joomla! Stack on the new instance
-
On the new instance, create a copy of the Joomla! configuration file:
$ cp /opt/bitnami/apps/joomla/htdocs/configuration.php /home/USERNAME/backup -
Remove the previous Joomla! files:
$ sudo rm -rf /opt/bitnami/apps/joomla/htdocs -
Remove the previous Joomla! database:
$ sudo /opt/bitnami/mysql/bin/mysql -u root -p Password: **** mysql> drop database bitnami_joomla; -
Install the Akeeba kickstart script. This tool should be uncompressed in the main Joomla! directory:
$ unzip kickstart-core-3.5.1.zip -d /opt/bitnami/apps/joomla/htdocs -
Create a temporary directory for Akeeba:
$ mkdir /opt/bitnami/apps/joomla/htdocs/akeebatemp $ chmod 777 /opt/bitnami/apps/joomla/htdocs/akeebatemp -
Copy the Akeeba .jpa backup file to the htdocs/ directory:
$ cp joomla_backup.jpa /opt/bitnami/apps/joomla/htdocs/ -
Change the permissions of the Joomla! htdocs/ directory. This is necessary so that Akeeba can write to the directory.
$ sudo chown -R daemon /opt/bitnami/apps/joomla/htdocs -
Browse to http://SERVER-IP/kickstart.php, replacing SERVER-IP with the IP address of the new instance.
-
Follow the Akeeba kickstart installation steps to restore the site backup. Specify the following FTP settings:
- FTP user: bitnamiftp
- FTP password: Set this to the value in the /opt/bitnami/apps/joomla/htdocs/configuration.php file
- FTP directory: /opt/bitnami/apps/joomla/htdocs/
- Temp directory: /opt/bitnami/apps/joomla/htdocs/akeebatemp
-
Restore the configuration files. If you have customized the Joomla! configuration, you will need to restore the Apache configuration file as well.
$ cp /home/USERNAME/backup/htaccess.backup /opt/bitnami/apps/joomla/htdocs/.htaccess $ cp /home/USERNAME/backup/httpd-app_backup.conf /opt/bitnami/apps/joomla/conf/httpd-app.conf $ cp /home/USERNAME/backup/httpd-prefix_backup.conf /opt/bitnami/apps/joomla/conf/httpd-prefix.conf $ cp /home/USERNAME/backup/httpd-vhosts_backup.conf /opt/bitnami/apps/joomla/conf/httpd-vhosts.conf $ cp /home/USERNAME/backup/htaccess_backup.conf /opt/bitnami/apps/joomla/conf/haccess.conf $ cp /home/USERNAME/backup/configuration.php /opt/bitnami/apps/joomla/htdocs/ -
Remove all the unnecessary files and restore permissions:
$ sudo rm -rf /opt/bitnami/apps/joomla/htdocs/akeebatemp $ sudo rm /opt/bitnami/apps/joomla/htdocs/*.kickstart.ini $ sudo rm /opt/bitnami/apps/joomla/htdocs/kickstart.php $ sudo chown -R bitnami /opt/bitnami/apps/joomla/htdocs/ -
Restart the servers (if necessary) with the command below.
$ sudo /opt/bitnami/ctlscript.sh restart
You should now be able to access the Joomla! application on the new instance.