Migrate a PHP Application from PHP 5 to PHP 7 using Lightsail
Introduction
As a PHP application user, you may know that the latest stable version of PHP was 5.6. PHP 6 was an intermediate testing version, so if you want to update your applications, you should migrate to PHP 7.
This how-to guide explains the new features of PHP 7 and their benefits, which features have been deprecated in this new version, and how to migrate your PHP application - using an AWS Lightsail LAMP instance as an example - to the latest version of PHP. Keep reading to benefit from all the features that PHP 7 offers to you!
Why should you move to PHP 7?: Main features and benefits
PHP 7 introduces new features that help users to save a lot of time in coding and debugging by adding new parameters and functions, and by upgrading most of the existing ones. Find a summary below with the main new features you will find when migrating to PHP 7. For a detailed explanation of all the parameters, classes and functions added in this new version, check the PHP official documentation.
- Improved performance
PHP 7 now uses a new model of engine called PHP-NG (New Generation) that doubles the performance and optimizes its memory usage.
- Support for Return Type Declarations
This new feature makes the code more robust and accurate since the user can specify the type of value that will be obtained for a function or method.
- Support for Anonymous Classes
These can be used in place of full class definitions for throwaway objects. It is a common feature in other declarative languages such as Java or C#. It is used to decrease the execution time.
- Support of Unicode Codepoint Escape Syntax
With this new feature, coding is easier since any valid codepoint is accepted, with leading 0’s being optional.
- Addition of Filtered unserialize()
With this new function, you can unserialize objects on untrusted data, providing more security and trustability to your code since developers can now enable whitelist classes that can be unserialized.
- Introduction of Group Use Declaration
It is possible to import both functions, constants, and classes from the same namespace, and group them with a single use parameter. This saves a lot of typing time and makes debugging easier.
Deprecated features in PHP 7
The majority of the features introduced into PHP 5.6 have been extended, replaced, or even are still valid in PHP 7. However, some of them now are removed or deprecated so it is very important to pay attention to them for faster adoption of this new version. It is highly recommended to also check the Backwards and incompatible changes listed in the PHP official documentation. Find below which are the features deprecated with this new version:
-
PHP 4 Style constructors: These methods are deprecated and they will be removed in the future. In case you use a PHP 4 constructor as the only constructor defined within a class, you will see an output similar to this:
"Deprecated: Methods with the same name as their class will not be constructors in a future version of PHP; (...)" -
Static call methods that are not declared static are deprecated and will be removed in the future.
-
password_hash() salt option has been deprecated for security reasons. That way, the generation of custom (and insecure) salts is prevented. Just pass the password_has () function to generate a cryptographically secure salt.
-
capture_session_meta SSL context option: instead, use stream_get_meta_data() function to get the SSL metadata.
-
ldap_sort() this function is deprecated and its results are not reliable.
Assumptions and prerequisites
This guide assumes that:
- You have a Lightsail instance running a LAMP application that ships PHP 5.6 version or earlier.
- Your instance has already assigned a static IP.
The following instructions explain how to migrate from an AWS Lightsail instance with a running LAMP application that uses PHP 5.6 version into a fresh one that uses the latest version of PHP. This way, both the application and its components will be updated to their latest versions.
Step 1: Backup the application data and the database
The first step you should follow before migrating your application installation is to back up the existing data. To do so, follow these instructions:
-
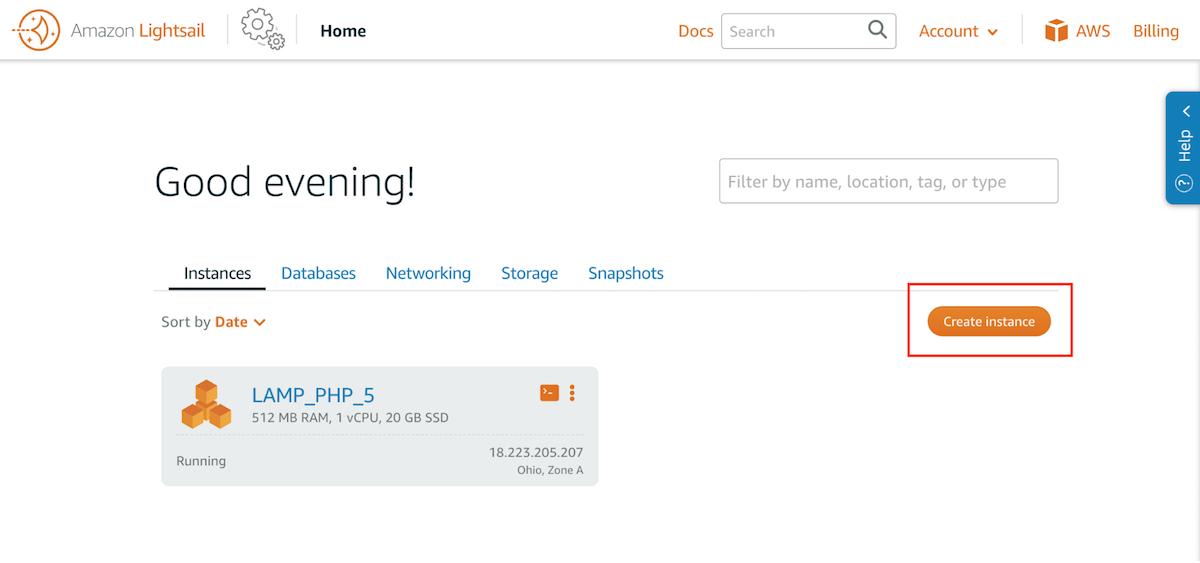
From the Amazon Lightsail “Instances” panel, select the running instance you want to update.
-
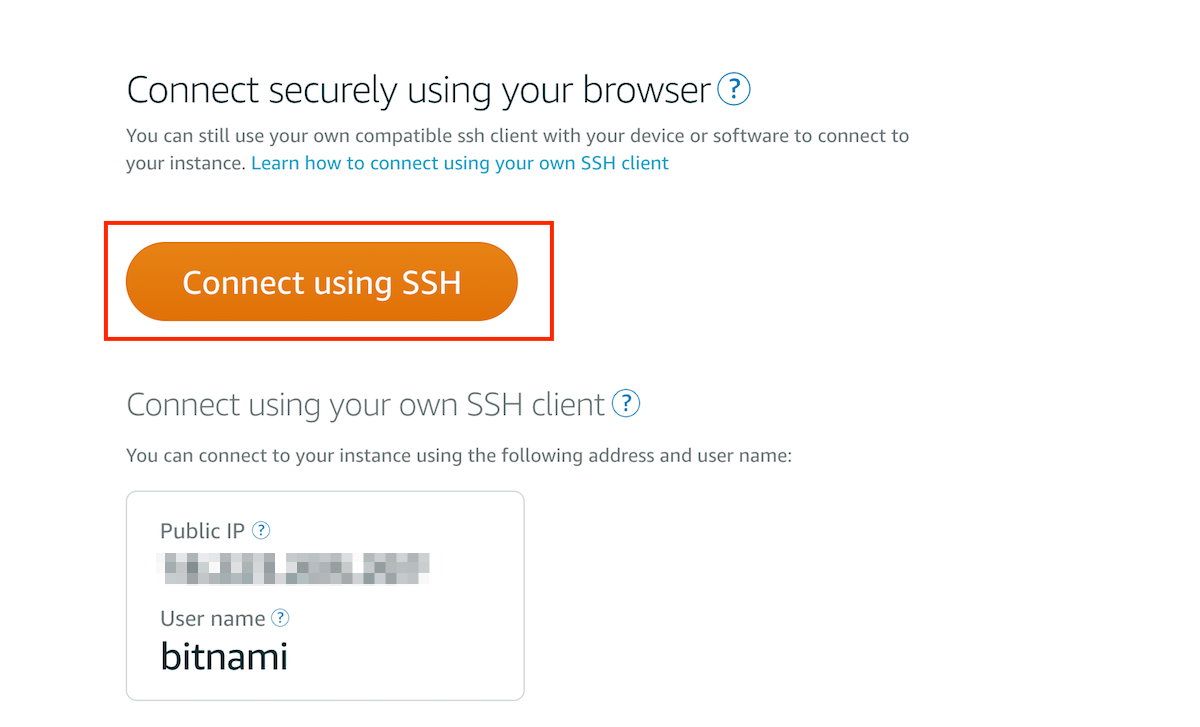
On the resulting screen, click “Connect using SSH”.
-
Back up the application database by creating a dump file using the mysqldump tool. In this example, the database is named bitnami_app; replace this with the name of the database you wish to export.
$ mysqldump -u root -p bitnami_app > backup.sql -
Create a tarball with the PHP application. Remember that APP is a placeholder and that the htdocs/ is the path where Bitnami applications data is usually located. Replace them with the name and the path of the application you want to migrate:
$ tar -czvf APP.tar.gz /opt/bitnami/apache2/htdocs/ -
Download the tarball file to your computer using SFTP.
Step 2: Launch a new LAMP PHP 7 instance
To create a new LAMP instance and prepare it for the migration of the old data, follow these instructions:
-
Navigate to the AWS Lightsail “Instances” panel and click “Create Instance”.
-
In the “Select a blueprint” section, select LAMP (PHP 7).
-
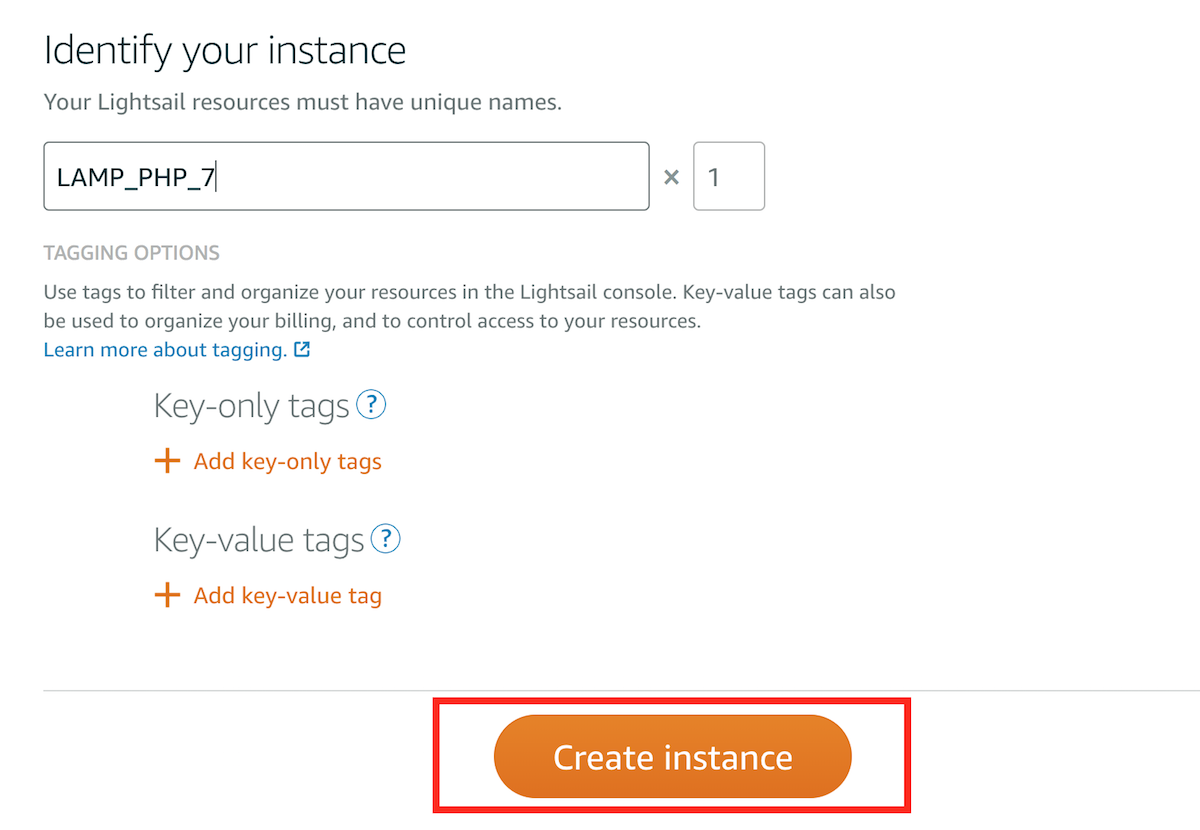
Enter a name for the new instance and click “Create instance” to proceed.
-
Once the new instance is running, connect to the server through SSH by clicking “Connect using SSH”.
-
Stop the Apache server by executing the following command:
$ sudo /opt/bitnami/ctlscript.sh stop apache -
Delete the /opt/bitnami/apache2/htdocs/ directory:
$ sudo rm -rf /opt/bitnami/apache2/htdocs/
Step 3: Check the PHP configuration
To check that the new instance is running PHP 7 and PHP modules are enabled, it is recommended to create a simple test. It is as easy as creating a test script using the phpinfo() function. In addition, you can check the installed modules by just running a single command. See the instructions below:
-
From the Amazon Lightsail “Instances” panel, select the LAMP PHP 7.
-
On the resulting screen, click “Connect using SSH”.
-
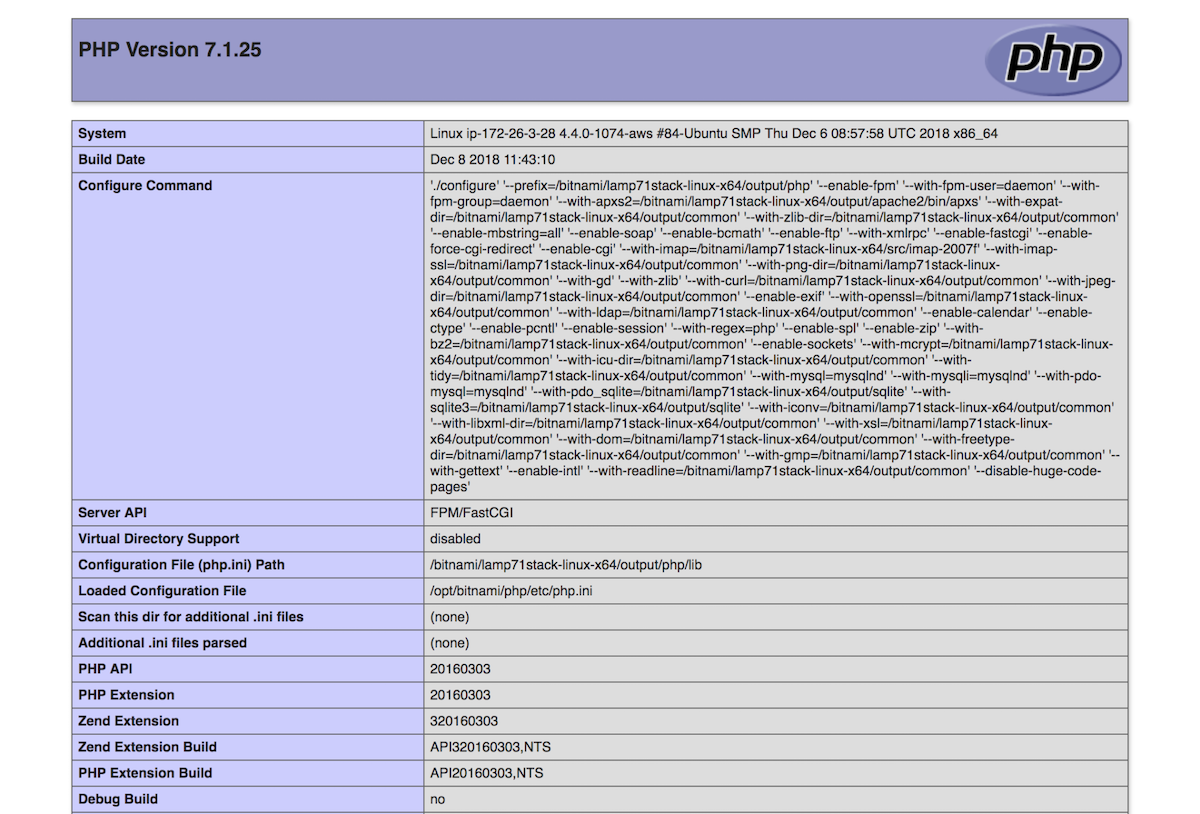
Once you are connected to the server, create a file named phptest.php in the following location: /opt/bitnami/apache2/htdocs/.
-
Write the following content in the new file:
<?php phpinfo(); ?> -
Go back to the Lightsail user interface, and copy the IP address of your instance:
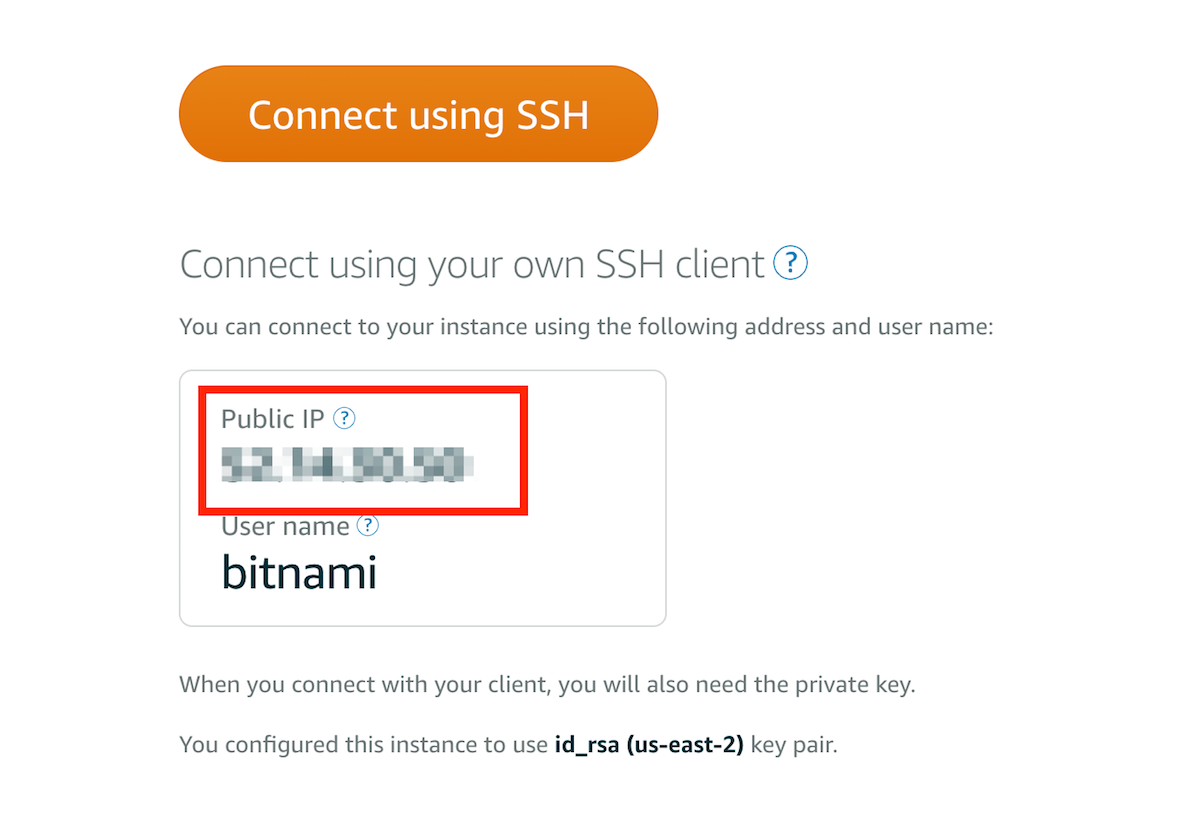
-
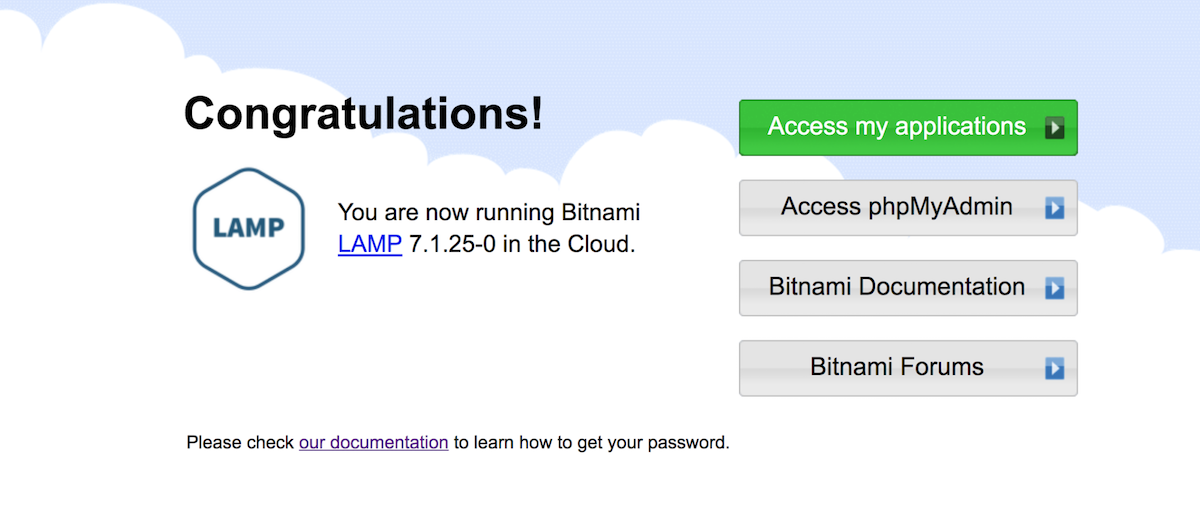
Open a new window in a browser and enter the following: http://PUBLIC-IP/phptest.php. Remember to replace the PUBLIC-IP placeholder with the IP address you just copied in the step above. You should see a page similar to this:
-
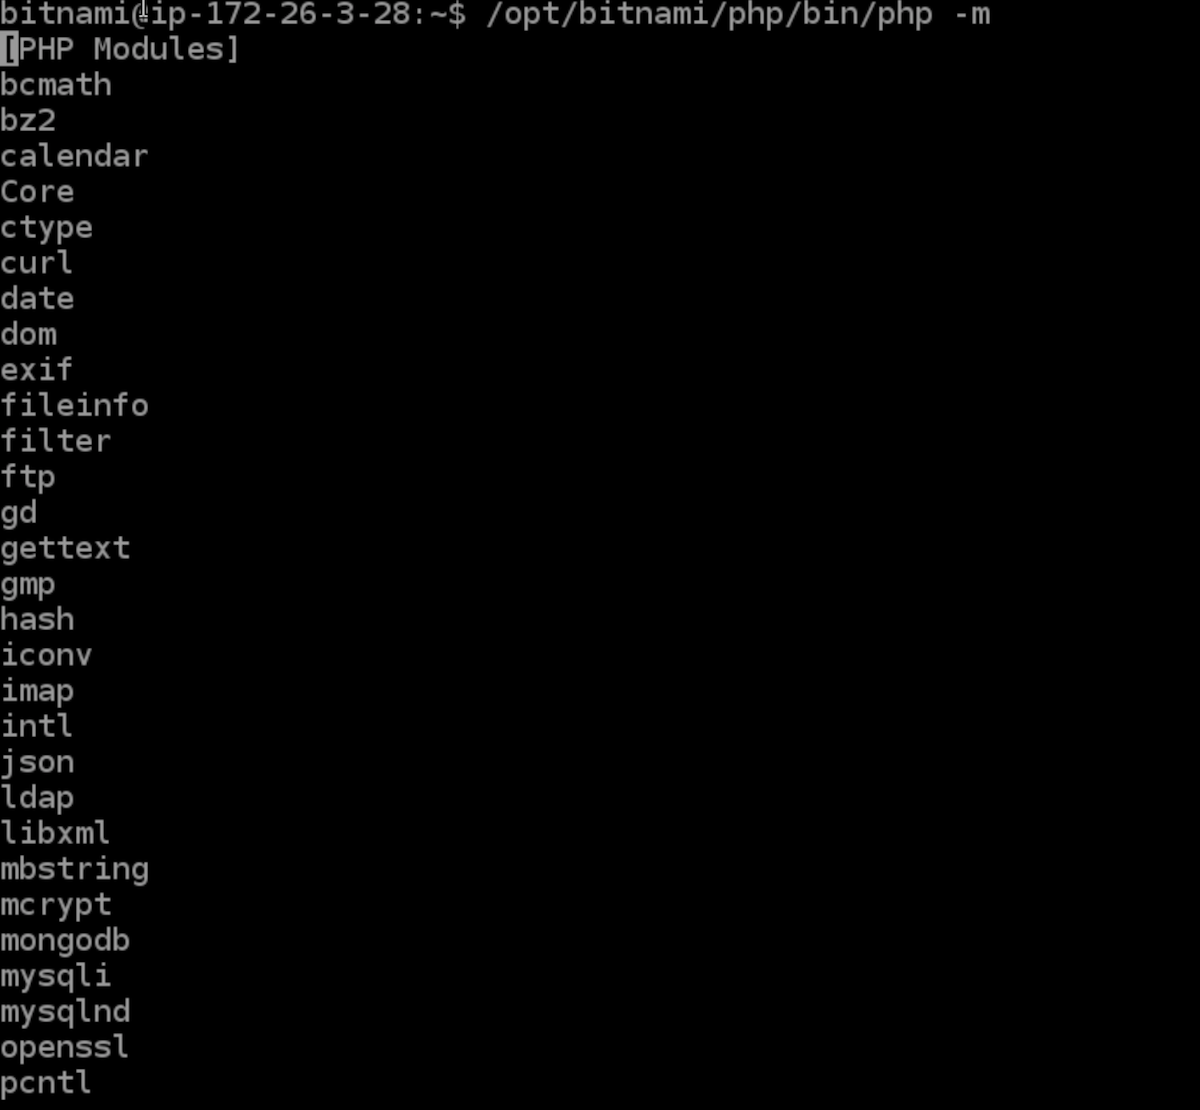
To check the installed modules, return to the server console and execute the command below:
$ /opt/bitnami/php/bin/php -m -
You should see an output similar to this:
Step 4: Import and recover the database and data of your application into the new instance
Once the /opt/bitnami/apache2/htdocs/ directory of the new instance has been removed, it is time to replace it with the database and data of your application. Thus, you will have an instance with your application running the latest version of PHP. Follow the instructions below:
-
Upload the tarball file to the new instance using SFTP.
-
Uncompress the *.tar file that contains your PHP application by executing the following:
$ tar -xzvf APP.tar.gz -C /opt/bitnami/apache2/htdocs/ -
Restore the database with the command below:
$ mysql -u root -p < backup.sql -
Restart the Apache server:
$ sudo /opt/bitnami/ctlscript.sh restart apache
IMPORTANT: After restoring your application into the new instance, you should check the application to make sure that the migration was successful. It is also recommended to check the Apache log in order to find out if any version compatibility exists.
Step 5: Reassociate the IP address to the new instance
If everything went right, it is time to associate the IP address of the old instance to the new one. To do so, you need to detach the static IP of your old instance and attach it to the new instance. Follow these steps:
-
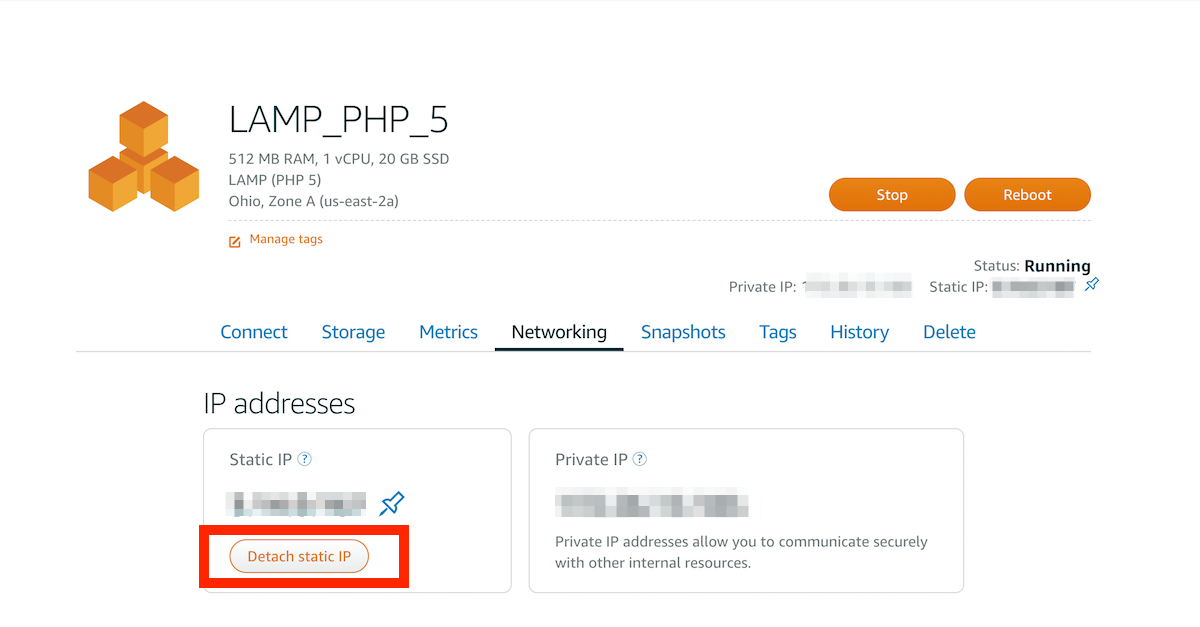
On the Lightsail “Instances” panel, select the LAMP instance that has the older PHP version (in this case, LAMP_PHP_5).
-
Navigate to the “Networking” section:
[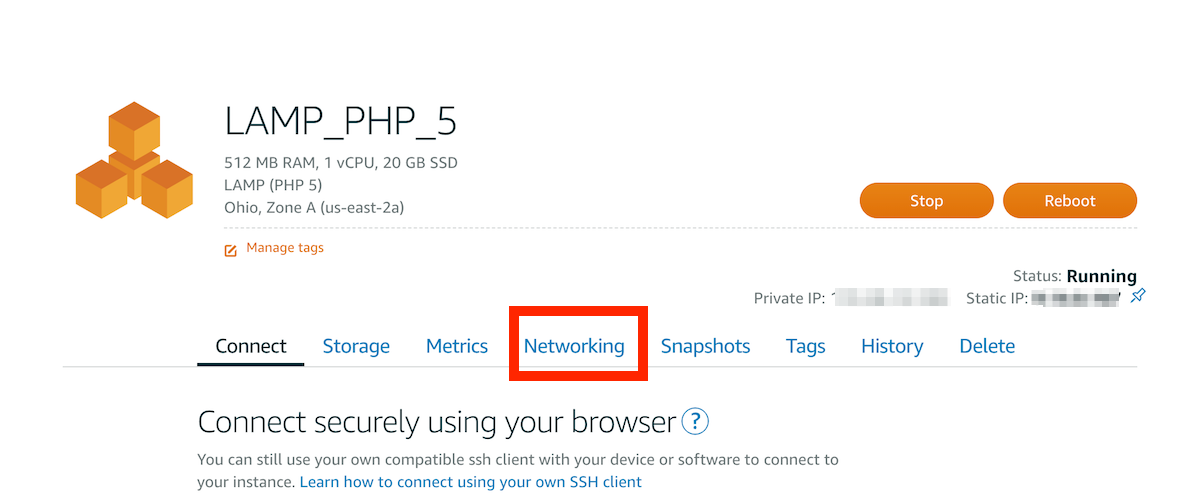](/images/img/how_to_guides/migrate-php-app/lamp5-networking.png) -
Below the Static IP attached to your instance, you will find the “Detach static IP” button. Click on it and Confirm by clicking “Yes” to start the process.
[](/images/img/how_to_guides/migrate-php-app/lamp5-dettach.png) -
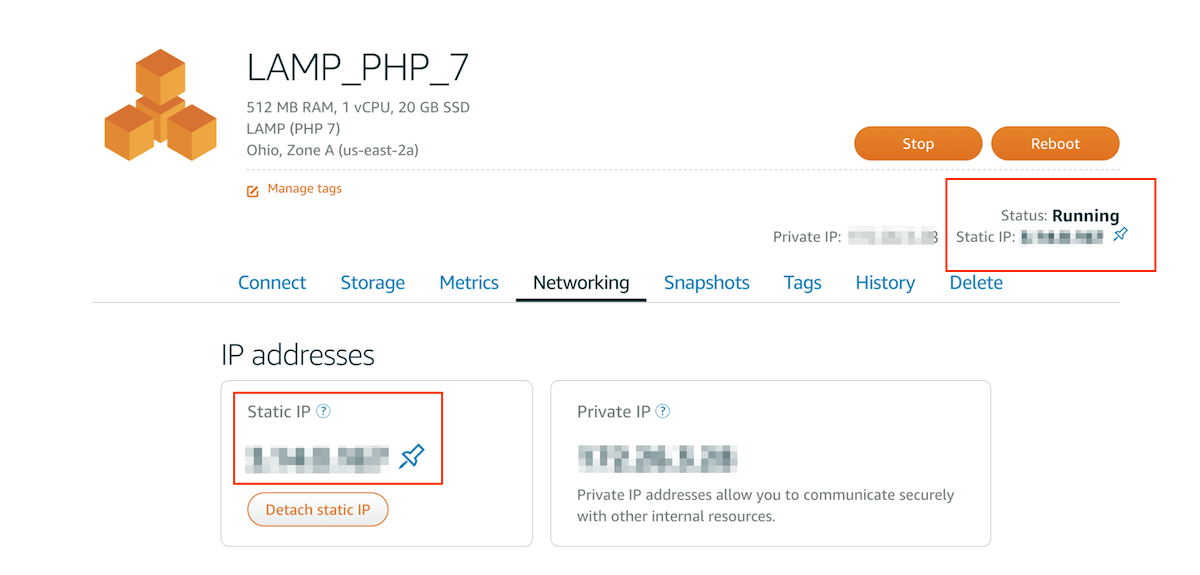
Back to the Lightsail “Instances” panel, select the LAMP instance that has the newer PHP version (in this case, LAMP_PHP_7).
-
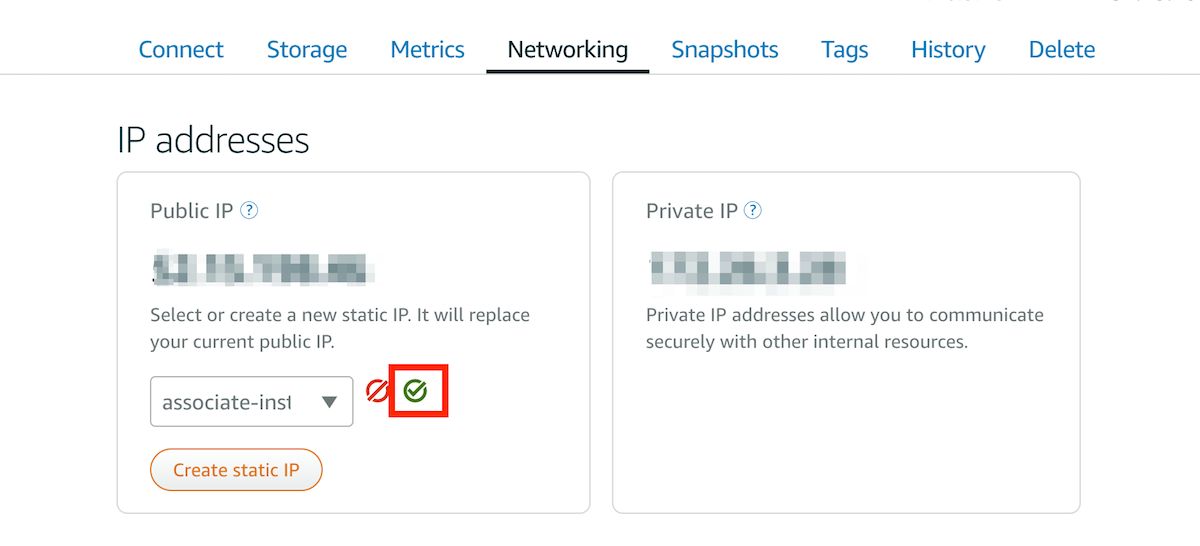
Navigate to the “Networking” section, in the resulting screen, under the current Public IP address of the instance, click the “Attach static IP” button.
-
From the list of available resources, select the static IP you want to attach to this instance. In this case, select the static IP that was attached to your old instance. Click the green check icon to confirm the action:
[](/images/img/how_to_guides/migrate-php-app/lamp-7-attach-ip.png) -
Now you should see the static IP of your old instance reassociated to the new one.
[](/images/img/how_to_guides/migrate-php-app/lamp7-attached-ip.png) -
Enter that IP address in your browser to check that the IP was successfully reassociated: