Separate a Single WordPress Multisite Instance into Multiple Independent WordPress Websites/Blogs
Introduction
This guide walks you through the process of separating a collection of WordPress Multisite websites/blogs into individual WordPress websites/blogs.
Assumptions and Pre-requisites
This section assumes that:
- You have a working WordPress Multisite instance.
- You have separate WordPress instances, one for each website/blog you wish to convert.
NOTE: Before proceeding with the steps below, place the WordPress Multisite instance into maintenance mode, to ensure that no changes occur to the content during the conversion process. An easy way to do this is with the WordPress Maintenance Mode plugin.
Step 1: Export content from WordPress Multisite
Follow these steps:
-
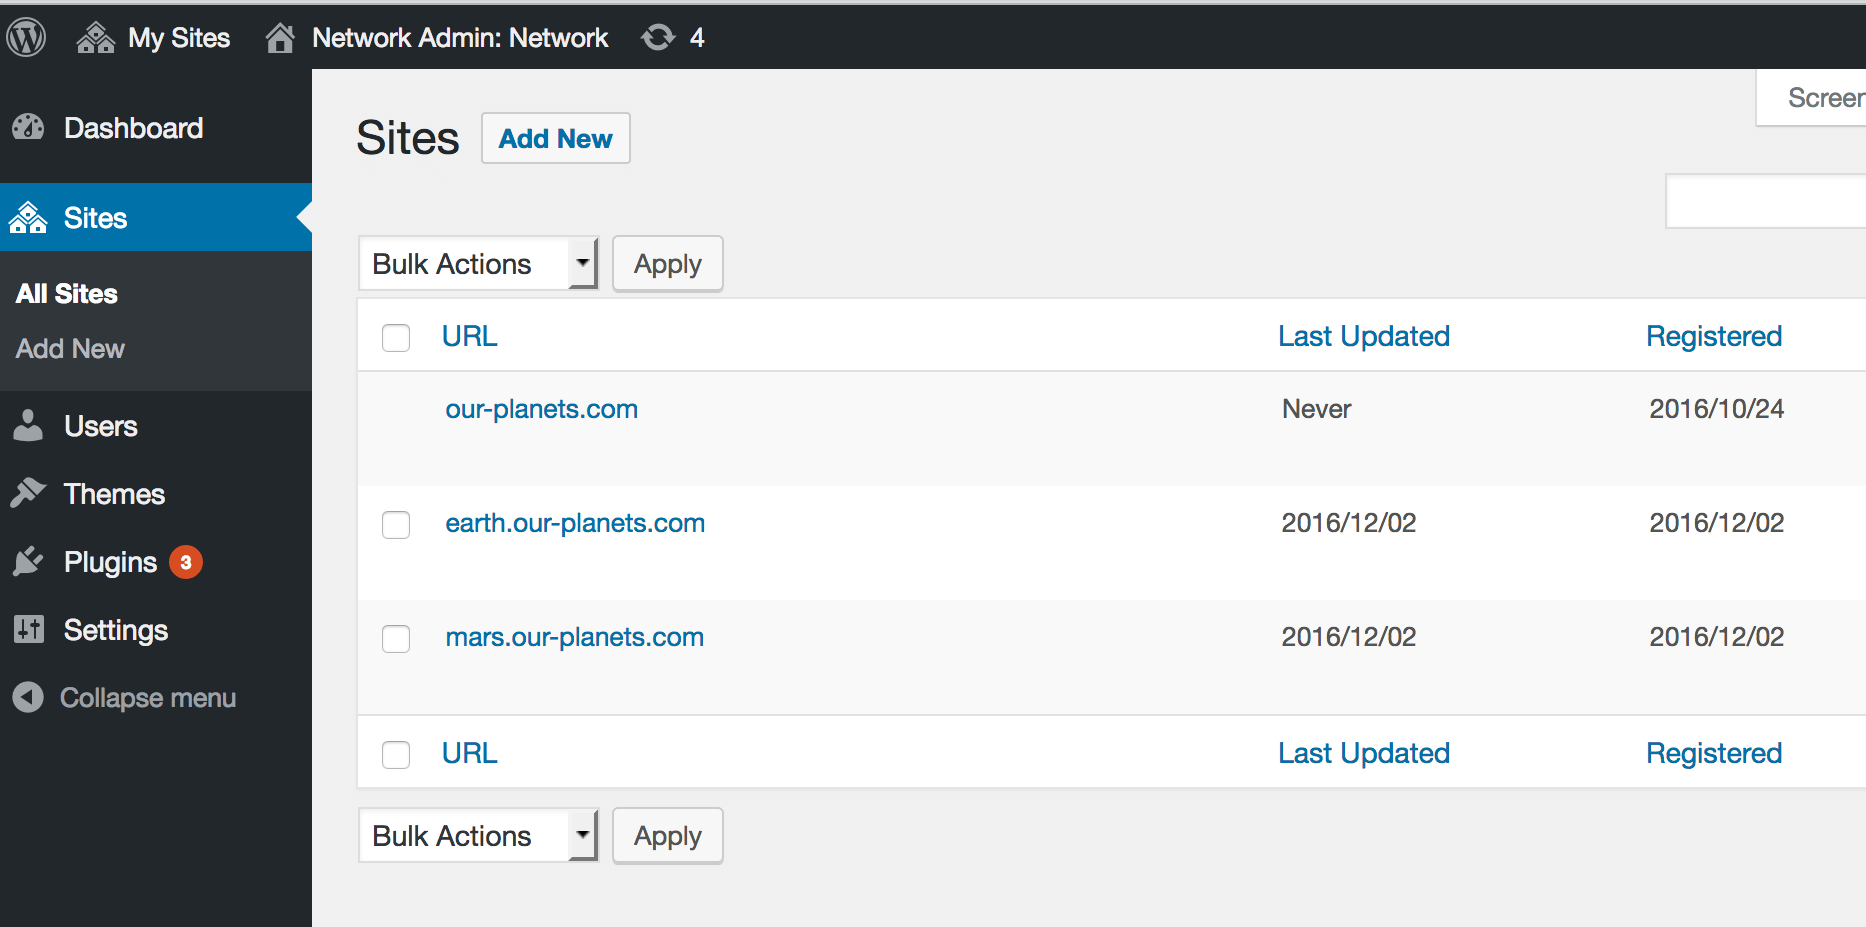
Log in to the WordPress Multisite dashboard.
-
Select the “My Sites -> Network Admin -> Sites” menu option. Navigate to the dashboard for a website/blog with the appropriate “Dashboard” link.
-
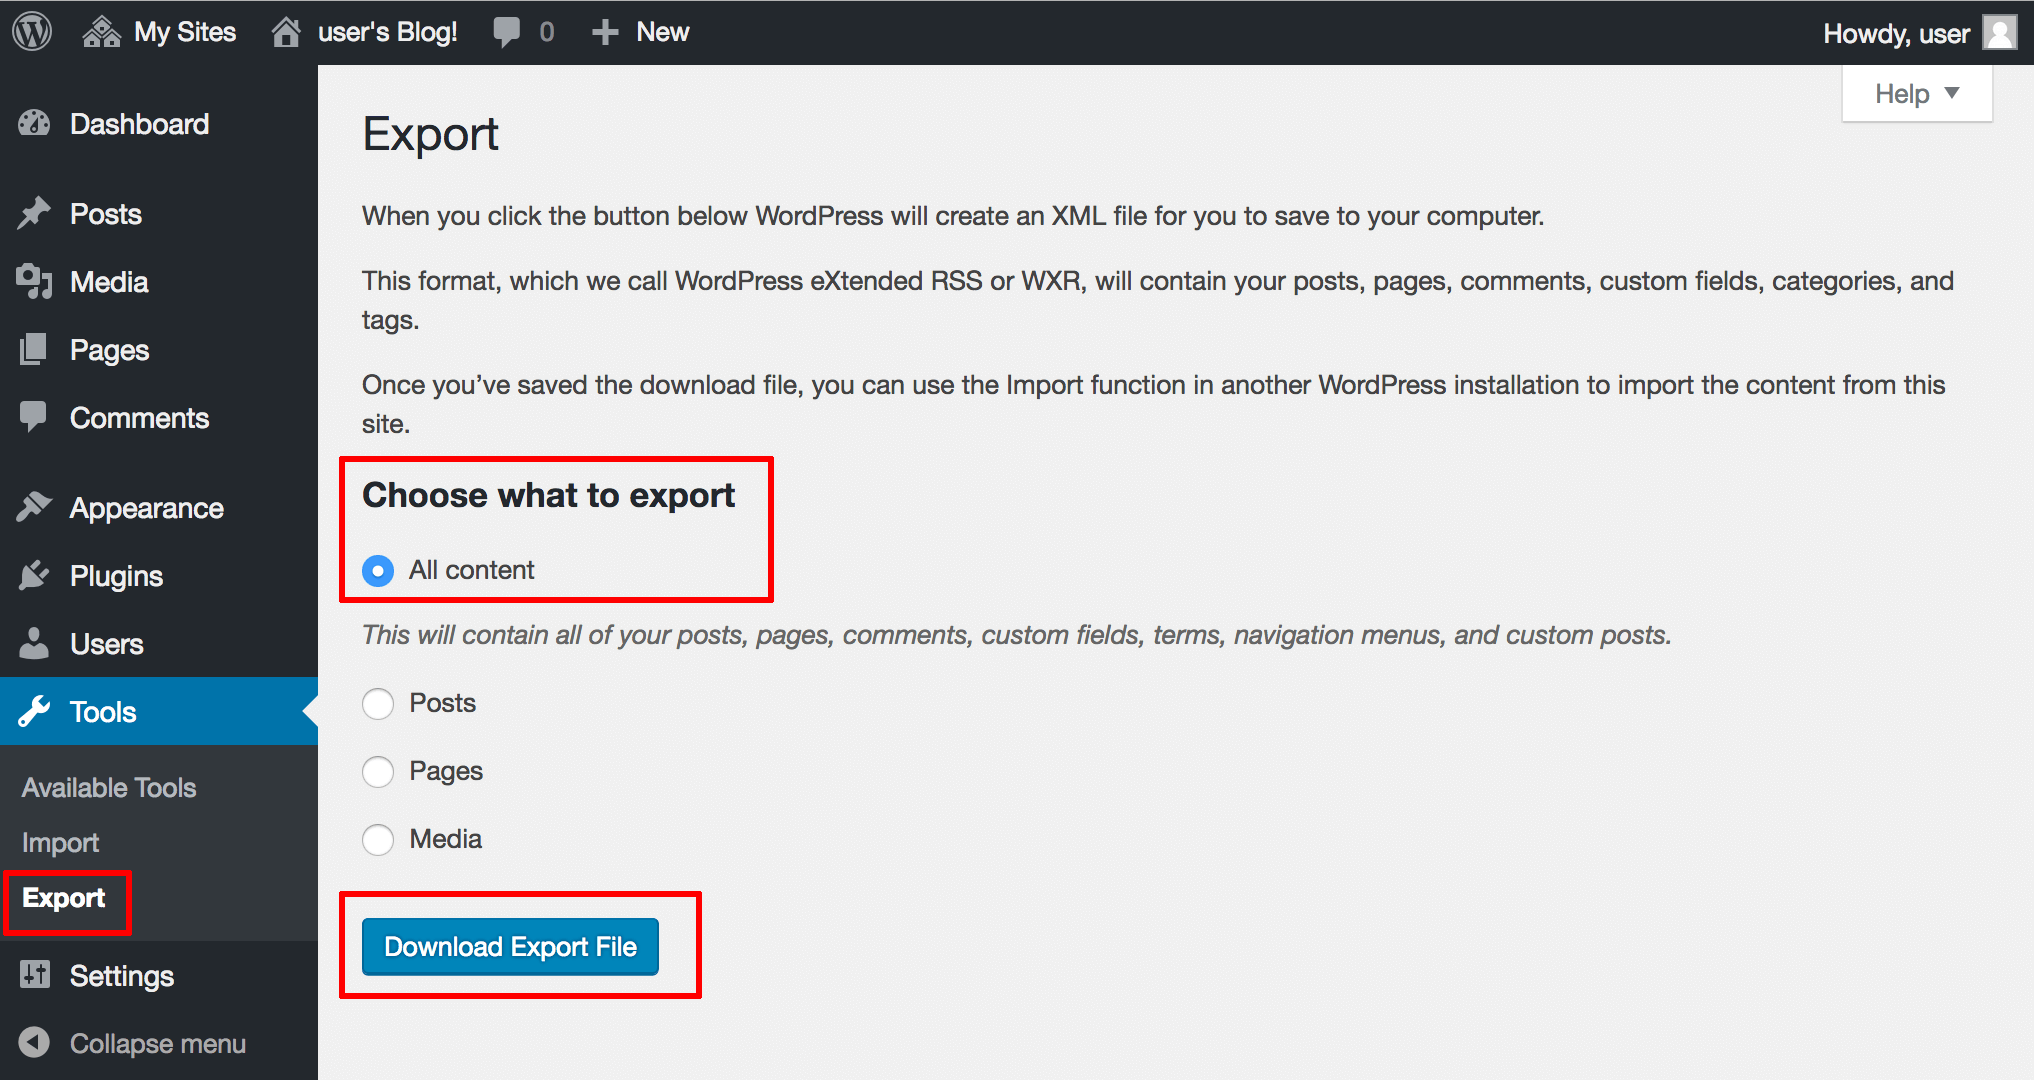
Select the “Tools -> Export” menu option in the website/blog dashboard.
-
In the “Choose what to export” selection list, pick “All content” and click the “Download Export File” button.
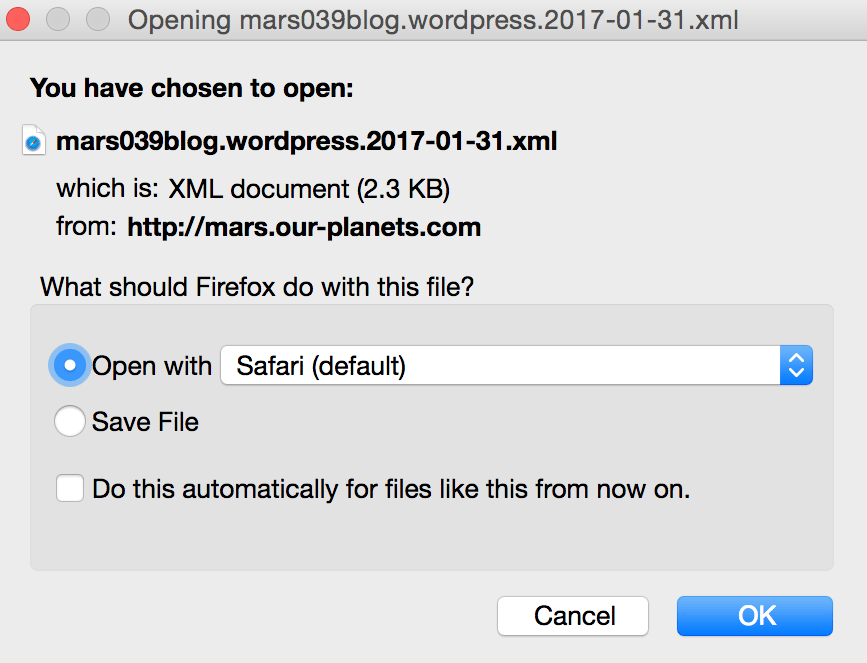
Your browser should prompt you to download an XML export file, containing all the content for your WordPress website/blog. Save this file to your desktop. Repeat the above steps for each website/blog you wish to convert.
Step 2: Update DNS settings to reflect the new home for each website/blog
Turn off your WordPress Multisite server and update your DNS settings to redirect the domains that were previously served by your WordPress Multisite installation to the individual WordPress installations.
NOTE: Before proceeding, test that your individual WordPress installations are correctly configured by entering each domain name into your browser address bar and checking that it transfers you to the correct website/blog.
Step 3: Import content into individual WordPress instances
Follow these steps for each website/blog you wish to convert:
-
Log in to each WordPress dashboard.
-
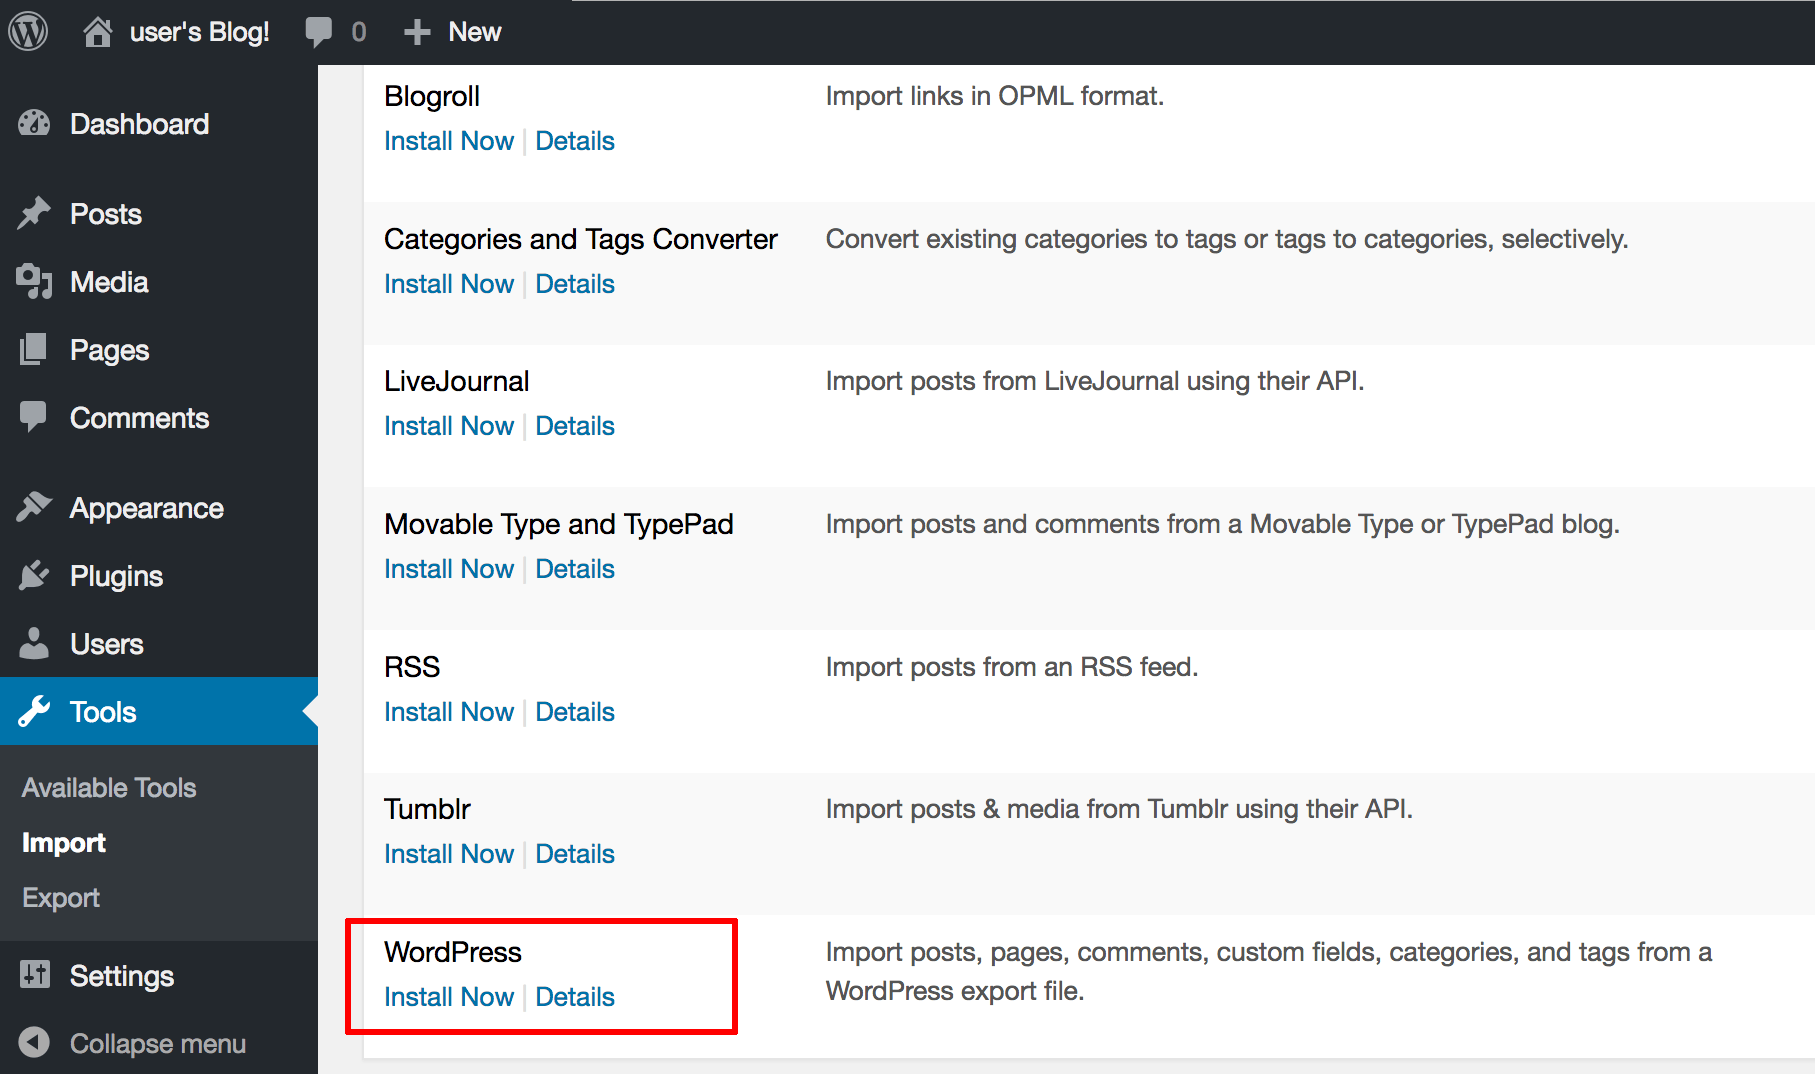
Select the “Tools -> Import” menu option in the website/blog dashboard.
-
In the list of available importers, find the “WordPress” importer and click “Install Now”. Wait for the importer to install.
-
Click “Run Importer”.
-
Select the correct XML export file (obtained in Step 1) and click “Upload file and import”.
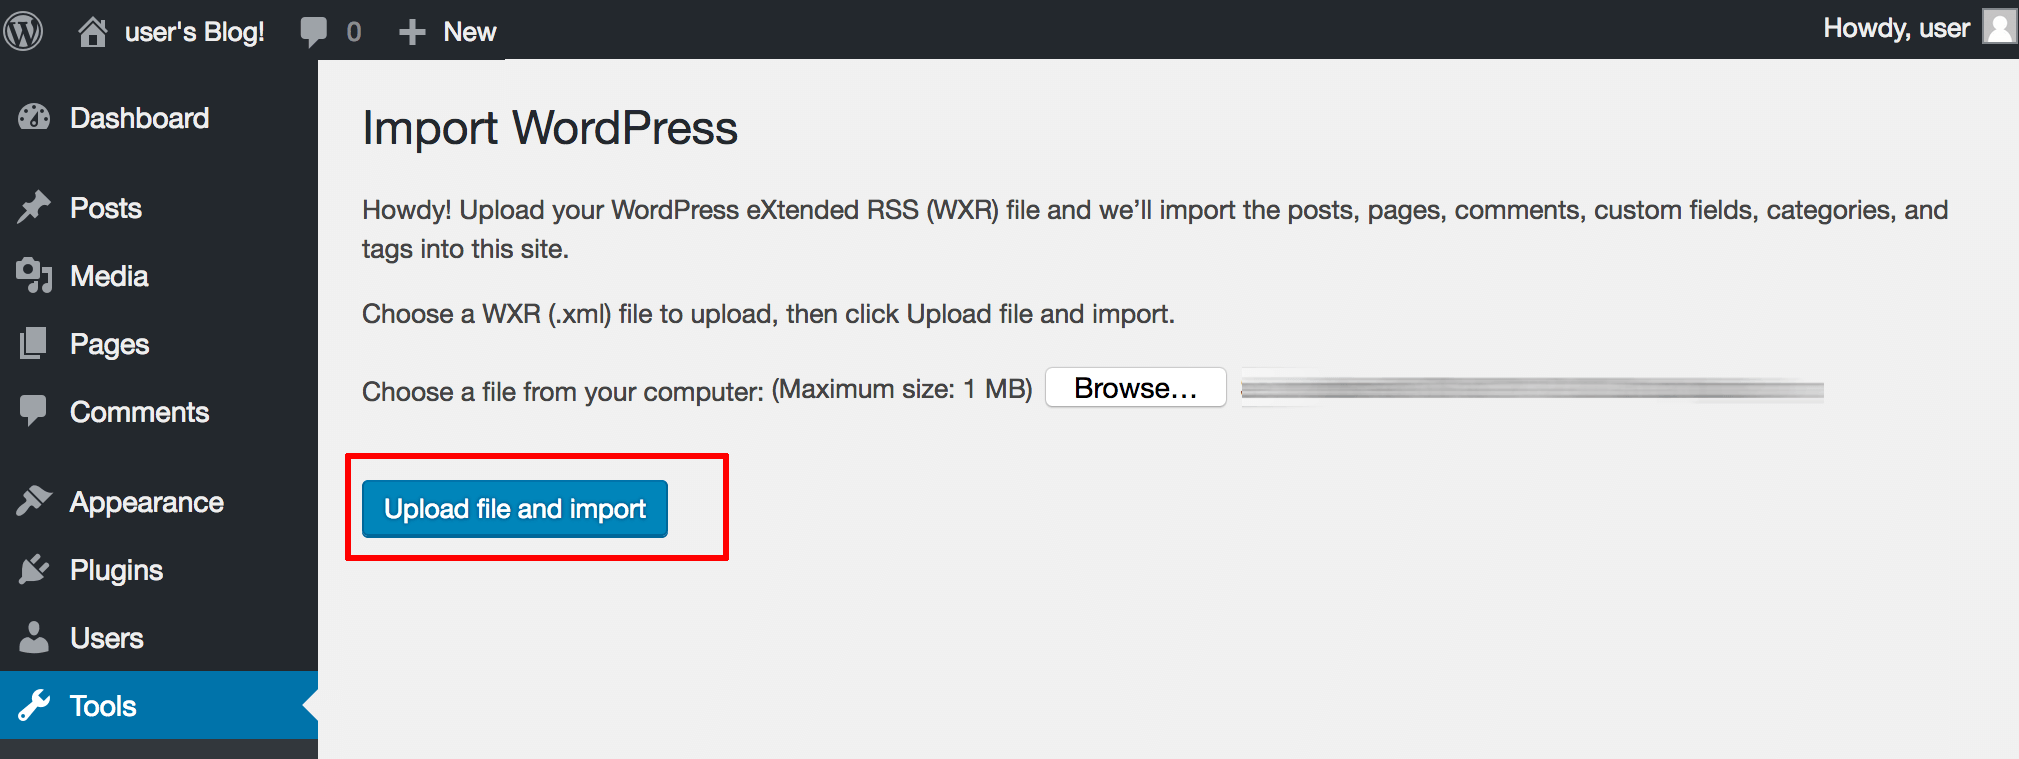
The selected content will now be imported into the new website/blog. You should be able to verify this by entering the corresponding domain or subdomain name in your browser address bar and seeing the imported content.