Get Started with Bitnami Applications using Amazon Lightsail
Introduction
Amazon Web Services or AWS is one of the world’s most popular and reliable cloud computing platforms. It includes a wide range of compute, storage and content delivery, database, mobile and other services, and it’s a great way to host simple websites as well as complex web or mobile applications in the cloud.
If you’re new to the cloud, the easiest way to get started with Amazon Web Services is with Bitnami. Bitnami provides pre-packaged application images for AWS Cloud servers, so that you can get productive with your new server immediately. You can access and launch these images in three ways:
-
Through the AWS Marketplace, Amazon’s online application library;
-
Through the AWS Console, Amazon’s online dashboard for AWS users;
-
Through Amazon Lightsail, Amazon’s virtual private servers.
In this tutorial, I’ll walk you, step by step, through the process of using Amazon Lightsail to create and provision a new AWS cloud server. And since Amazon offers a free one month trial of Lightsail, you can experiment with your server and Bitnami images without worrying about being billed for usage.
TIP: You can also learn about launching servers with the AWS Marketplace or the AWS Console.
Overview
If you’re interested in creating a personal or small business blog, chances are that you’re going to use WordPress. WordPress is one of the most popular blogging platforms in the world, used on over 60 million websites (according to Wikipedia). And it is not hard to see why: WordPress is very easy to use, comes with thousands of extensions and themes, is completely free, and is open source.
In this tutorial, I’ll launch a cloud server with the Bitnami WordPress Stack, which gives you a pre-configured WordPress blog that you can start using right way. But WordPress is just an example: there are hundreds of other Bitnami applications to choose from, and they’re all equally easy to set up.
Here are the steps you’ll follow in this tutorial:
- Register with Amazon Lightsail
- Deploy WordPress on Amazon Lightsail
- Log in and start using WordPress
The next sections will walk you through these steps in detail.
As an alternative, you can also watch the following video, which demonstrates the same steps using Bitnami Node.js on Amazon Lightsail:
Step 1: Register with Amazon Lightsail
At the end of this step, you will have signed up for Amazon Lightsail. If you already have an Amazon Web Services or Amazon Lightsail account, you may skip this step.
Begin by creating an Amazon Lightsail account, by browsing to https://amazonlightsail.com/ and clicking the “Sign Up” button at the top of the page. You will need an existing Amazon account to log in and sign up; if you don’t have one, create one to proceed.
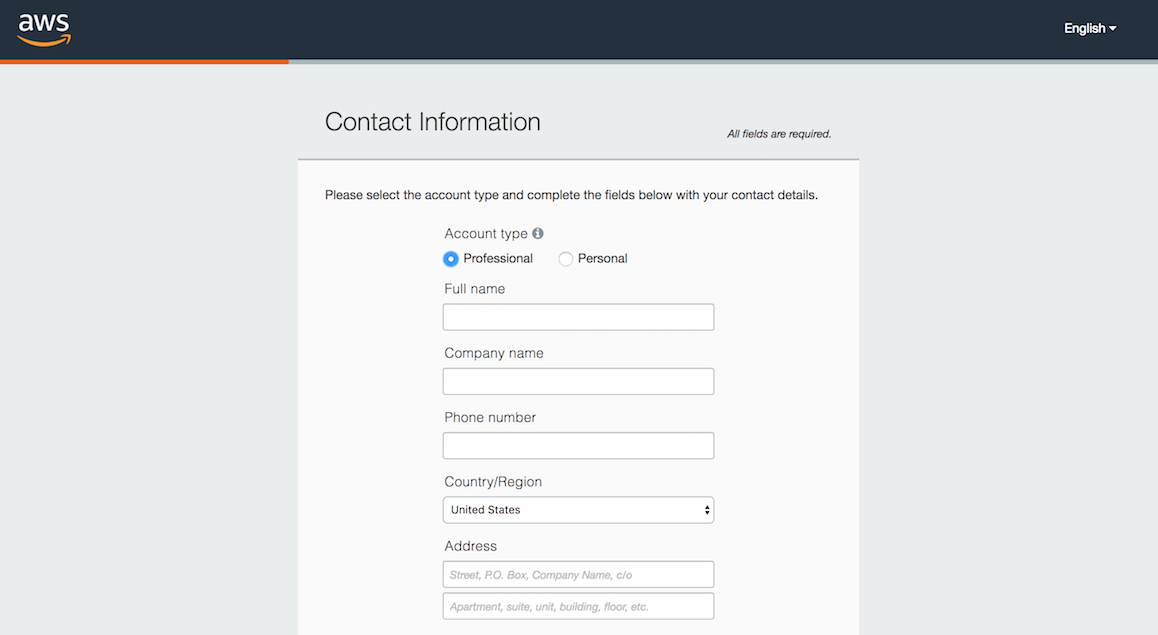
Once you’ve signed in to Amazon, register with Amazon Lightsail by providing some basic contact information and your mobile phone number.
Once that’s done, proceed to the next stage by entering your credit card information.
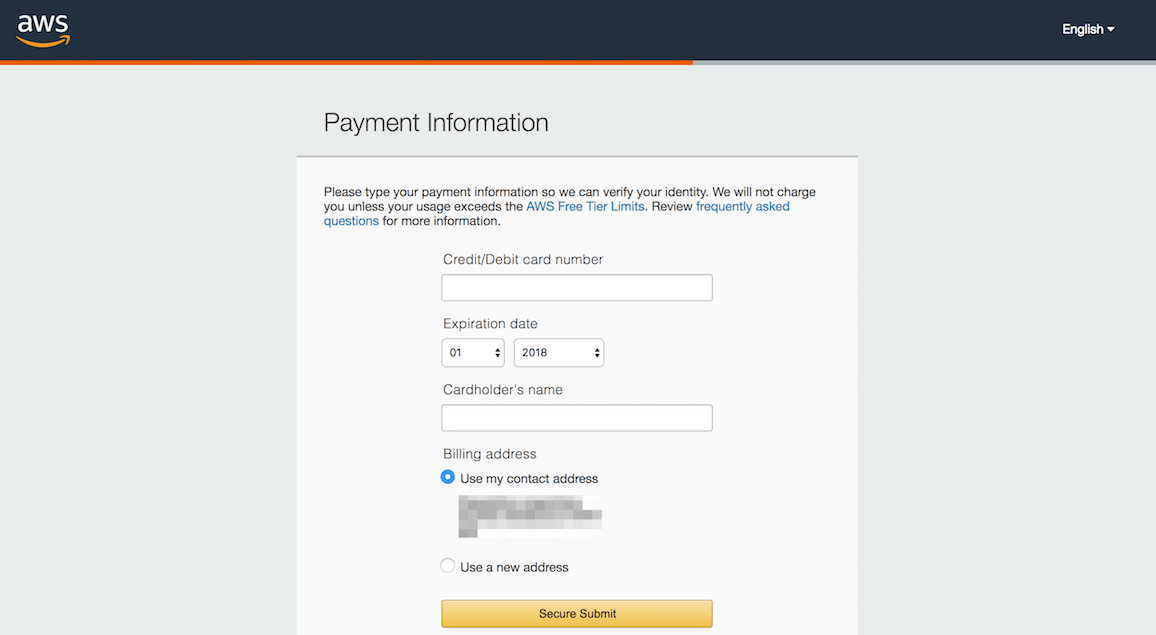
Amazon Lightsail includes a one-month free trial that you can use to experiment with the service and see if it fits your requirements. However, Amazon still needs your credit card information for security purposes, to avoid service misuse and to confirm your identity.
IMPORTANT: You should fully read the details of the Amazon Lightsail free trial to clearly understand when the free trial ends and when you will be charged.
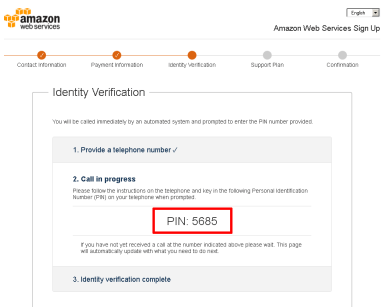
Amazon will now verify your identity, by making an automated call to your mobile phone number and prompting you to enter the PIN number displayed on the screen.
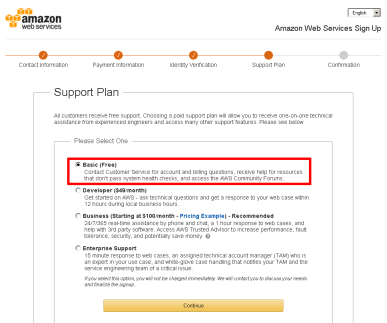
Once your identity is verified, choose the “Basic” support plan (also free) and confirm your account.
The AWS account registration machine will churn away for a minute or so, and you will then be redirected to the Amazon Lightsail dashboard. You should also receive an account confirmation email, which tells you that your account is good to go.
Step 2: Deploy WordPress on Amazon Lightsail
At the end of this step, your WordPress blog will be running on an Amazon Lightsail cloud server. |
The next step is to launch an Amazon Lightsail server with the Bitnami WordPress Stack. Follow these steps:
-
Log in to the Amazon Lightsail dashboard (if you’re not already logged in).
-
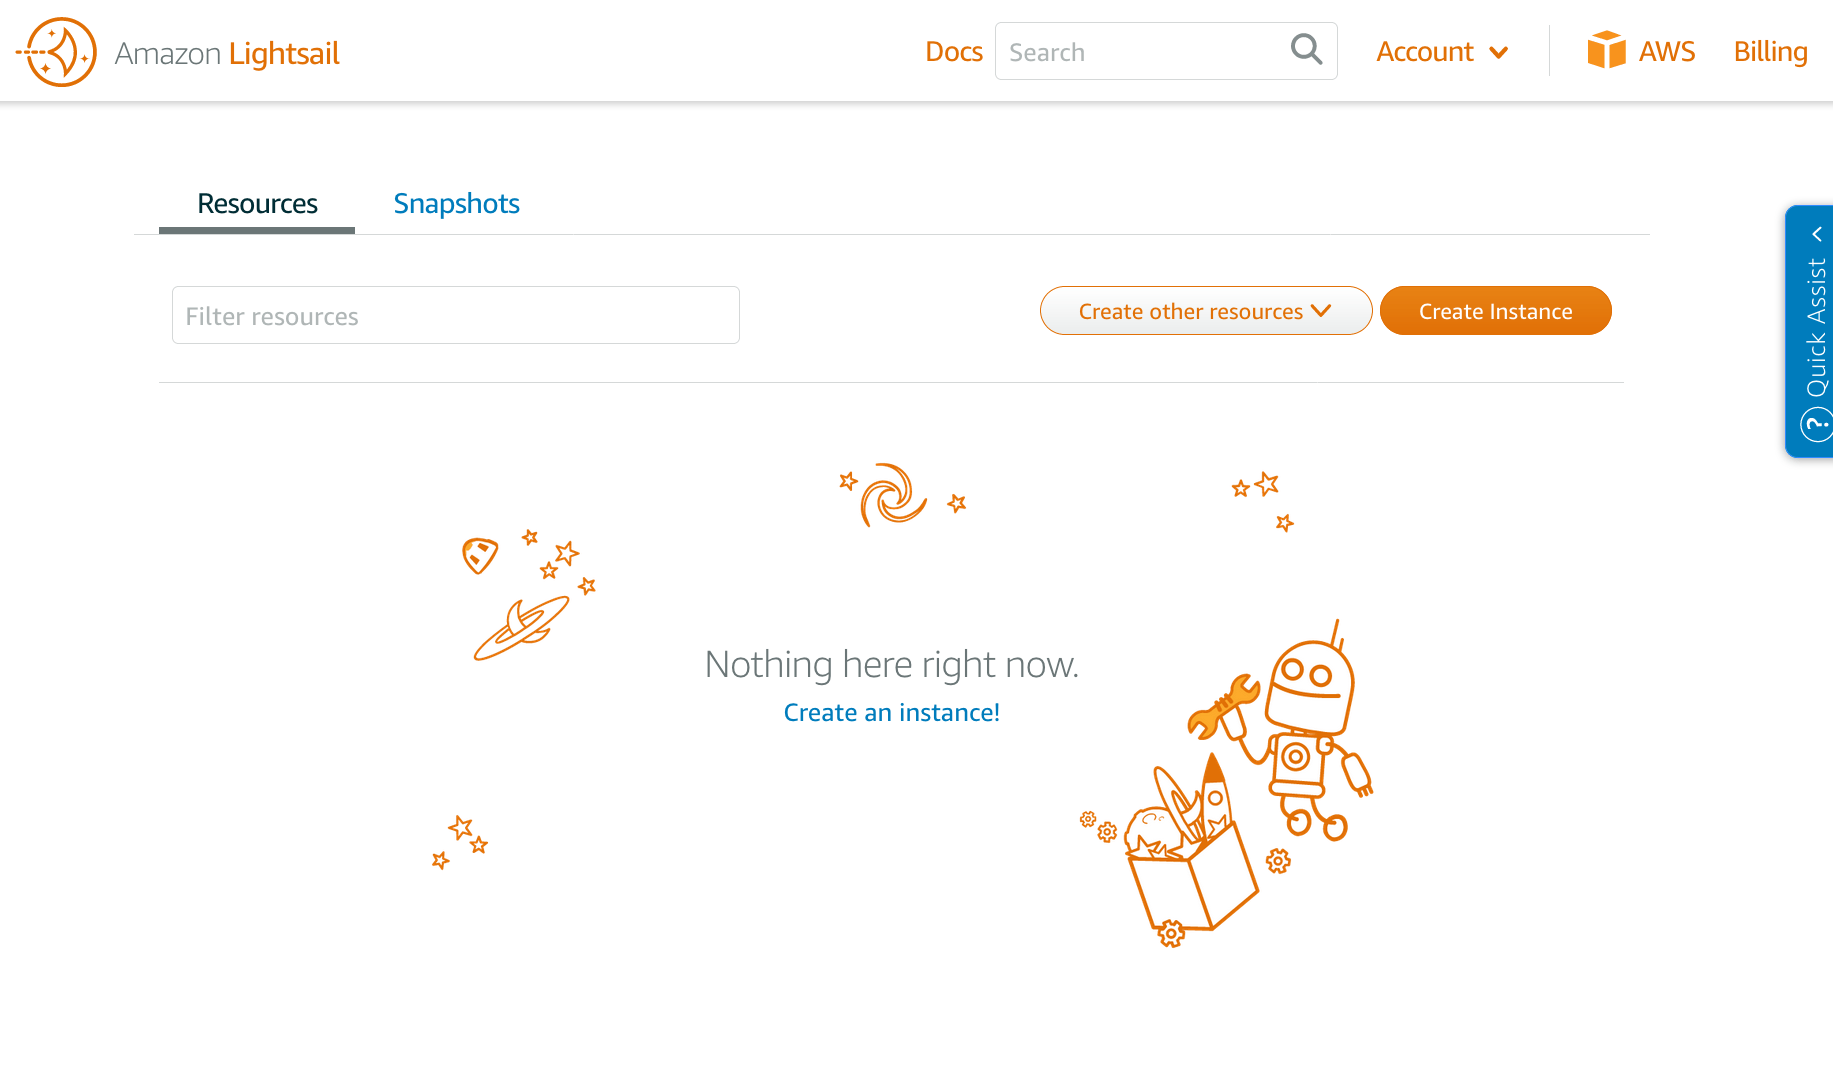
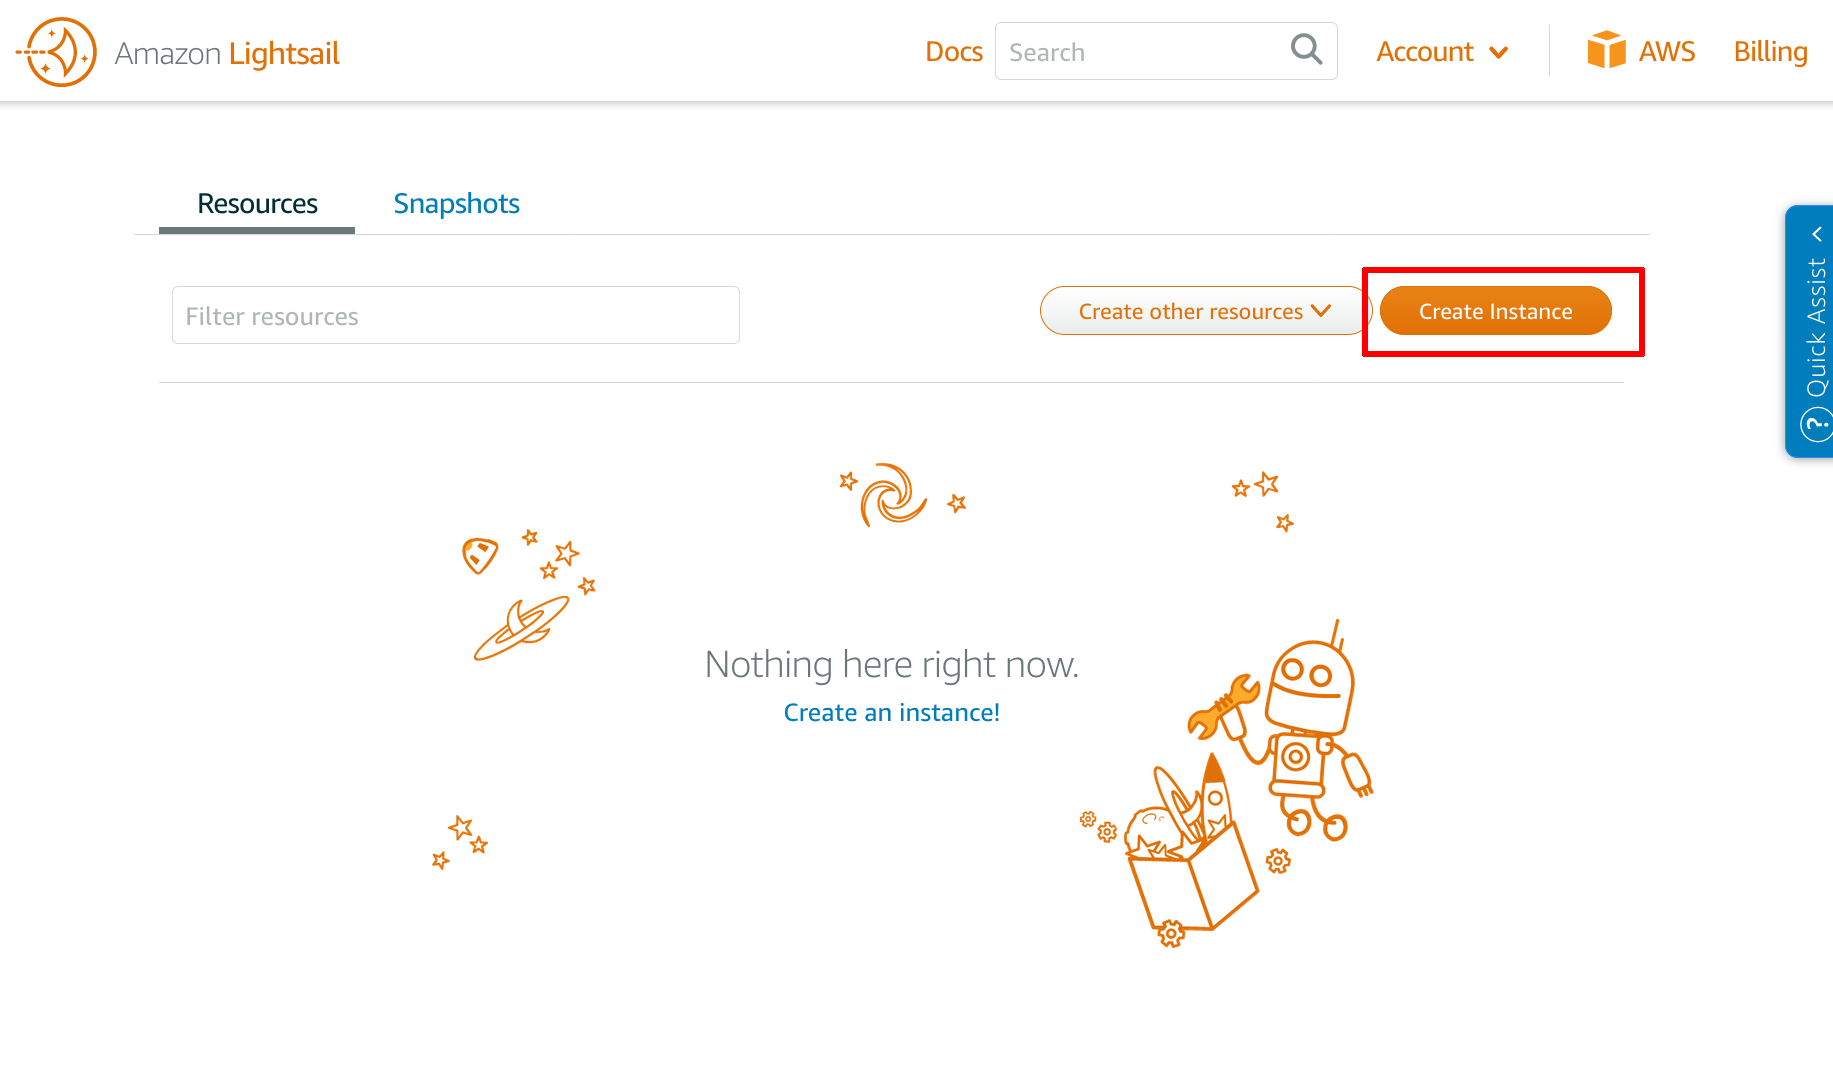
From the Amazon Lightsail dashboard, click the “Let’s get started” button or the “Create instance” button.
-
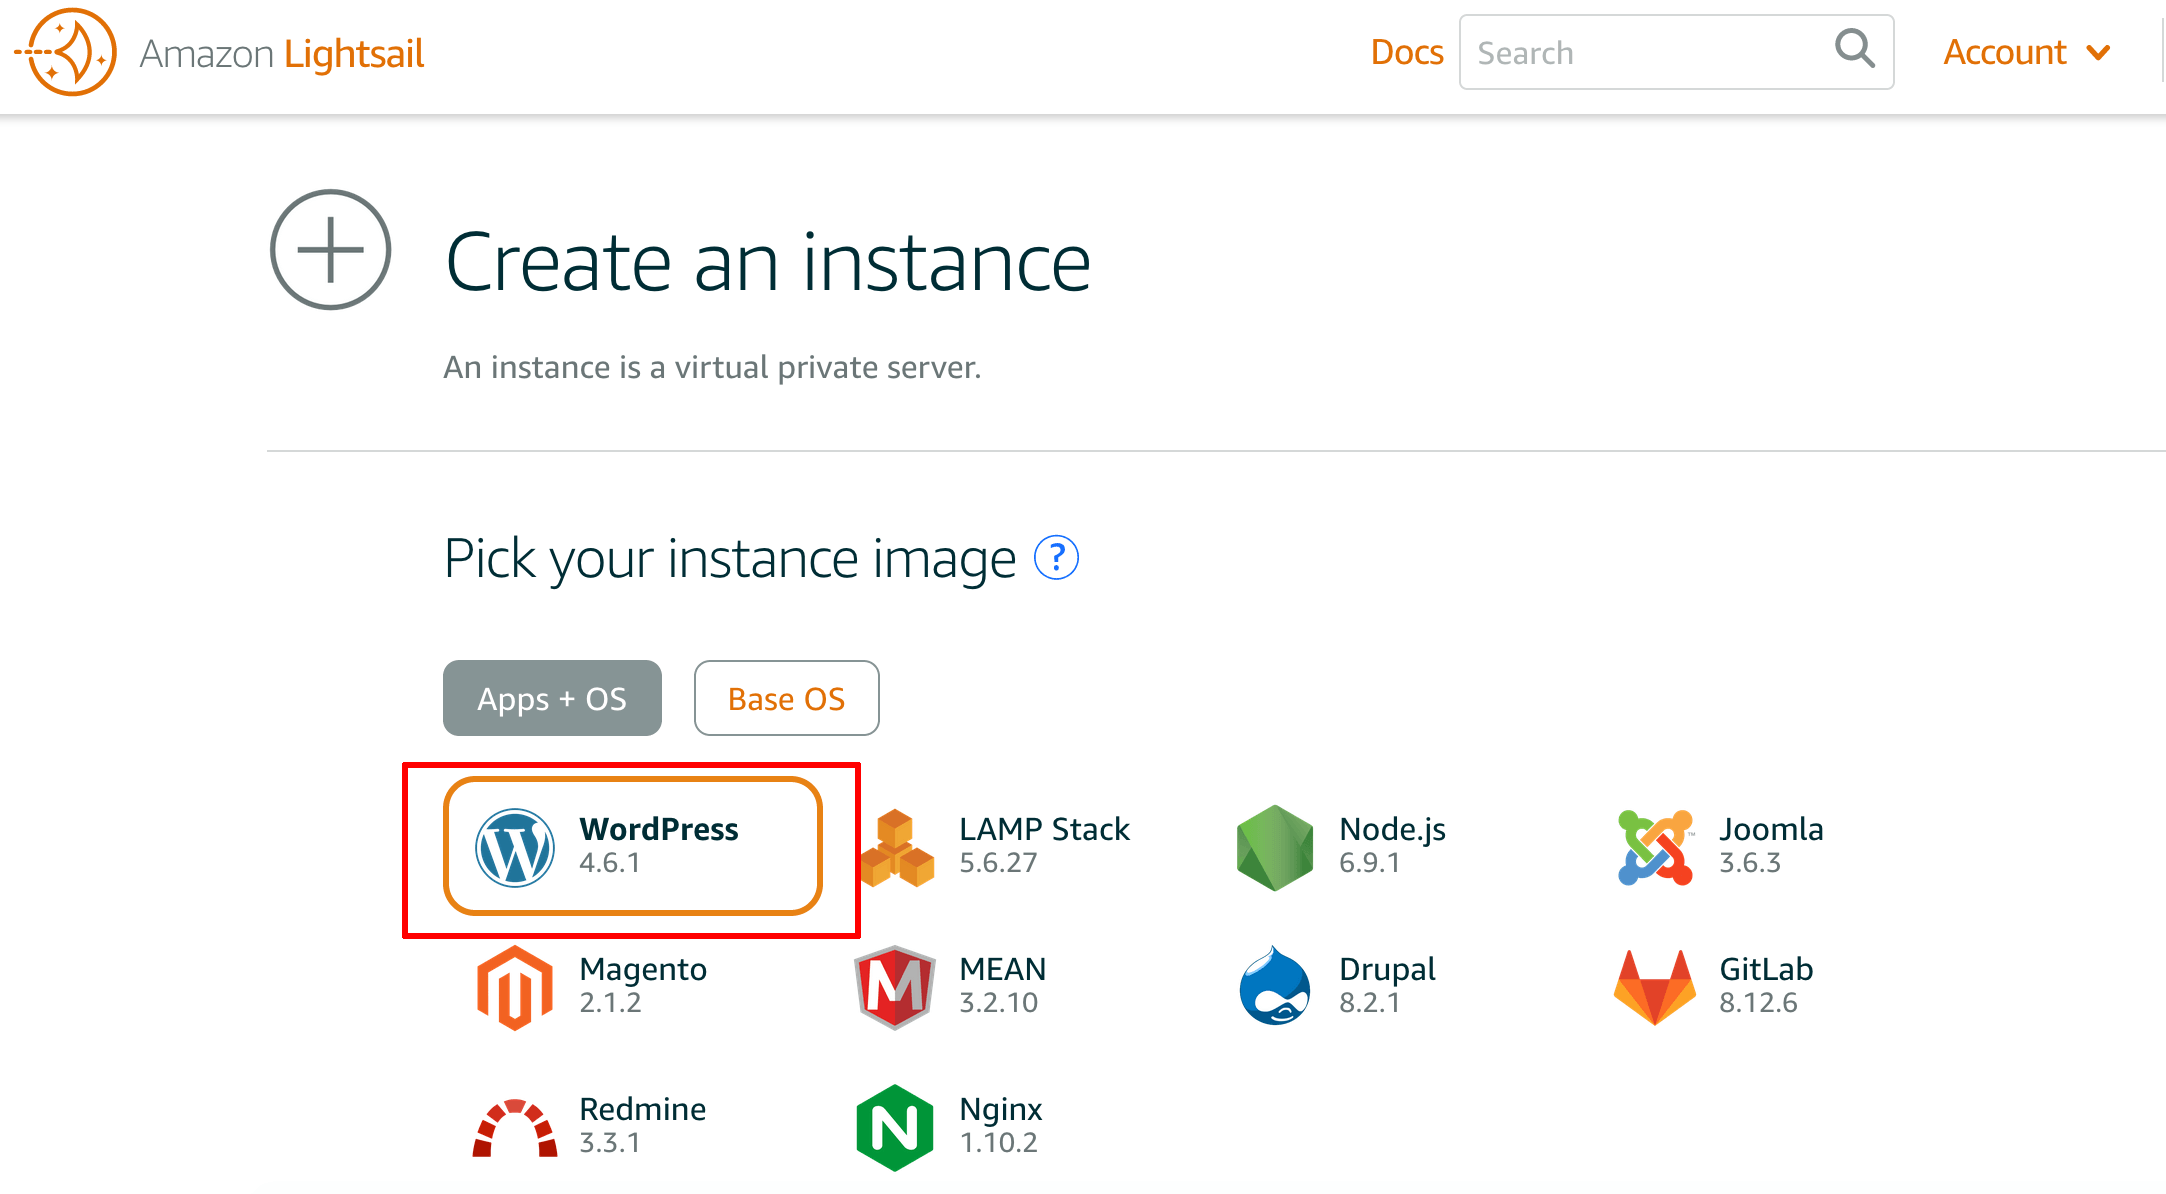
In the “Pick your instance image” section, select the WordPress image.
-
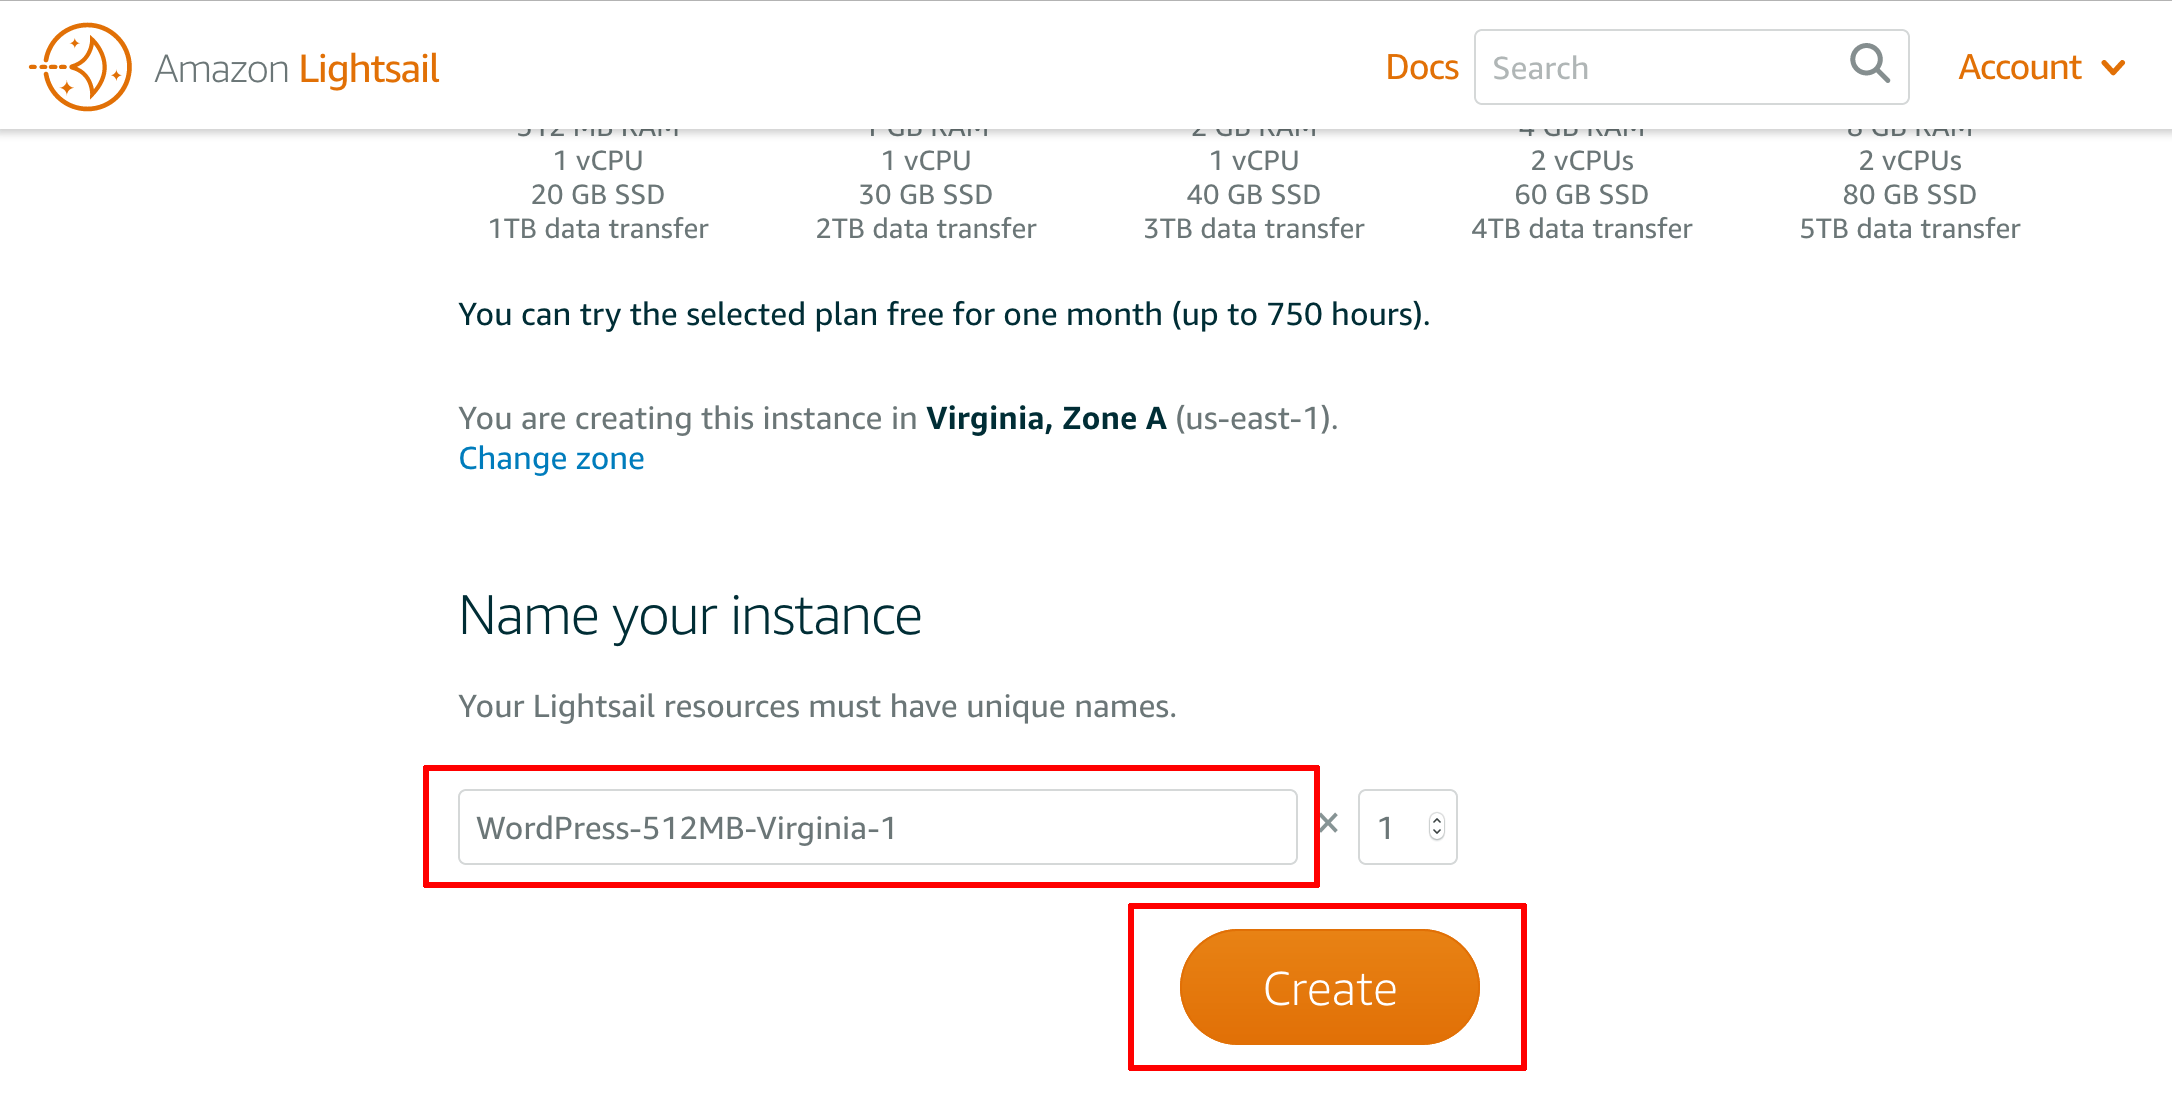
In the “Choose your instance plan” section, review and choose from the available options.
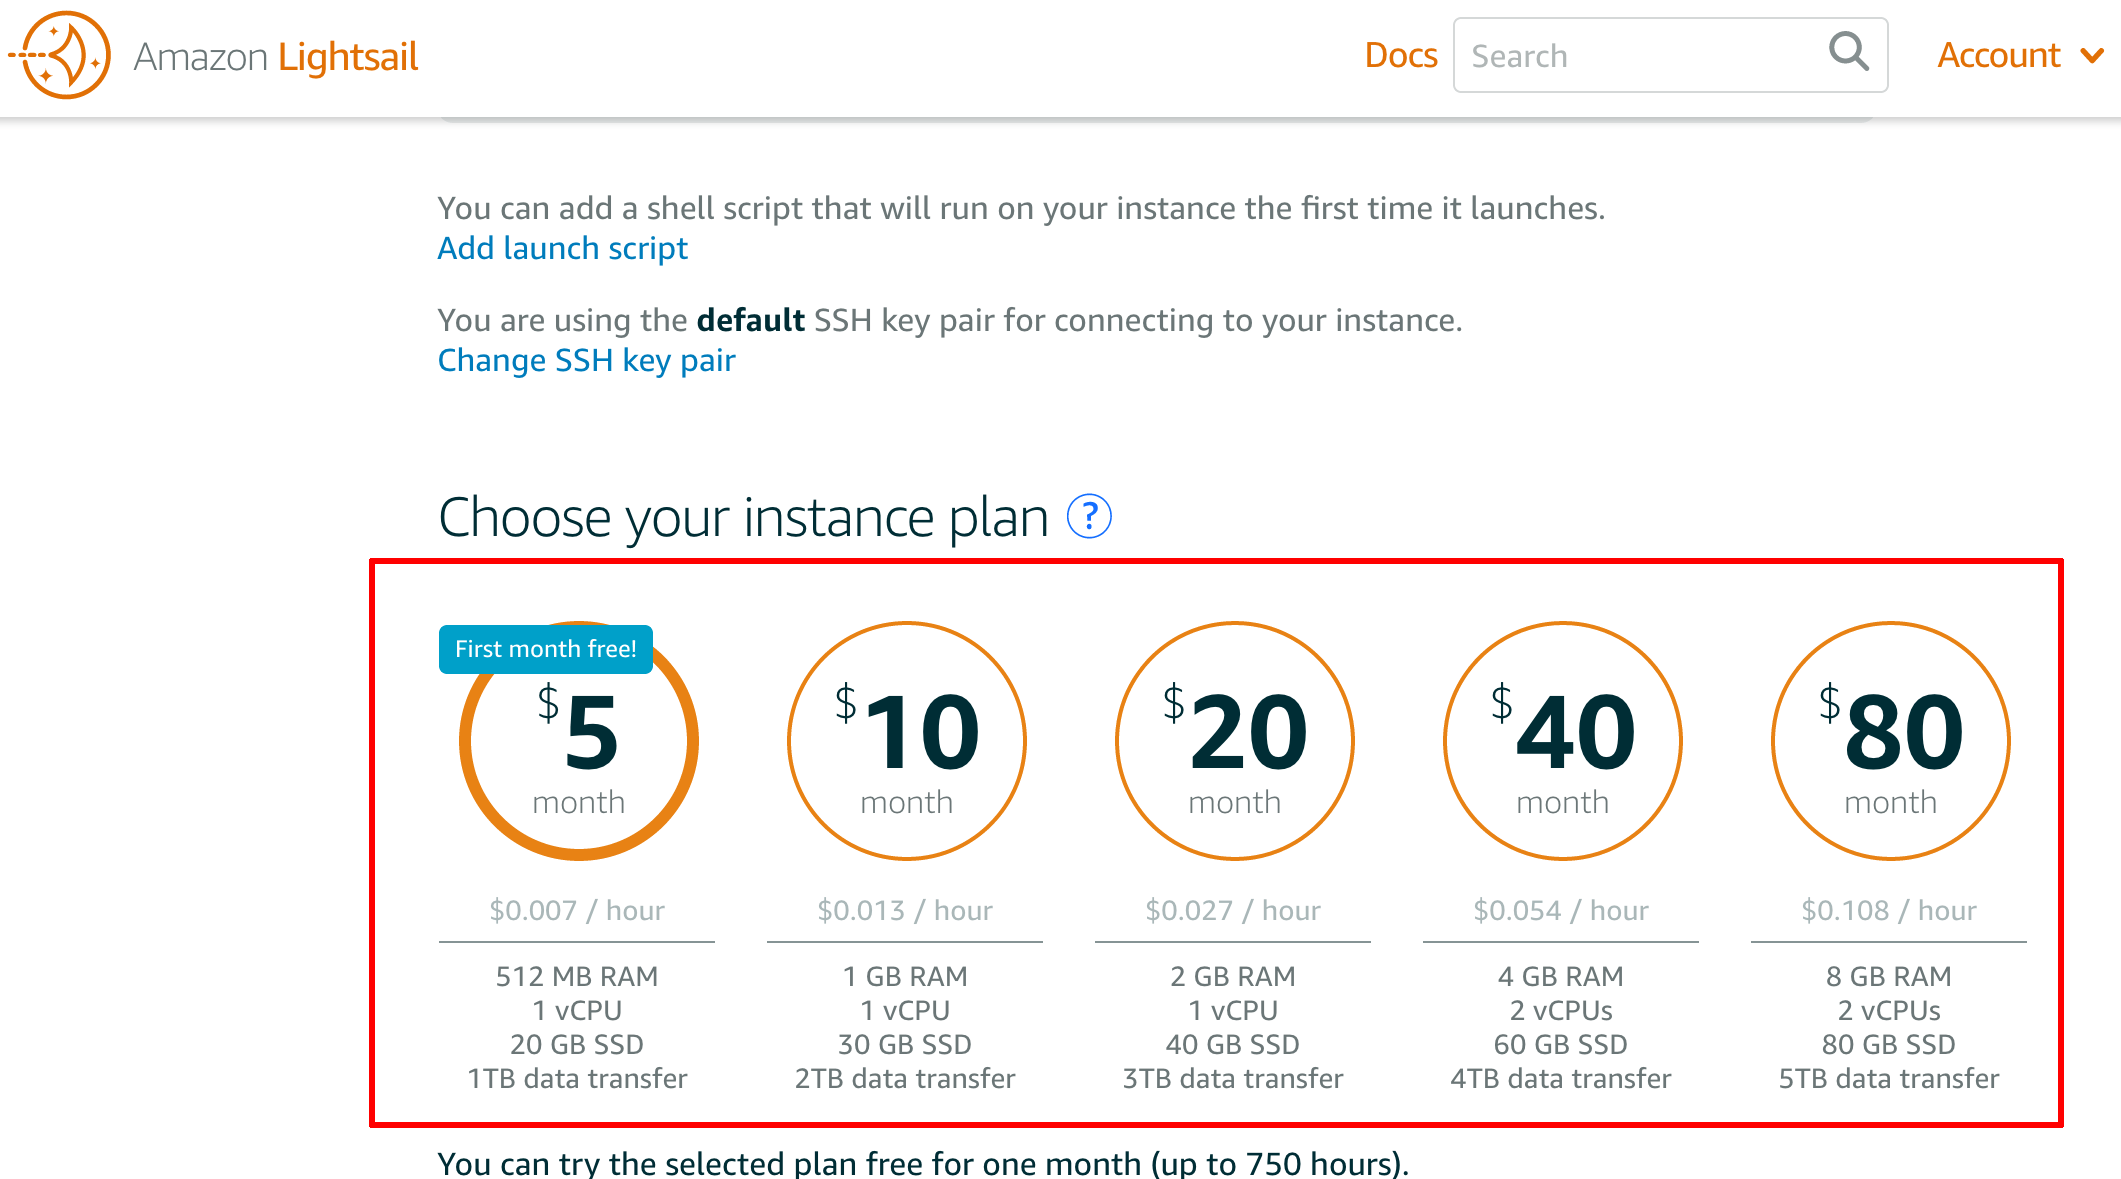
TIP: The first option will work fine for a low-traffic WordPress blog or for WordPress development.
-
In the “Name your instance” section, enter an easy-to-remember name for the new server. Confirm your selections by hitting the “Create” button.
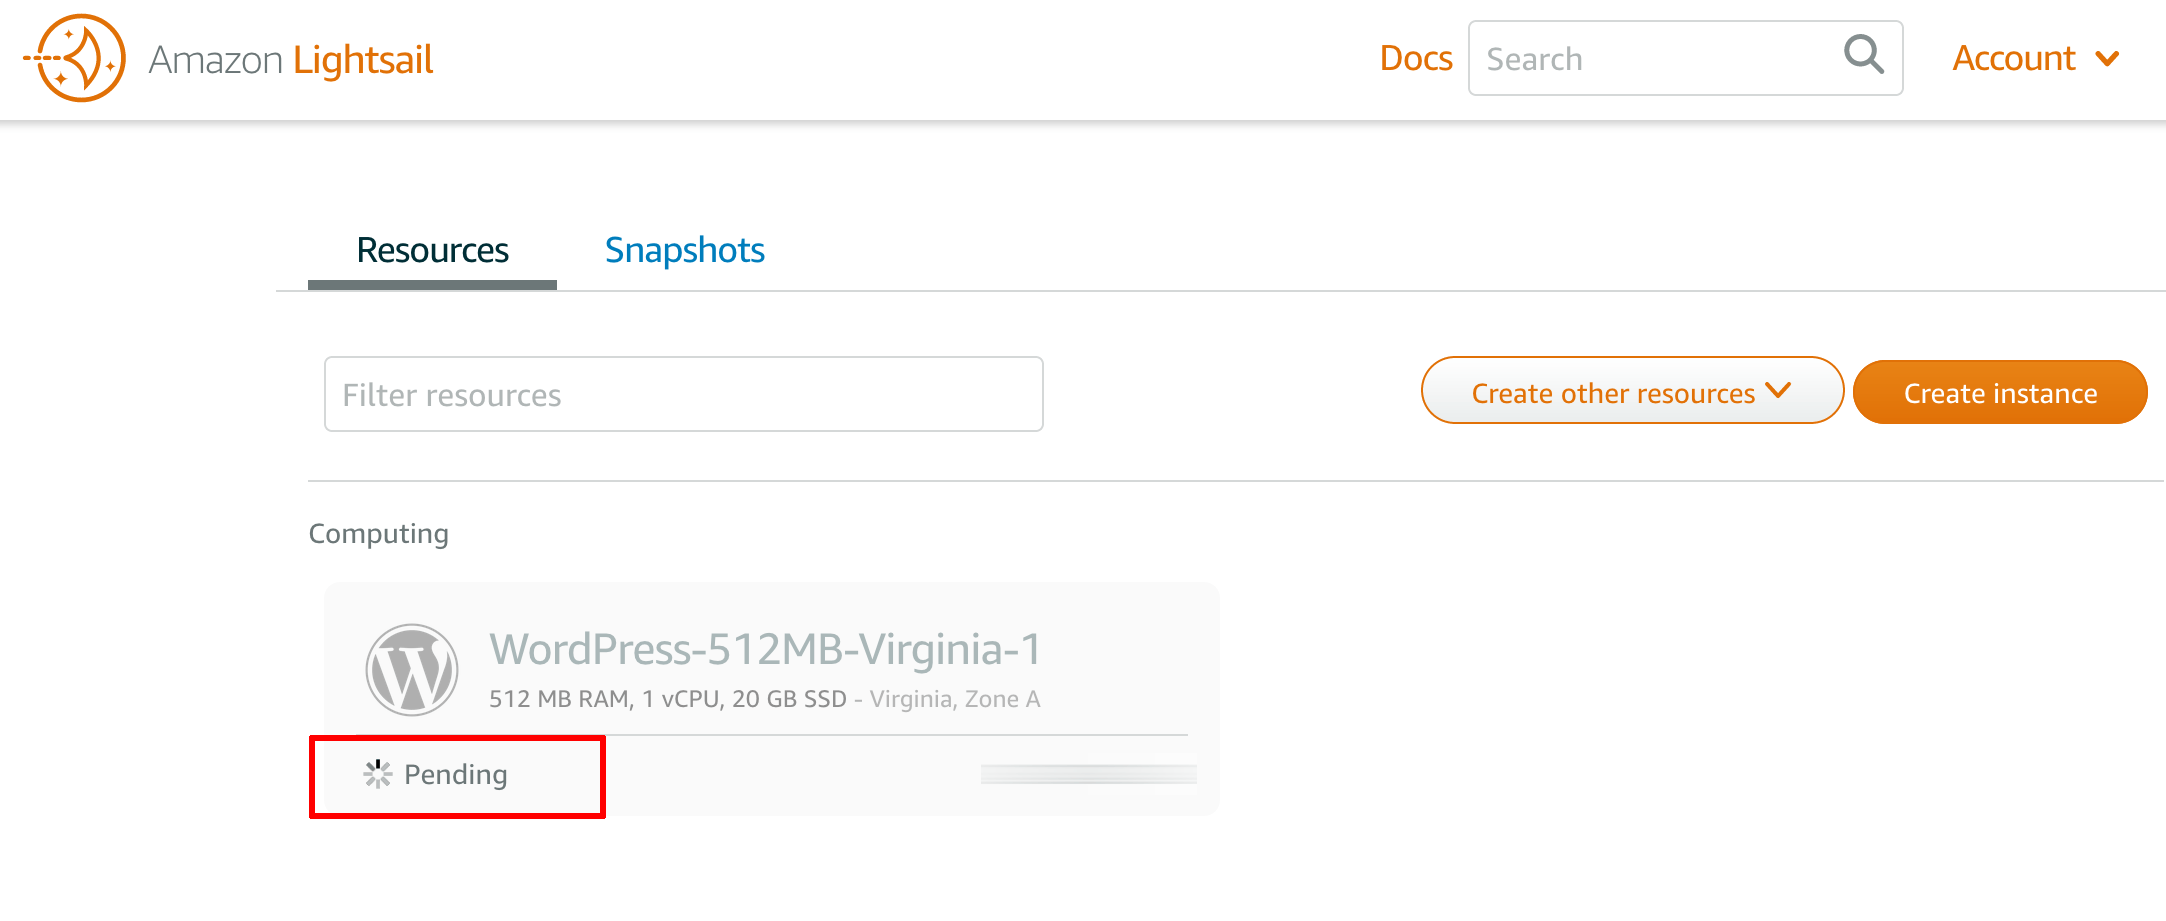
Amazon Lightsail will now begin spinning up the new server. The process usually takes a few minutes, and the status of the deployment process will be displayed throughout.
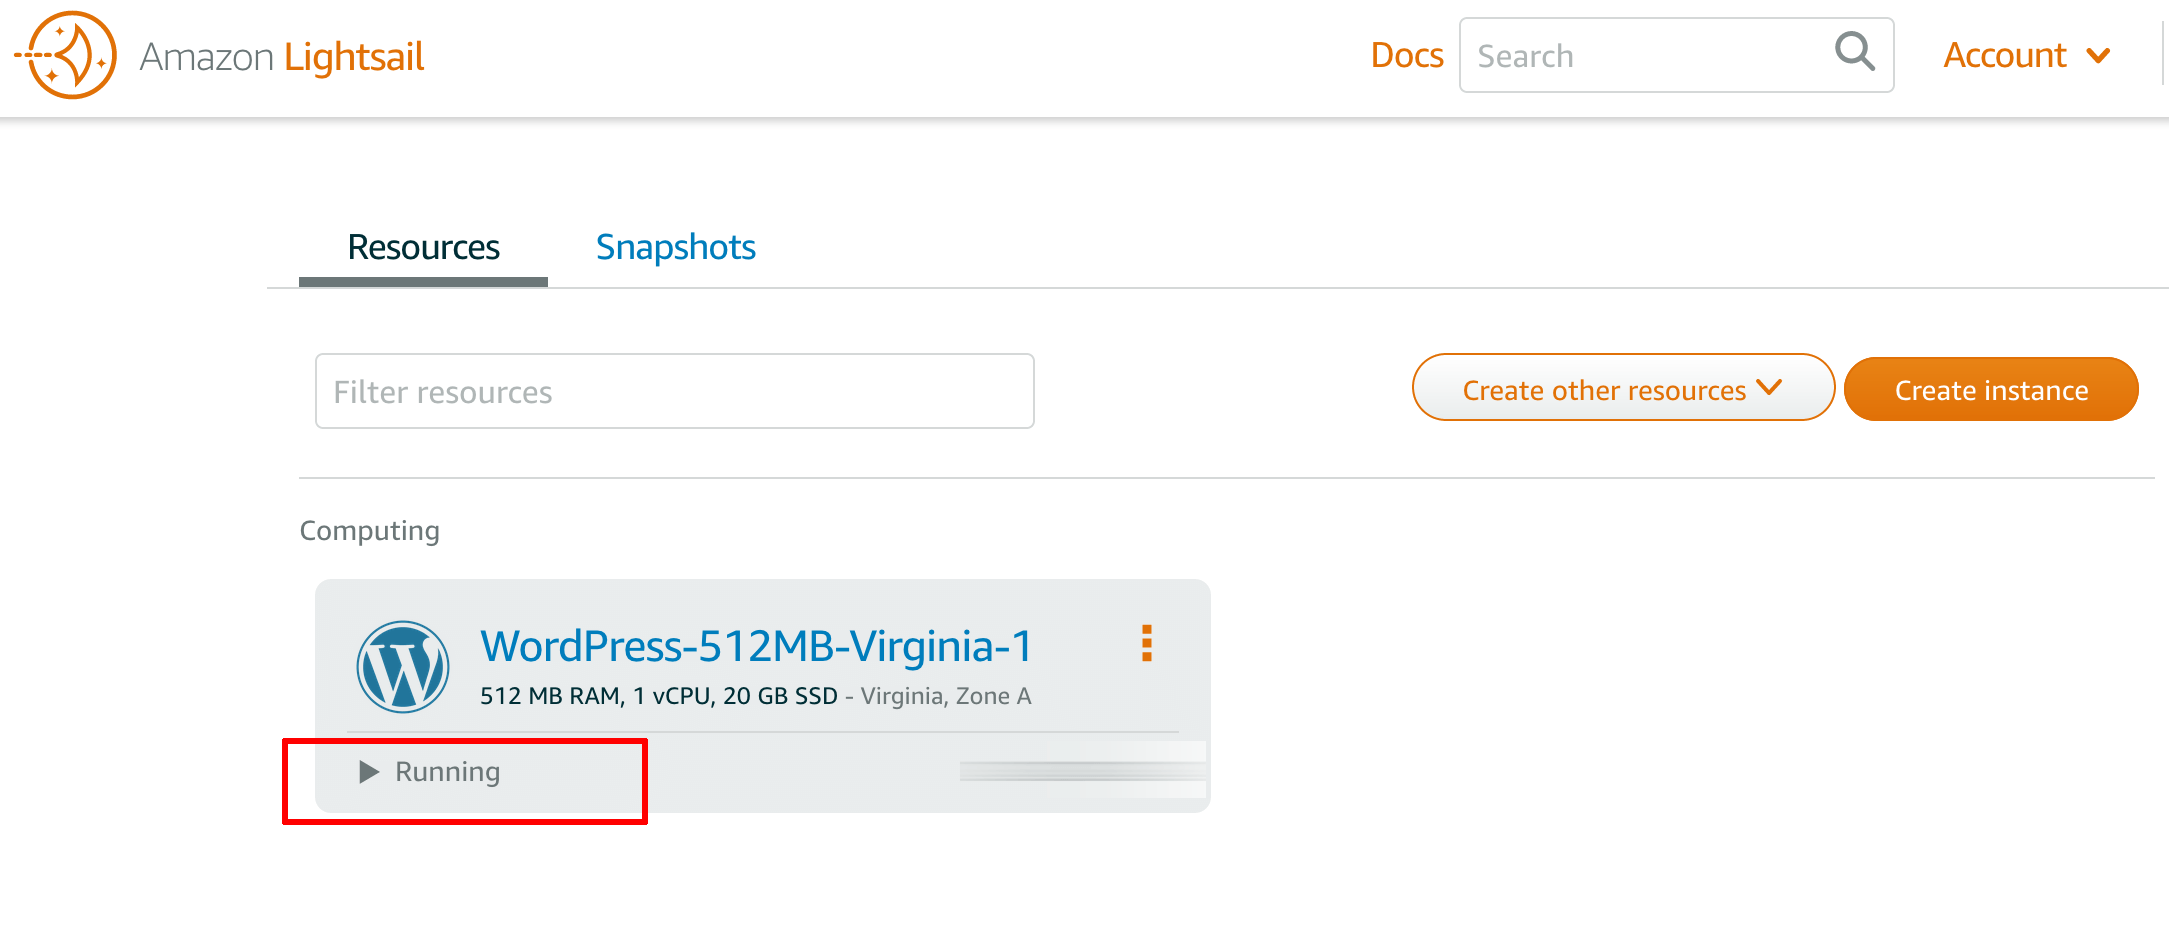
Once the server has launched, its status will change to “Running”.
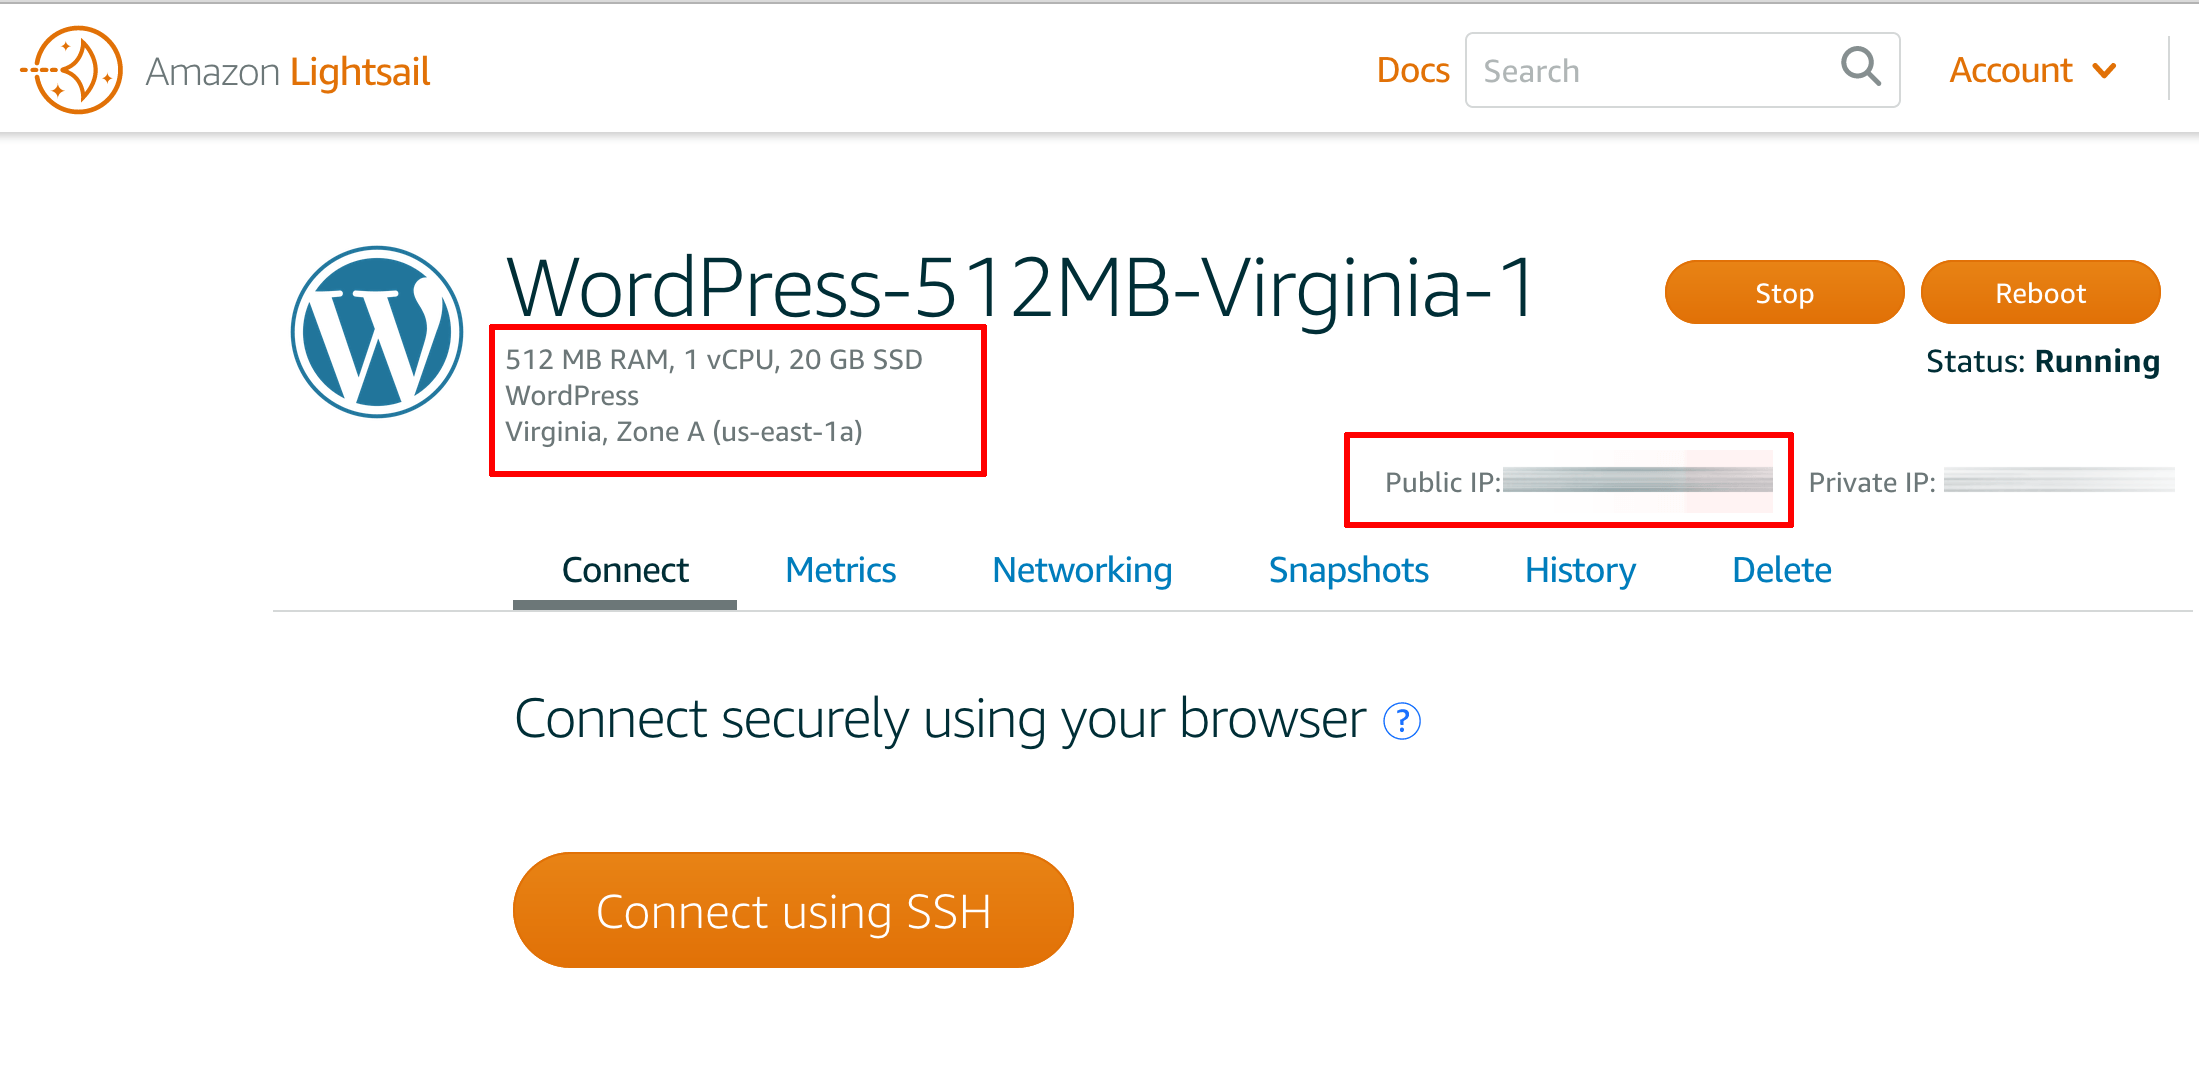
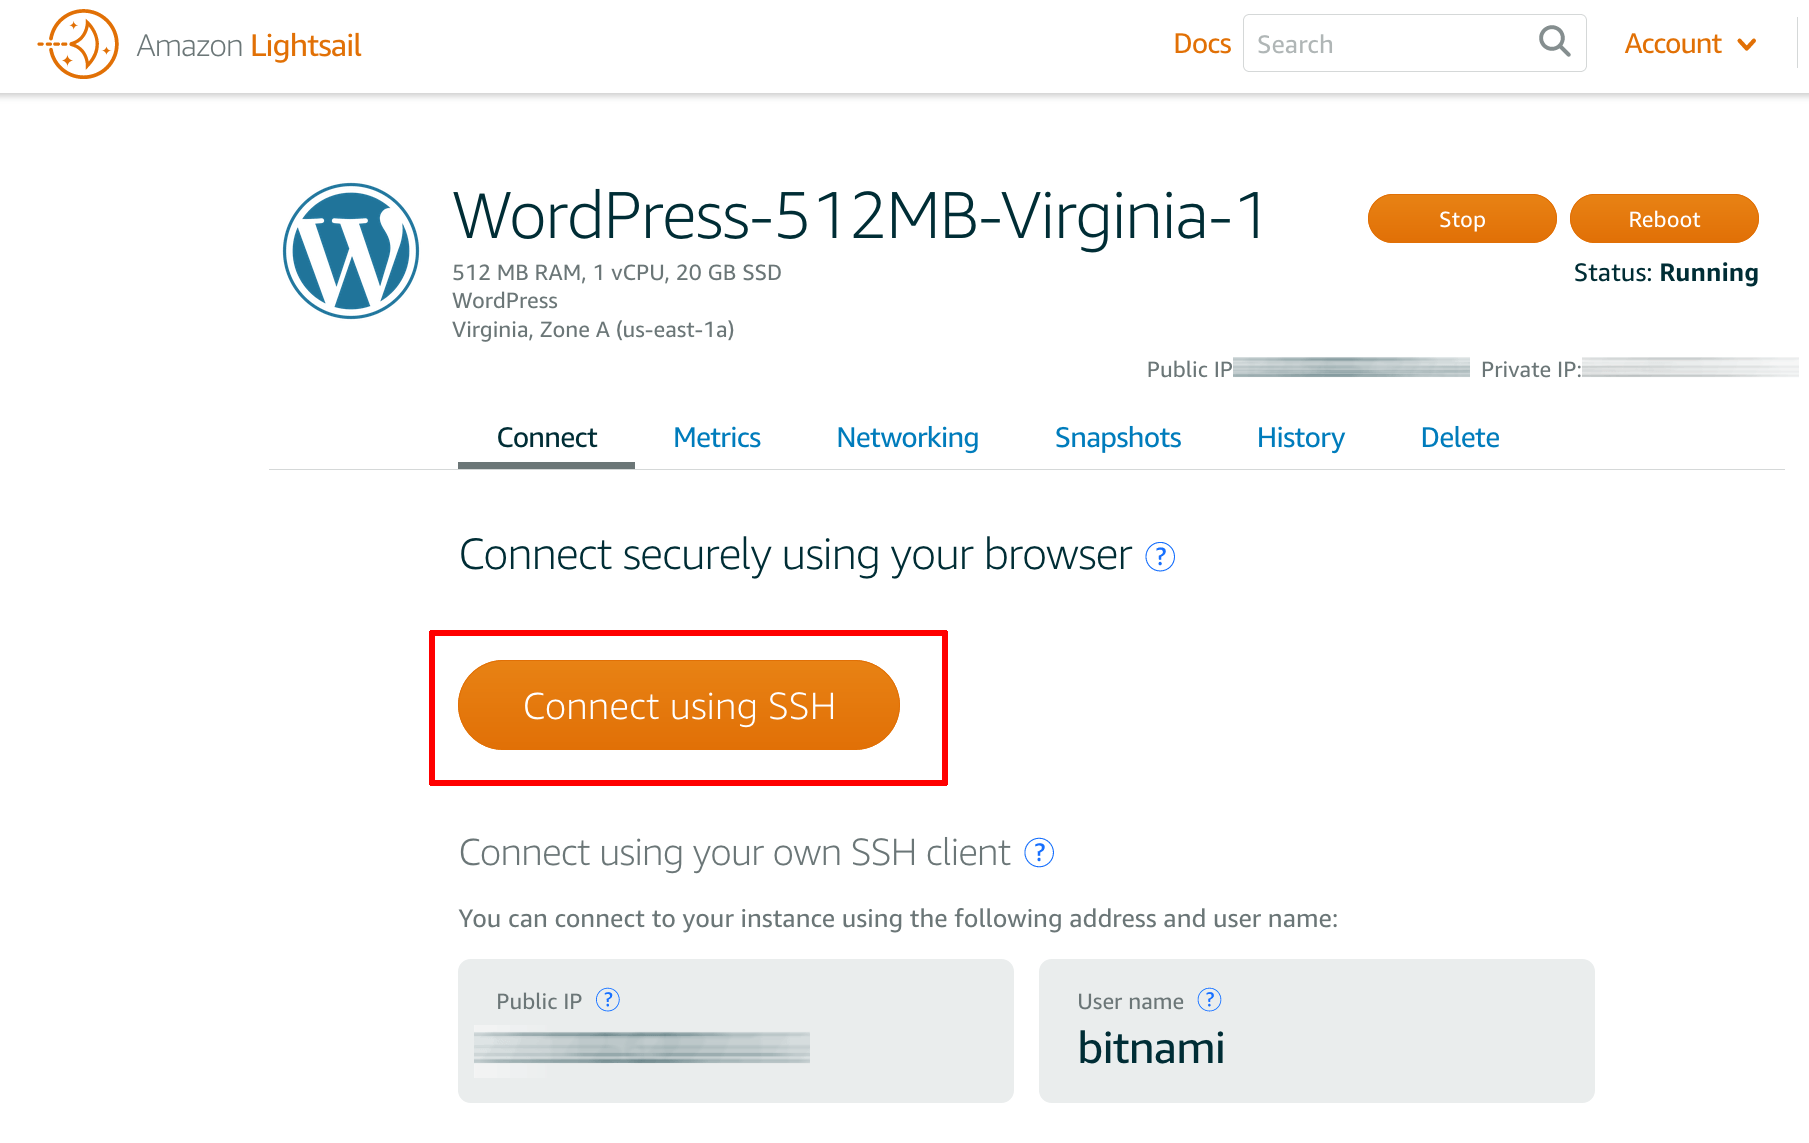
Select the server to reach a detail page. This page will include the server’s public IP address and useful configuration information, together with options to stop, reboot, delete or connect to the server.
At this point, you should be able to browse to the Amazon Lightsail server, by entering the server’s public IP address directly into your browser’s address bar. You should now see your WordPress blog’s home page with a sample post, as shown below.
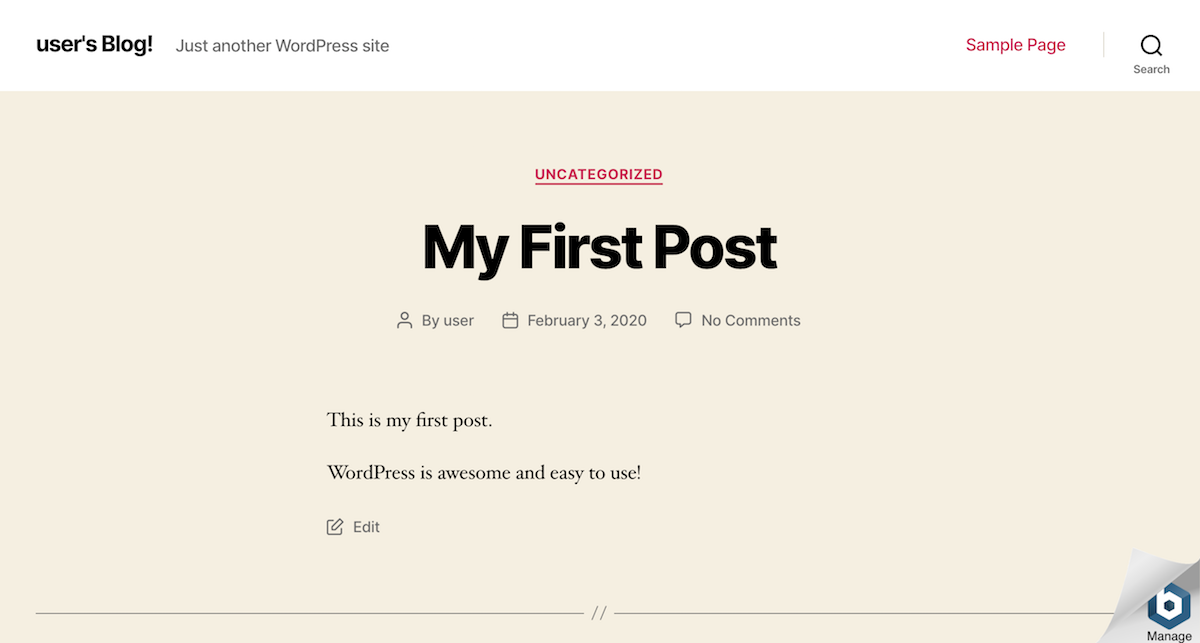
NOTE: It sometimes takes a few minutes after the server status changes to “Running” for the server to become publicly accessible. In case you can’t connect to the application through your browser right away, try again after a few minutes.
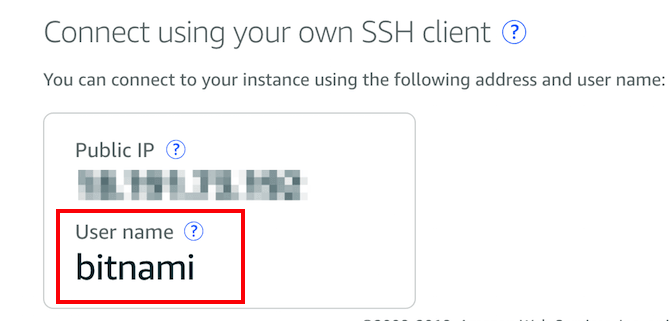
The application username depends on the application. You can find the application username on the server detail page, in the “Connect using your own SSH client” section:
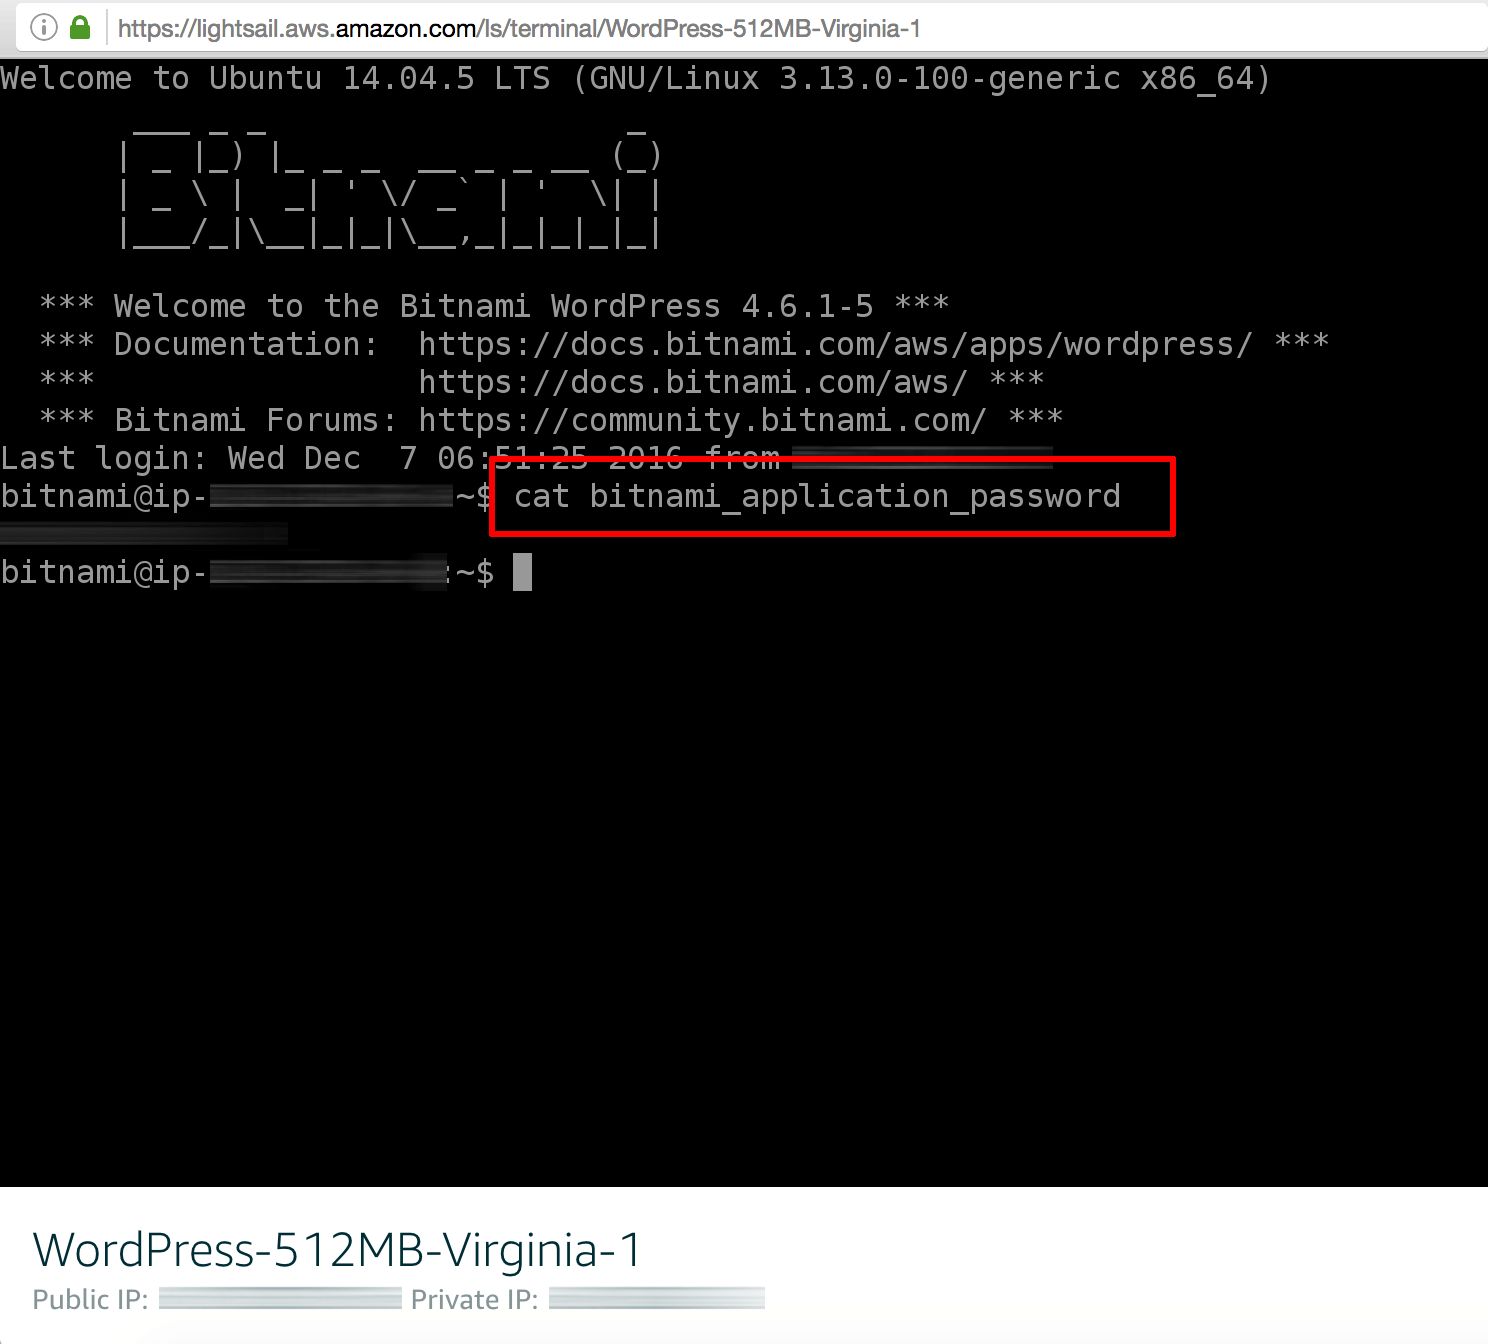
The corresponding administrator password is randomly generated during the deployment process and stored in a file on the server. To get the password, click the “Connect using SSH” button on the server detail page.
This will initiate a secure SSH connection to the server console in a new browser window. You should see something like this:
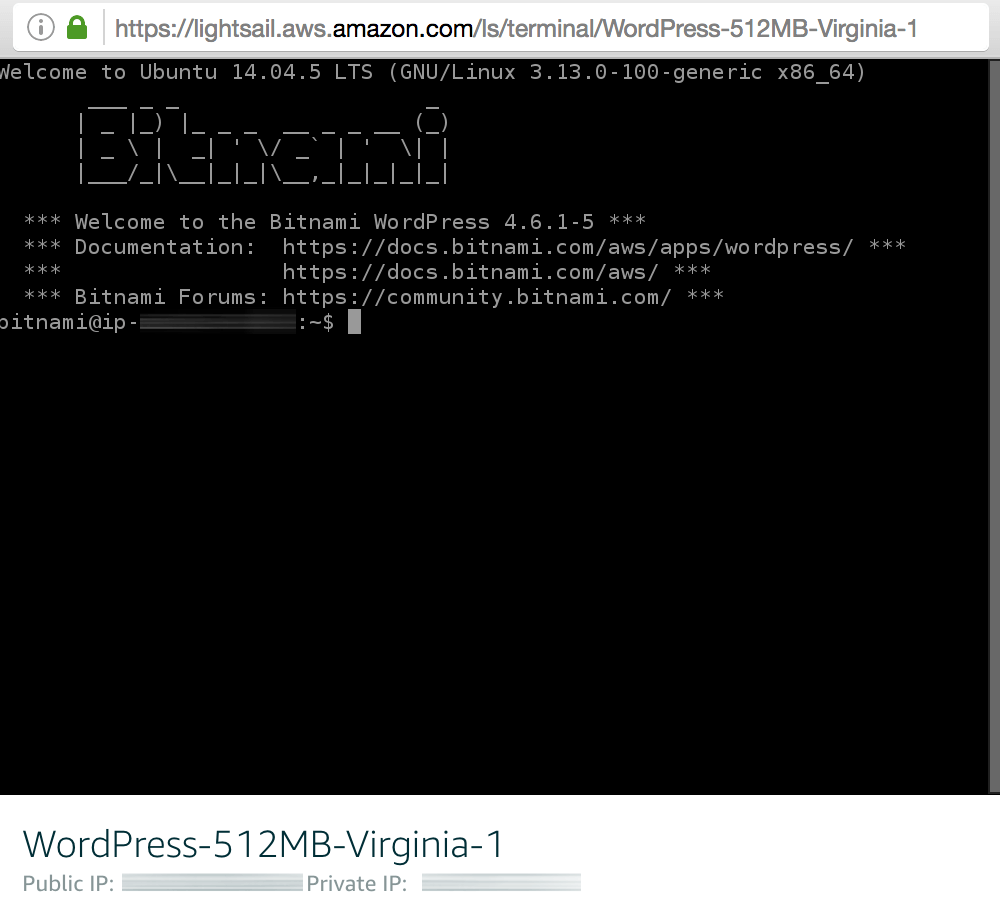
The administrator password is stored in a file named bitnami_application_password in the home directory. Run the command cat bitnami_application_password at the server command prompt to see the password. Here’s an example:
Step 3: Log in and start using WordPress
At the end of this step, you will have logged in to WordPress and created a new blog post.
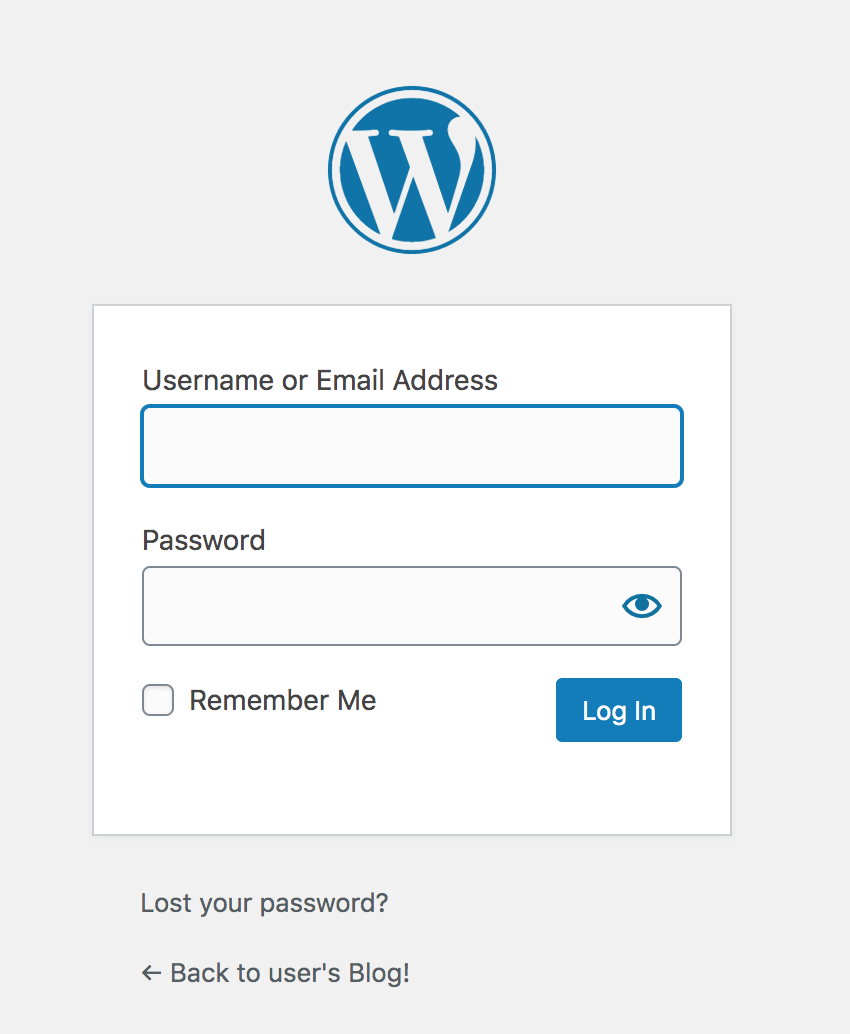
To log in to the WordPress dashboard, follow these steps:
-
Browse to the WordPress dashboard, usually at the URL http://SERVER-IP/wp-admin.
-
Log in with the administrator credentials from the previous step.
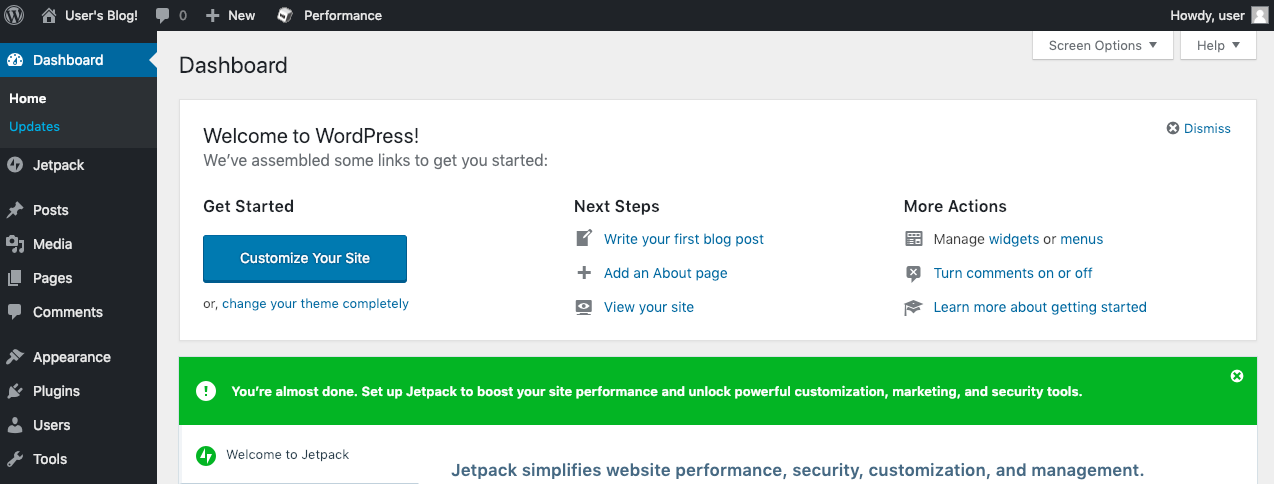
You should now arrive at the WordPress dashboard, which allows you to manage posts, pages and comments; customize your blog with themes and plugins; import and export content; manage navigation menus; add or delete new user accounts; and much more.
Create your first post
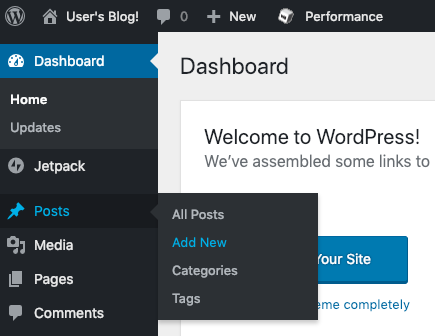
You can now add a new post using the following steps:
-
Select the “Posts -> Add New” menu option to create a new post.
-
Enter a title and content for the post. You can use the formatting tools at the top of the content area to format your post and add hyperlinks or images.
-
Optionally, choose the format and category for your post.
-
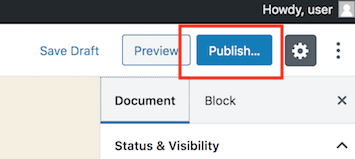
Publish it immediately using the “Publish” button.
And now, when you visit your blog’s front page, you should see your new post.
Congratulations! You now have a working, fully-functional WordPress blog in the cloud.
Keep your WordPress installation up-to-date
You can keep your WordPress installation up-to-date with the WordPress update feature. To access this:
-
Log in to WordPress using the administrator account.
-
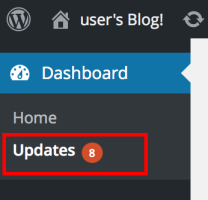
Select the “Dashboard -> Updates” menu item.
-
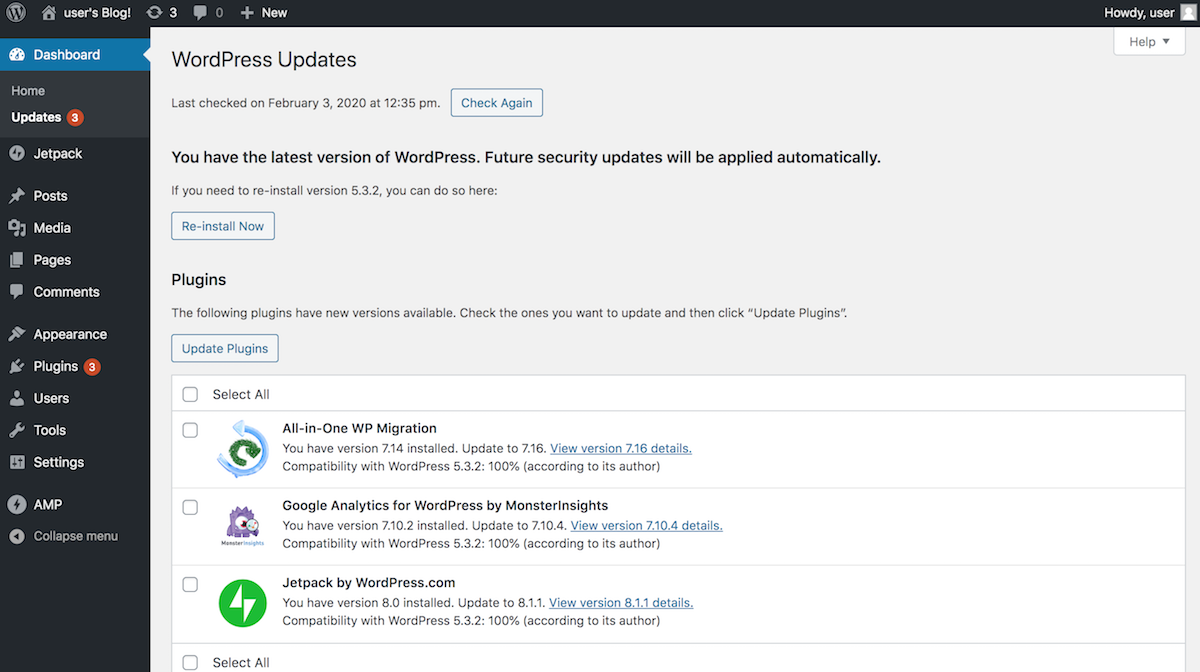
Review the resulting page to see if WordPress needs an update. If an update is available, you can install it by clicking the “Update Now” button. You can also re-install WordPress if needed with the “Re-install Now” button.
Useful links
TIP: To learn more about using and managing your Amazon Lightsail application, visit the Bitnami documentation for your application.
To learn more about the topics discussed in this tutorial, use the links below: