Get Started with Bitnami Charts using Amazon EKS and the AWS Marketplace
Introduction
Amazon Web Services (AWS) provides a number of different cloud and container services, including the Amazon Elastic Container Service for Kubernetes (EKS), which allows users to quickly and easily create Kubernetes clusters in the cloud. But starting up a cluster is just the beginning: the next step is to deploy applications on it.
That’s where this tutorial comes in. It will walk you, step by step, through the process of using the AWS Marketplace to deploy applications on a running EKS cluster.
Overview
This guide will walk you through the process of deploying and managing applications in an EKS cluster using the AWS Marketplace.
For illustrative purposes, this guide will show you the steps to deploy the Bitnami WordPress Helm chart on your EKS cluster. WordPress is just an example: there are many other Helm charts available to choose from, and they’re all equally easy to deploy from the AWS Marketplace by following the same steps.
Here are the steps you’ll follow in this tutorial:
- Subscribe to the Bitnami WordPress Helm Chart using the AWS Marketplace
- Deploy the Bitnami WordPress Helm chart on EKS using the command line
- Log in and start using WordPress
The next sections will walk you through these steps in detail.
Assumptions and prerequisites
This guide assumes that:
- You have an active AWS account. If you don’t have this, create a new account.
- You have a running EKS cluster with Helm 3.x and kubectl installed. If you don’t, follow the instructions in our EKS guide and launch a new EKS cluster on AWS.
Step 1: Subscribe to the Bitnami WordPress Helm Chart using the AWS Marketplace
At the end of this step, you will have subscribed to the Bitnami WordPress Helm Chart solution in the AWS Marketplace and obtained the details of the registry.
Follow these steps:
-
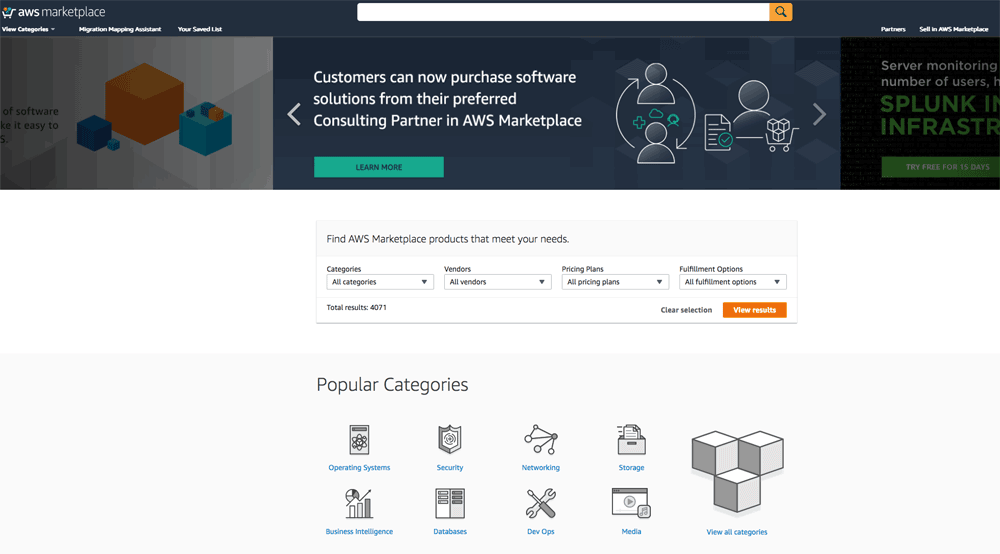
Log in to the AWS Marketplace.
-
Search for the Bitnami Helm Chart by entering the search term “bitnami wordpress chart” in the search bar at the top.
-
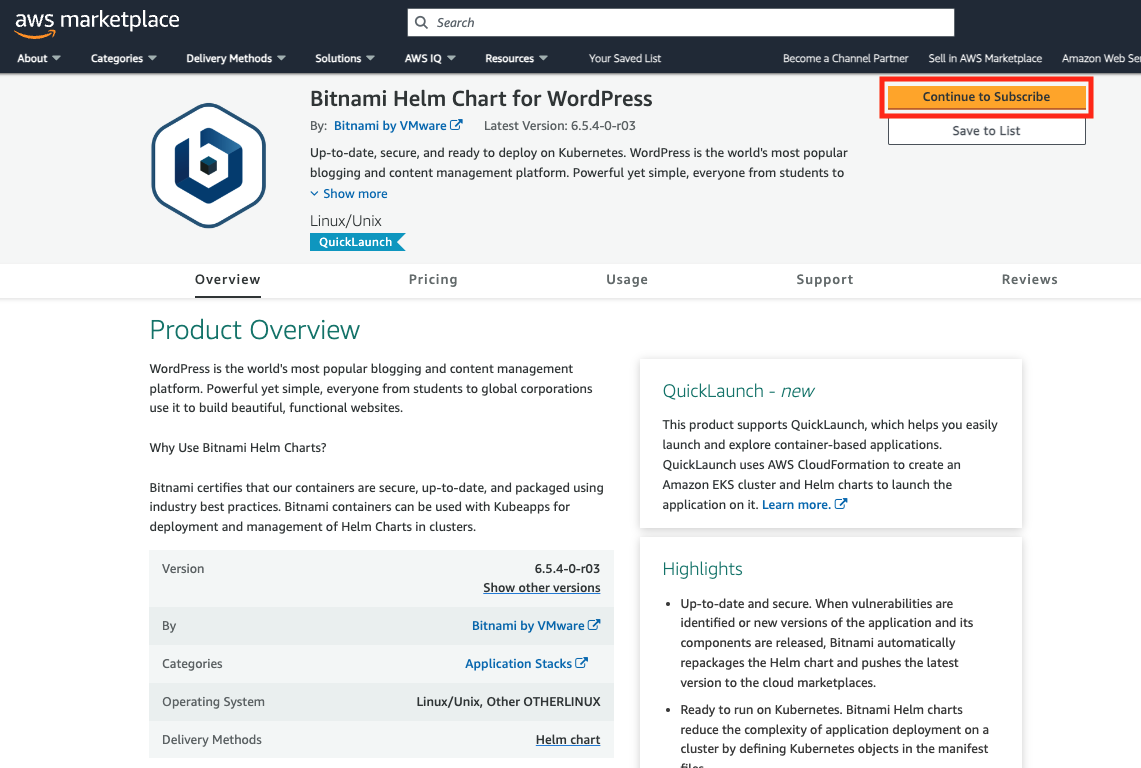
Select the Bitnami WordPress Helm Chart in the list of search results.
-
On the product detail page, review the details of the solution and click the “Continue to subscribe” button.
-
On the product subscription page, accept the terms and click the “Continue to Configuration” button once available.
-
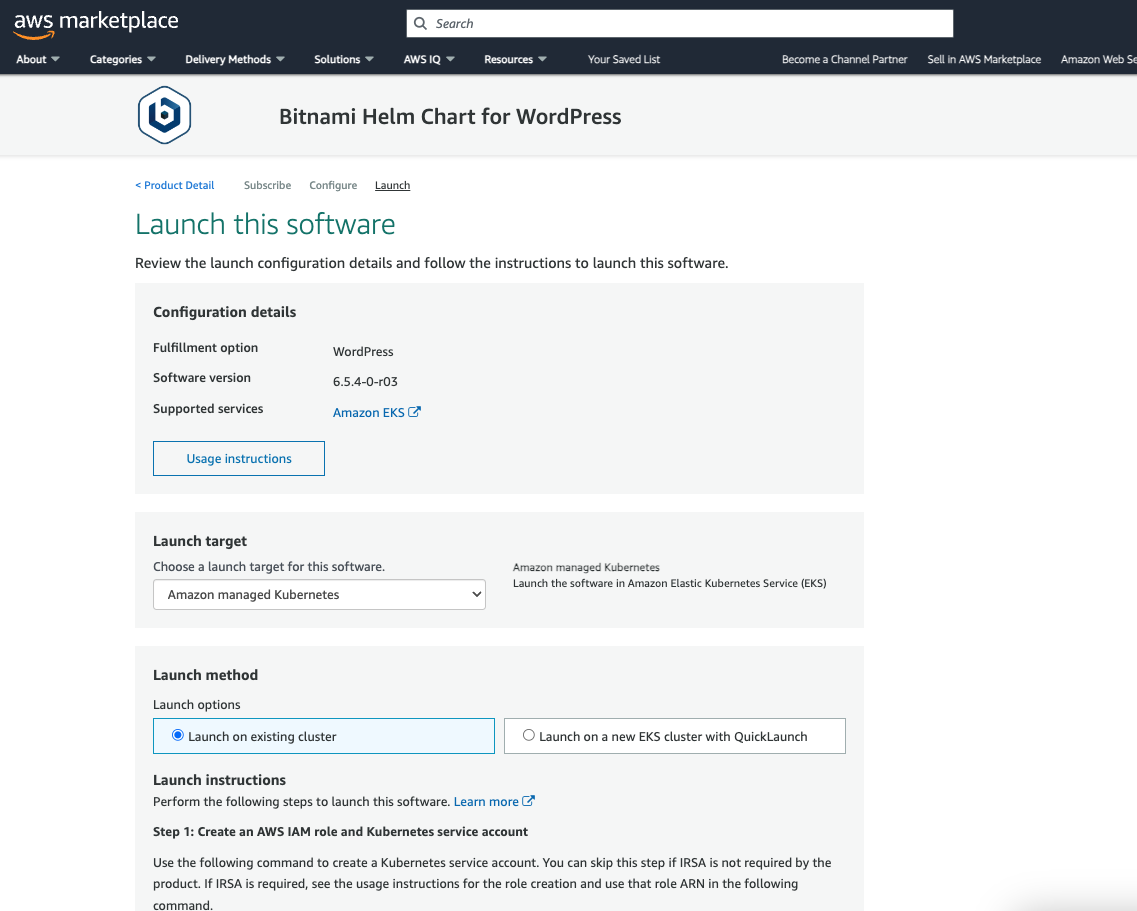
On the product configuration page, select the version you want to deploy and click the “Continue to Launch” button.
Step 2: Deploy the Bitnami WordPress Helm chart on EKS
At the end of this step, you will have deployed WordPress on your EKS cluster.
-
On the product launch page, follow the instructions to launch the solution in an existing cluster
export HELM_EXPERIMENTAL_OCI=1

aws ecr get-login-password \
    --region us-east-1 | helm registry login \
    --username AWS \
    --password-stdin 709825985650.dkr.ecr.us-east-1.amazonaws.com

mkdir awsmp-chart && cd awsmp-chart

helm pull oci://709825985650.dkr.ecr.us-east-1.amazonaws.com/bitnami/wordpress

tar xf $(pwd)/* && find $(pwd) -maxdepth 1 -type f -delete

helm install wordpress ./*
Step 3: Follow the instructions to get the login credentials
At the end of this step, you will have obtained the credentials to access the application
-
Once the solution is installed, you will be promted with the instructions to get the login details. Please follow those instructions
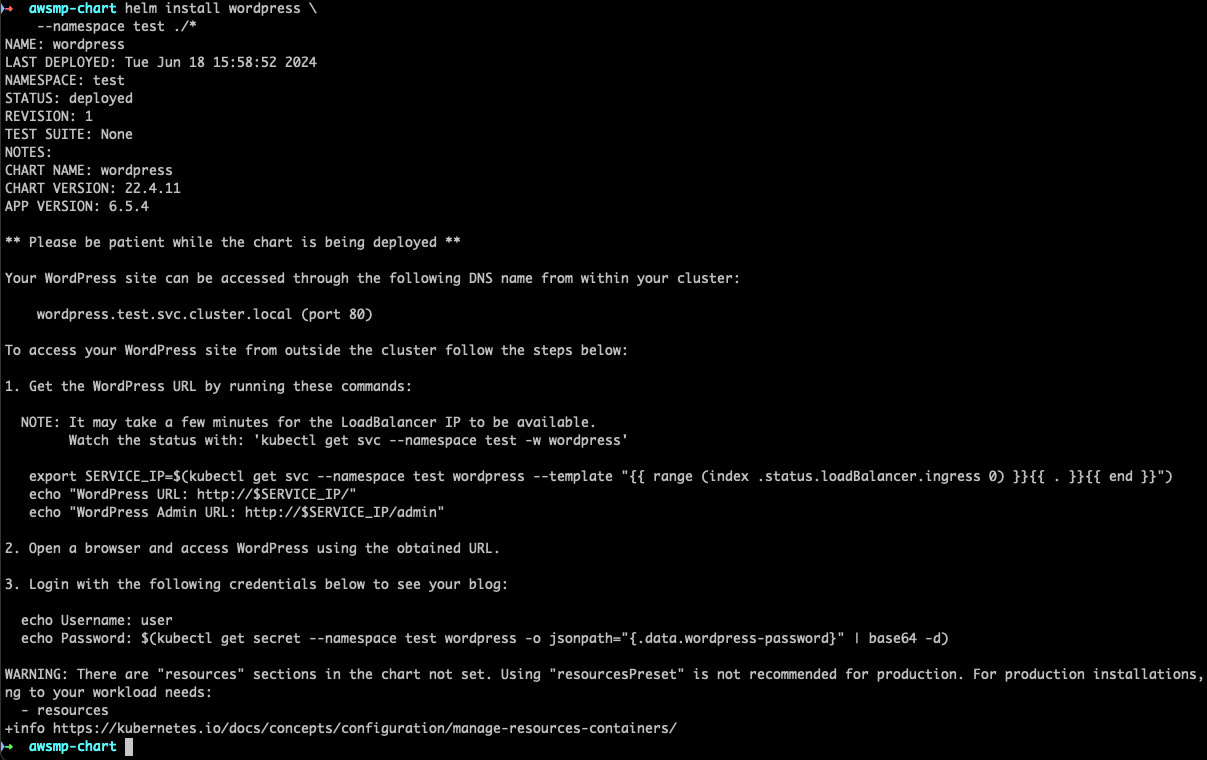
NOTE: You can obtain this information again by running the
helm status NAMEcommand.
Step 4: Log in and start using WordPress
At the end of this step, you will have logged in to WordPress and created a new blog post.
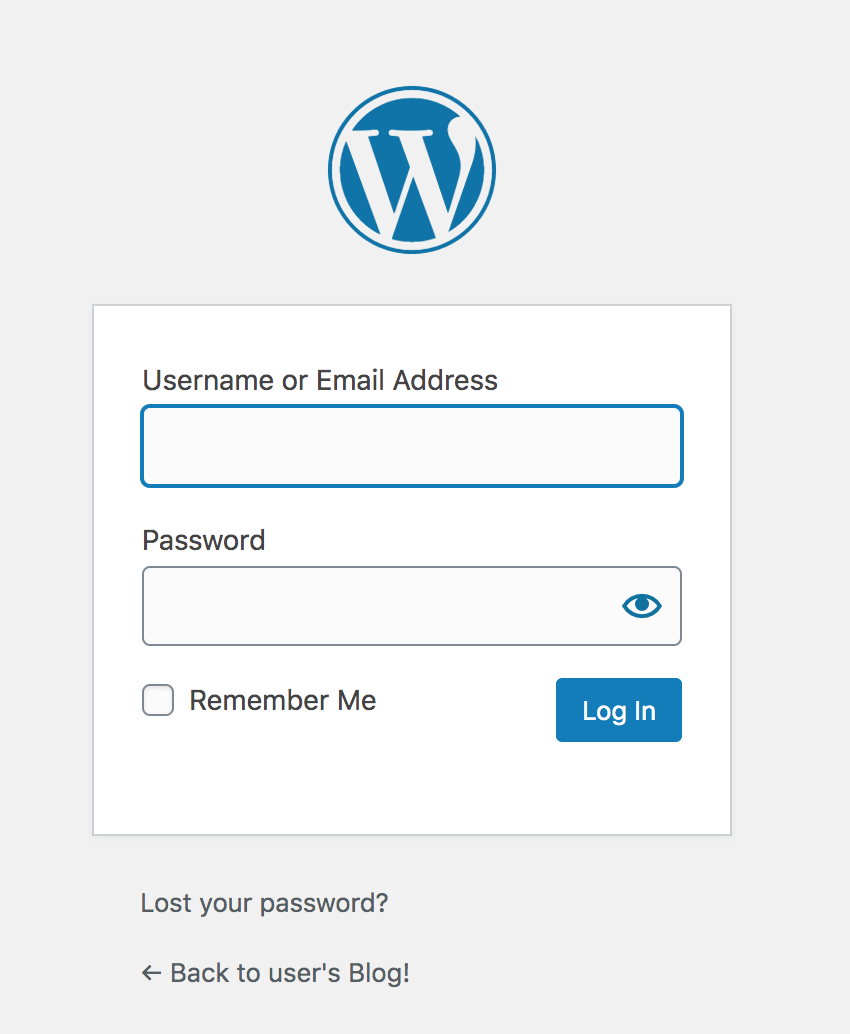
To log in to the WordPress dashboard, follow these steps:
-
Browse to the WordPress dashboard, usually at the URL http://SERVER-IP/wp-admin.
-
Log in with the administrator credentials from the previous step.
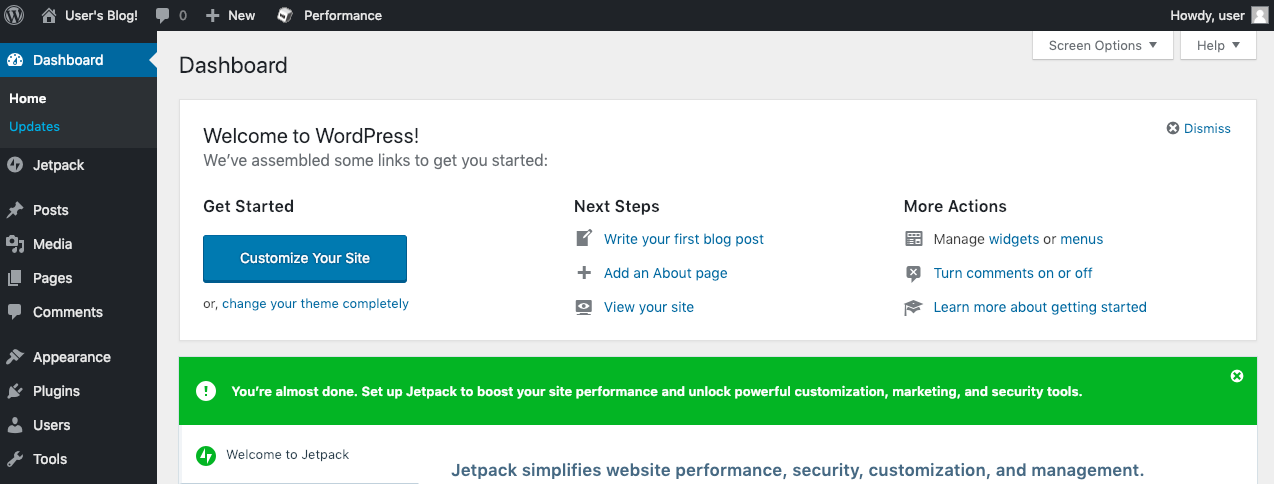
You should now arrive at the WordPress dashboard, which allows you to manage posts, pages and comments; customize your blog with themes and plugins; import and export content; manage navigation menus; add or delete new user accounts; and much more.
Create your first post
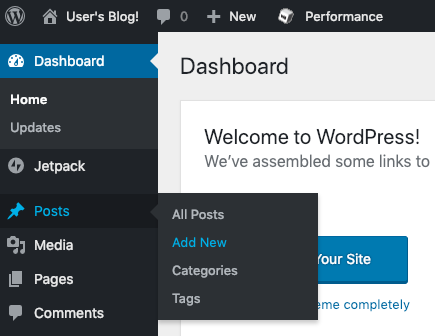
You can now add a new post using the following steps:
-
Select the “Posts -> Add New” menu option to create a new post.
-
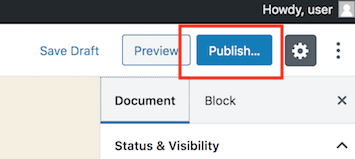
Enter a title and content for the post. You can use the formatting tools at the top of the content area to format your post and add hyperlinks or images.
-
Optionally, choose the format and category for your post.
-
Publish it immediately using the “Publish” button.
And now, when you visit your blog’s front page, you should see your new post.
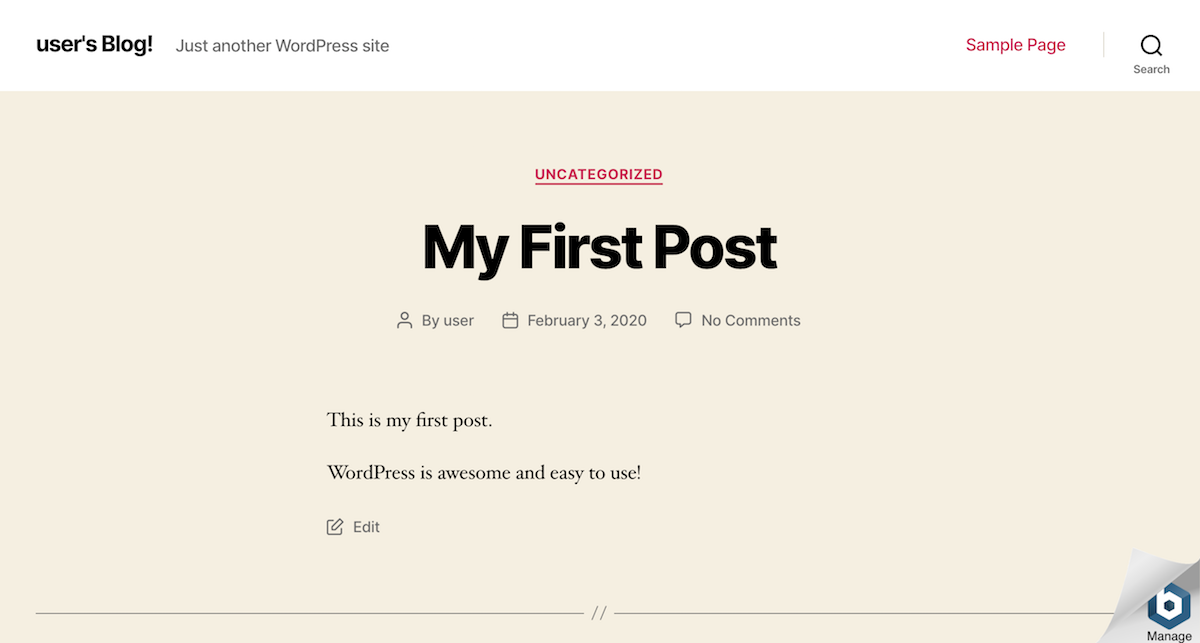
Congratulations! You now have a working, fully-functional WordPress blog in the cloud.
Keep your WordPress installation up-to-date
You can keep your WordPress installation up-to-date using tools such as VaultPress or the All-in-One WP Migration plugin. Alternatively, for simple upgrades that don’t involve chart changes, you need only to update the container tag/version used in your deployment.
Troubleshooting
Occasionally, Kubernetes may report an error if you attempt to deploy a chart with versions of container images that are not yet available in your private AWS registry. In this case, use helm status to check if all the containers are running. If not, use kubectl describe pod-name to find the source of the error.
Useful links
To learn more about the topics discussed in this tutorial, use the links below: