Get Started with Bitnami Containers using Amazon ECS and the AWS Marketplace
Introduction
Amazon Web Services (AWS) provides a number of different cloud and container services, including the Amazon Elastic Container Service (ECS), which allows users to deploy, manage, and scale containerized applications in the cloud.
Overview
This guide will walk you through the process of deploying and managing containers in ECS using the AWS Marketplace.
For illustrative purposes, this guide will show you the steps to deploy the Bitnami NGINX Exporter container on ECS. But this is just an example, there are many other containers available to choose from, and they’re all equally easy to deploy from the AWS Marketplace by following the same steps.
Here are the steps you’ll follow in this tutorial:
- Subscribe to the Bitnami NGINX Exporter container using the AWS Marketplace
- Deploy the Bitnami NGINX Exporter container on ECS
The next sections will walk you through these steps in detail.
Assumptions and prerequisites
This guide assumes that:
- You have an active AWS account. If you don’t have this, create a new account.
- You have a running ECS cluster. If you don’t, launch a new one on AWS.
Step 1: Subscribe to the Bitnami NGINX Exporter container using the AWS Marketplace
At the end of this step, you will have subscribed to the Bitnami NGINX Exporter container solution in the AWS Marketplace and obtained the details of the registry.
Follow these steps:
-
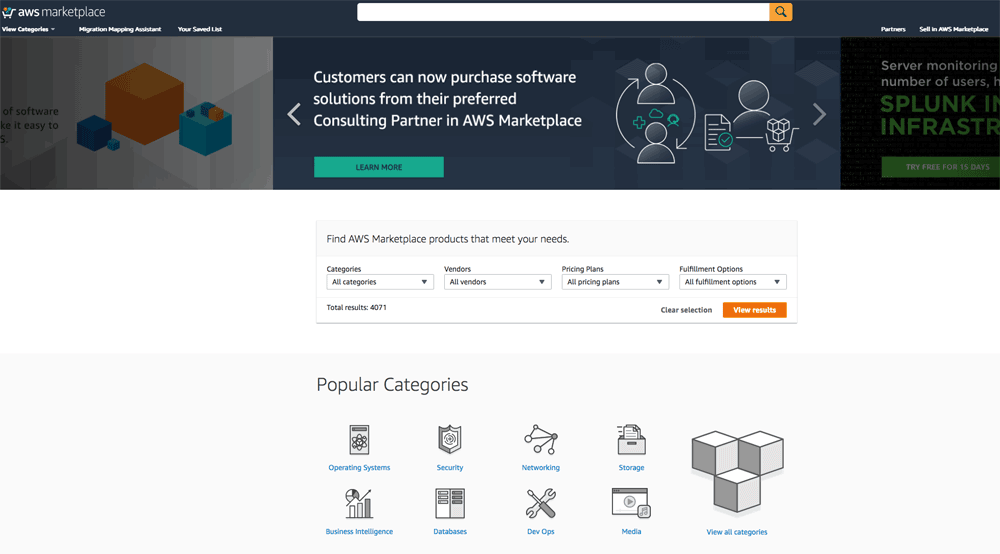
Log in to the AWS Marketplace.
-
Search for the Bitnami NGINX Exporter container by entering the search term “bitnami nginx exporter container” in the search bar at the top.
-
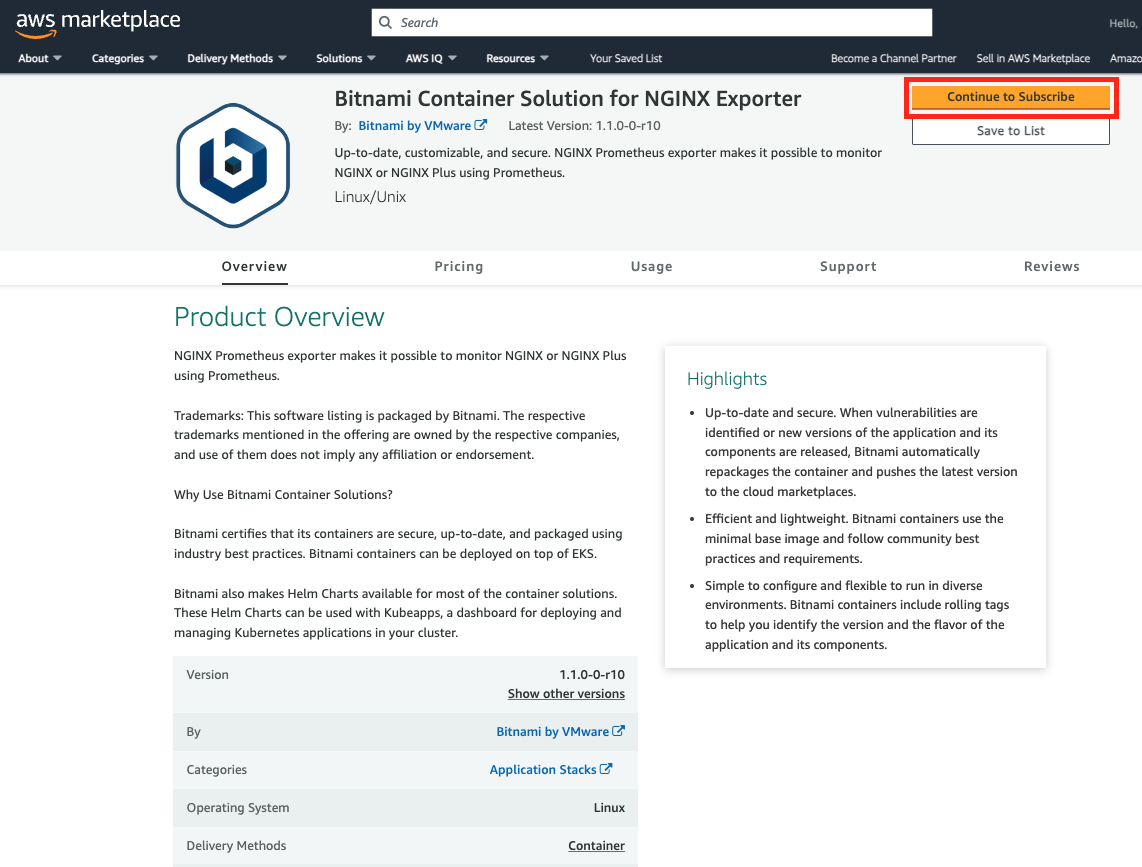
Select the Bitnami NGINX Exporter container in the list of search results.
-
On the product detail page, review the details of the solution and click the “Continue to subscribe” button.
-
On the product subscription page, select “NGINX Exporter Container Solution” as the software option and accept the terms.
-
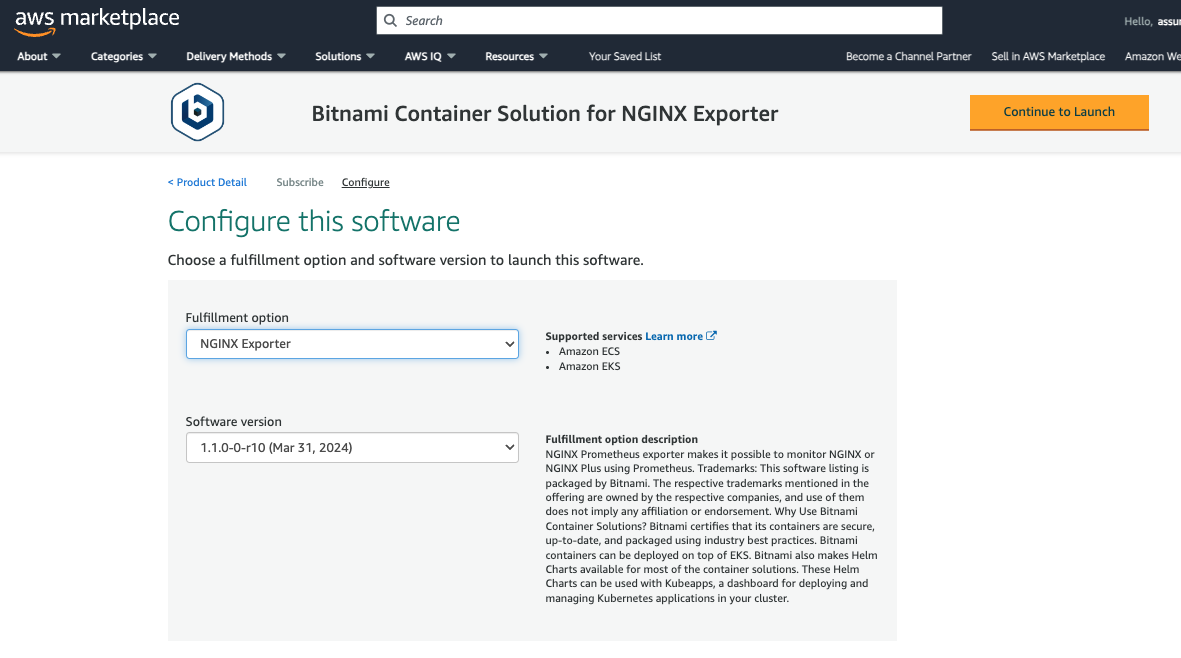
On the product configuration page, select “NGINX Exporter” as the fulfillment option and click the “Continue to Launch” button.
-
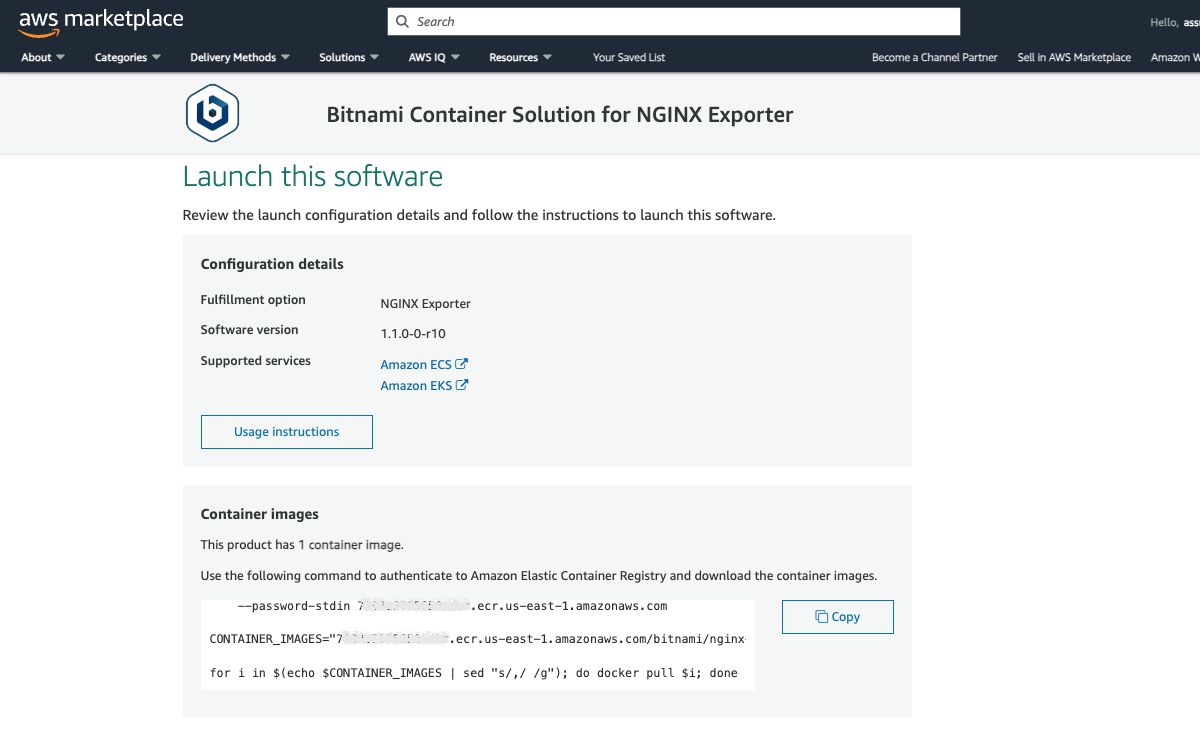
On the product fulfillment page, copy the URL to the AWS Marketplace registry. This URL also contains the container name and tag. You will need these details in the next step.
Step 2: Deploy the Bitnami NGINX Exporter container on ECS
At the end of this step, you will have deployed the NGINX Exporter container on your ECS cluster.
Follow these steps:
-
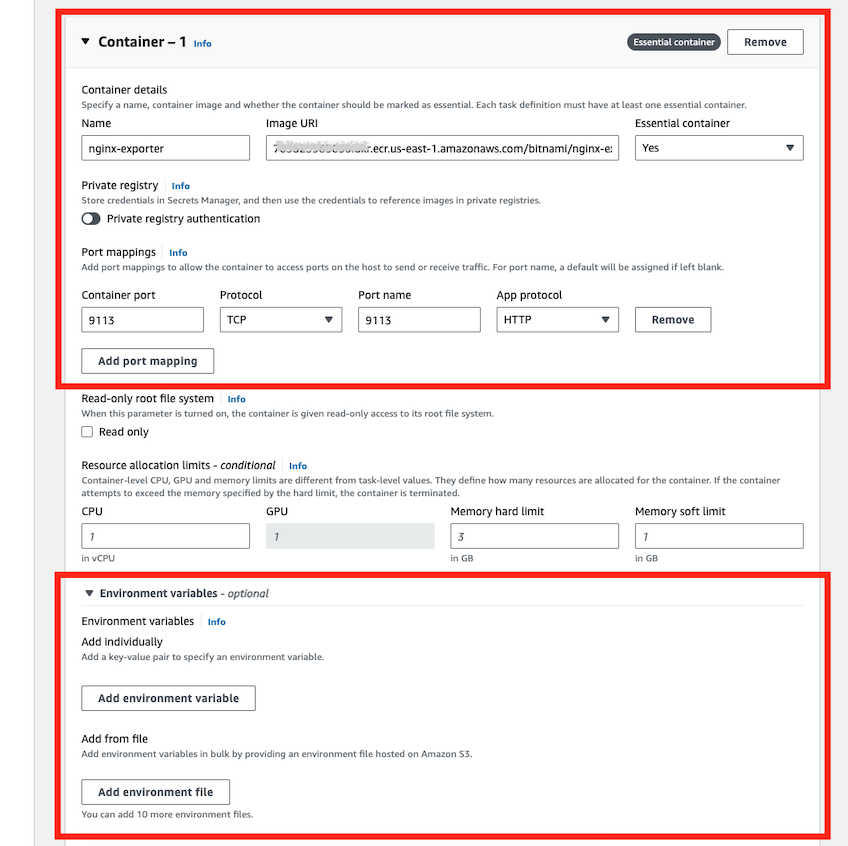
The next step is to deploy the NGINX Exporter container on your ECS cluster using a task definition. Apart from filling the name and other required parameters, you will need to define the container image to use, the ports where the app is listening on, and any extra environment variable you want to define when running the container. You can learn more about the environment variables that each container supports in the Bitnami Containers GitHub repository
-
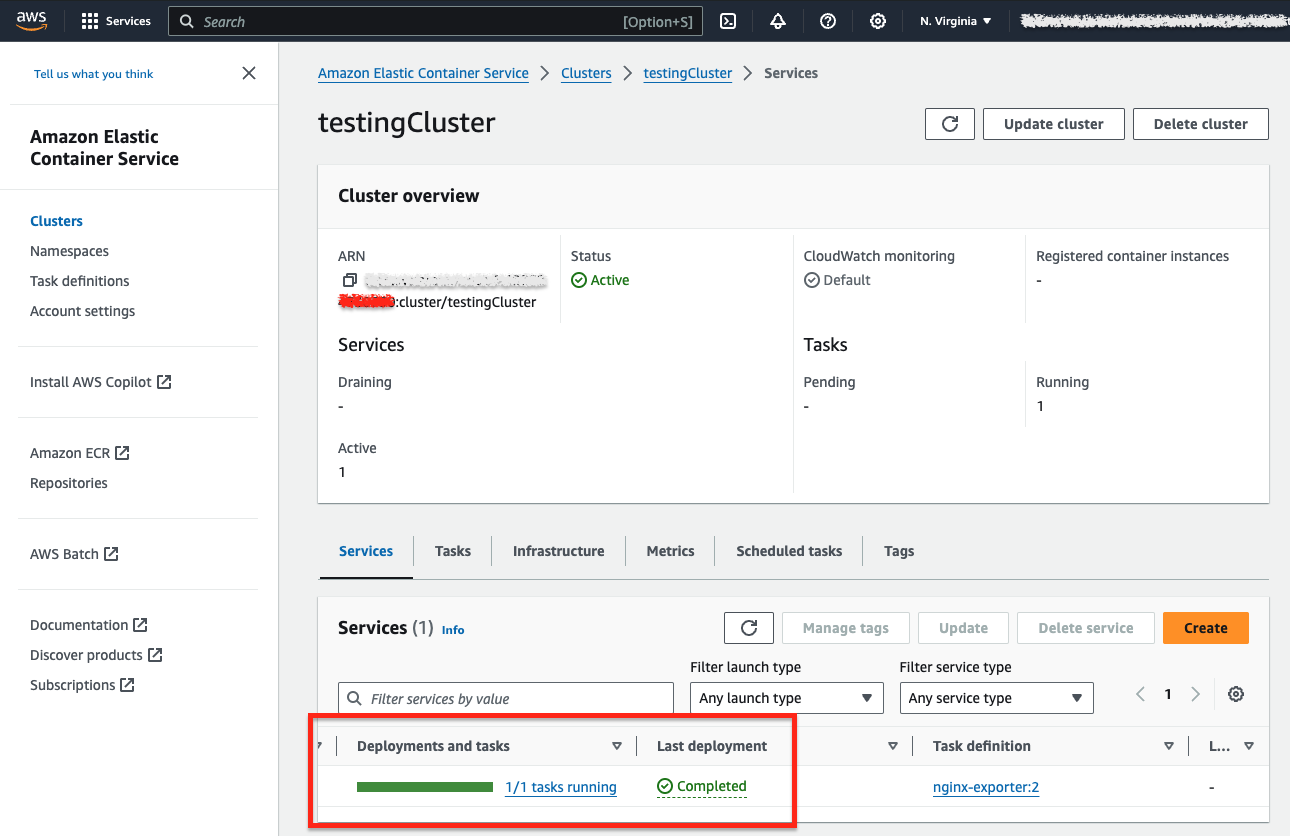
Create a service from the task definition you just created. You will need to select the ECS cluster you already created and set the name of the service you are creating, in this case “nginx-exporter”.
-
Wait for the service to be up and running
-
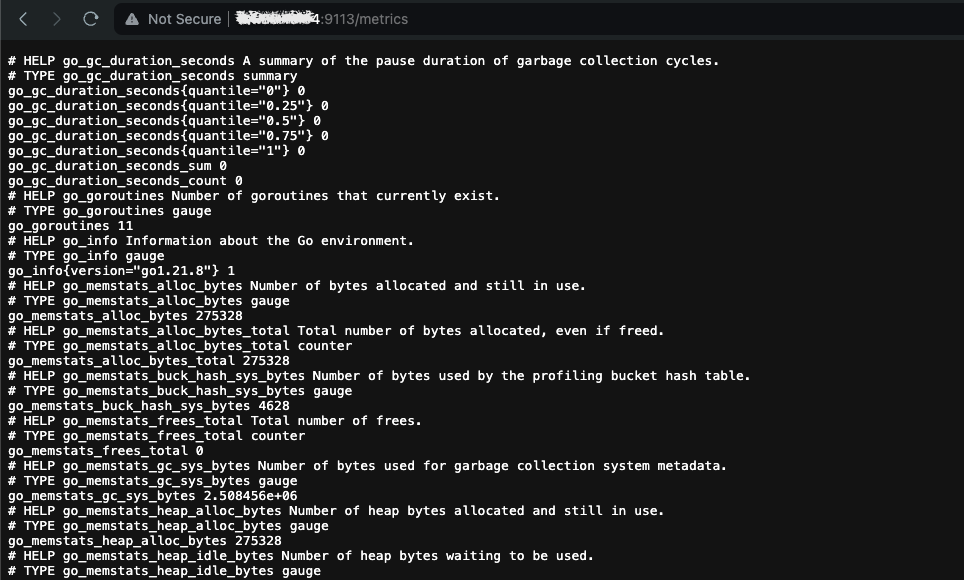
Access the application using the web browser or the command line
Troubleshooting
If you can’t access the service once it’s running, please ensure that the security group you selected when creating the service allows you connect from outside. You will also need to ensure that the port you set in the task definition is the correct one.
Useful links
To learn more about the topics discussed in this tutorial, use the links below: