Configure Webmin
NOTE: The steps below are only valid for Linux hosts.
To configure Webmin to manage the Bitnami servers:
-
Create the configuration file /etc/webmin/mysql/config for MySQL and fill it with the content below:
  start_cmd=sudo /opt/bitnami/ctlscript.sh start mysql >/dev/null 2>&1
  stop_cmd=sudo /opt/bitnami/ctlscript.sh stop mysql >/dev/null 2>&1
  mysql=/opt/bitnami/mysql/bin/mysql
  mysqladmin=/opt/bitnami/mysql/bin/mysqladmin
  mysqldump=/opt/bitnami/mysql/bin/mysqldump
  mysqlimport=/opt/bitnami/mysql/bin/mysqlimport
  my_cnf=/opt/bitnami/mysql/my.cnf
  mysqlshow=/opt/bitnami/mysql/bin/mysqlshow
  mysql_libs=/opt/bitnami/mysql/lib
  mysql_data=/opt/bitnami/mysql/data
  access=*: *
  style=0
  date_subs=0
  max_text=1000
  perpage=25
  nodbi=0
  max_dbs=50
  nopwd=0
  add_mode=1
  passwd_mode=0
  blob_mode=0
For MariaDB, use the configuration below instead:
start_cmd=sudo /opt/bitnami/ctlscript.sh start mariadb >/dev/null 2>&1 stop_cmd=sudo /opt/bitnami/ctlscript.sh stop mariadb >/dev/null 2>&1 mysql=/opt/bitnami/mariadb/bin/mysql mysqladmin=/opt/bitnami/mariadb/bin/mysqladmin mysqldump=/opt/bitnami/mariadb/bin/mysqldump mysqlimport=/opt/bitnami/mariadb/bin/mysqlimport my_cnf=/opt/bitnami/mariadb/conf/my.cnf mysqlshow=/opt/bitnami/mariadb/bin/mysqlshow mysql_libs=/opt/bitnami/mariadb/lib mysql_data=/opt/bitnami/mariadb/data access=*: * style=0 date_subs=0 max_text=1000 perpage=25 nodbi=0 max_dbs=50 nopwd=0 add_mode=1 passwd_mode=0 blob_mode=0 pass=PASSWORD_TO_ACCESS_MARIADB login=root -
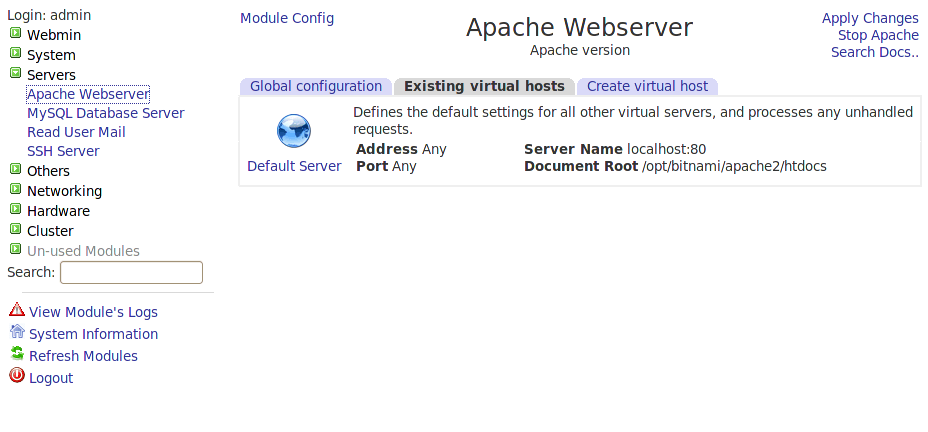
Similarly, create the configuration file /etc/webmin/apache/config for Apache and fill it with the content below:
start_cmd=sudo /opt/bitnami/ctlscript.sh start apache >/dev/null 2>&1 stop_cmd=sudo /opt/bitnami/ctlscript.sh stop apache >/dev/null 2>&1 httpd_dir=/opt/bitnami/apache httpd_conf=/opt/bitnami/apache/conf/httpd.conf apachectl_path=/opt/bitnami/apache/bin/apachectl apply_cmd=/opt/bitnami/apache/bin/apachectl graceful defines_file=/opt/bitnami/apache/bin/envvars link_dir=/opt/bitnami/apache/conf/vhosts mime_types=/opt/bitnami/apache/conf/mime.types access_conf=/opt/bitnami/apache/conf/access.conf virt_file=/opt/bitnami/apache/conf/vhosts srm_conf=/opt/bitnami/apache/conf/srm.conf httpd_path=/opt/bitnami/apache/bin/httpd test_manual=0 show_list=0 auto_mods=1 test_apachectl=1 max_servers=100 show_order=0 test_always=0 show_names=0 test_config=1 -
Similarly, create the configuration file /etc/webmin/postgresql/config for PostgreSQL (if you have it installed) and fill it with the content below:
start_cmd=sudo /opt/bitnami/ctlscript.sh start postgresql >/dev/null 2>&1 stop_cmd=sudo /opt/bitnami/ctlscript.sh stop postgresql >/dev/null 2>&1 psql=/opt/bitnami/postgresql/bin/psql dump_cmd=/opt/bitnami/postgresql/bin/pg_dump rstr_cmd=/opt/bitnami/postgresql/bin/pg_restore pid_file=/opt/bitnami/postgresql/data/postmaster.pid hba_conf=/opt/bitnami/postgresql/data/pg_hba.conf simple_sched=0 sameunix=1 date_subs=0 max_text=1000 perpage=25 plib= nodbi=1 max_dbs=50 pass= access=*: * webmin_subs=0 style=0 access_own=0 basedb=template1 login=postgres add_mode=1 blob_mode=0 -
Browse to the Webmin application, log in and click the “Refresh Modules” button. You should now see the “Apache Webserver”, “PostgreSQL Database Server” and “MySQL Database Server” listed in the “Servers” tab.