Configure a static IP address
AWS instances are launched with a dynamic IP address by default, which means that the IP address changes every time the server is stopped and restarted. In many cases, this is not desired and so, users also have the option to assign the server a static IP address (also known as an “elastic IP”).
To configure a static IP address:
-
Log in to the AWS EC2 Dashboard.
-
If required, use the region selector in the top right corner to switch to the region where your instance was launched.
-
Select the instance in the dashboard.
-
In the left navigation bar, select the “Network & Security -> Elastic IPs” menu item.
-
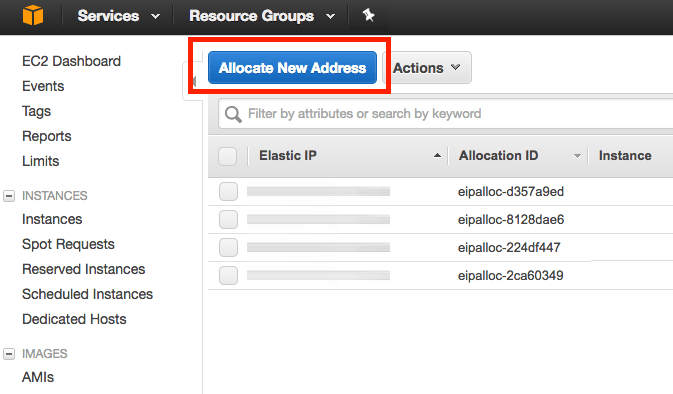
Click the “Allocate New Address” button.
-
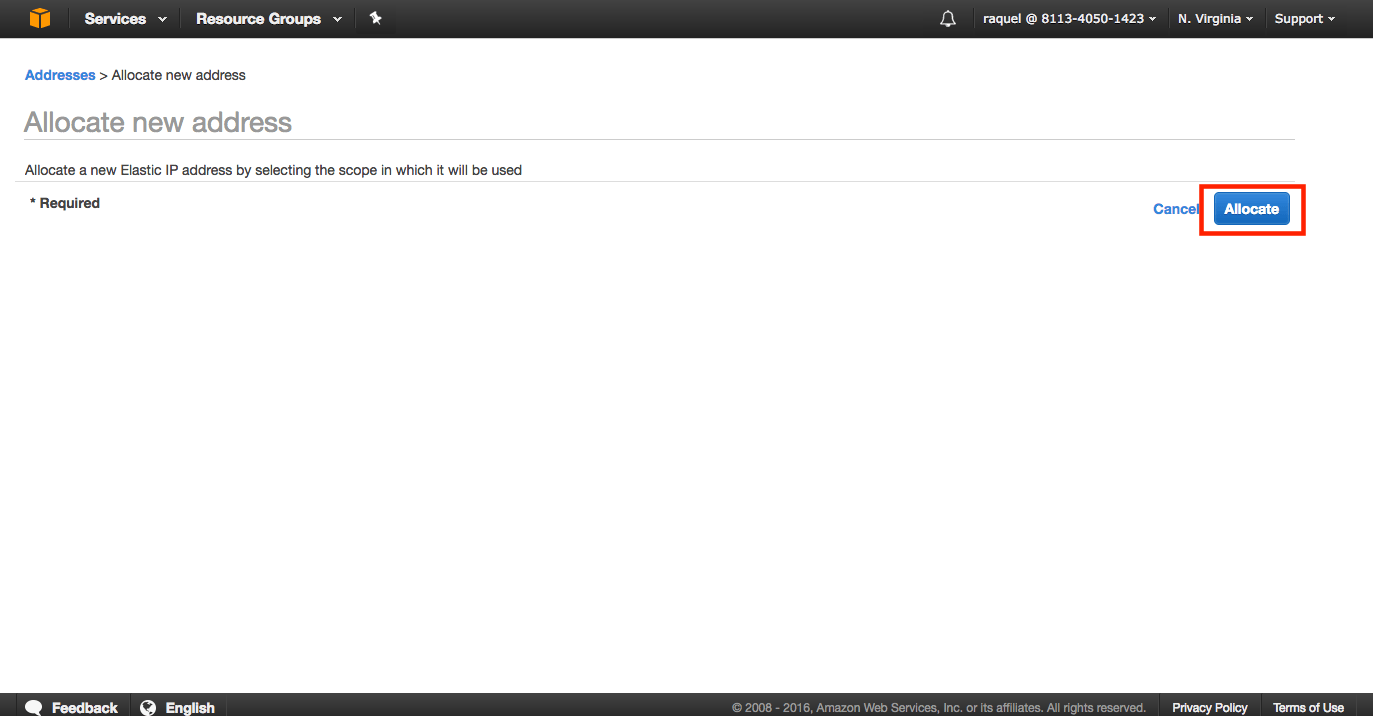
Click “Allocate” in the next screen.
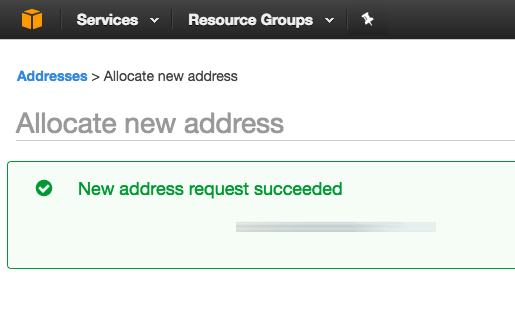
A new static IP address will be generated and will appear in the list of available IP addresses.
Next:
-
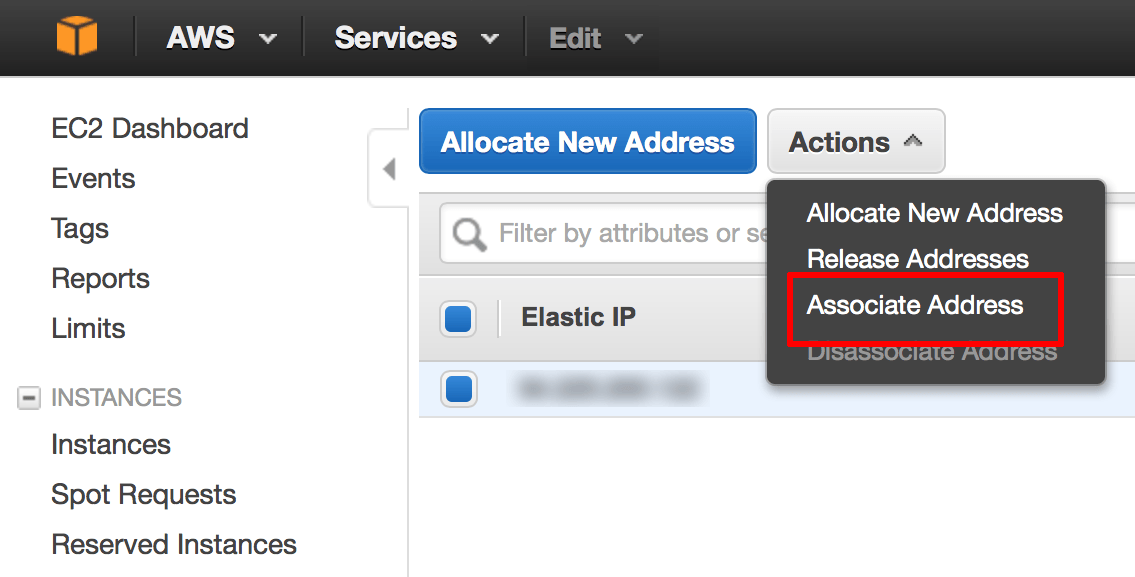
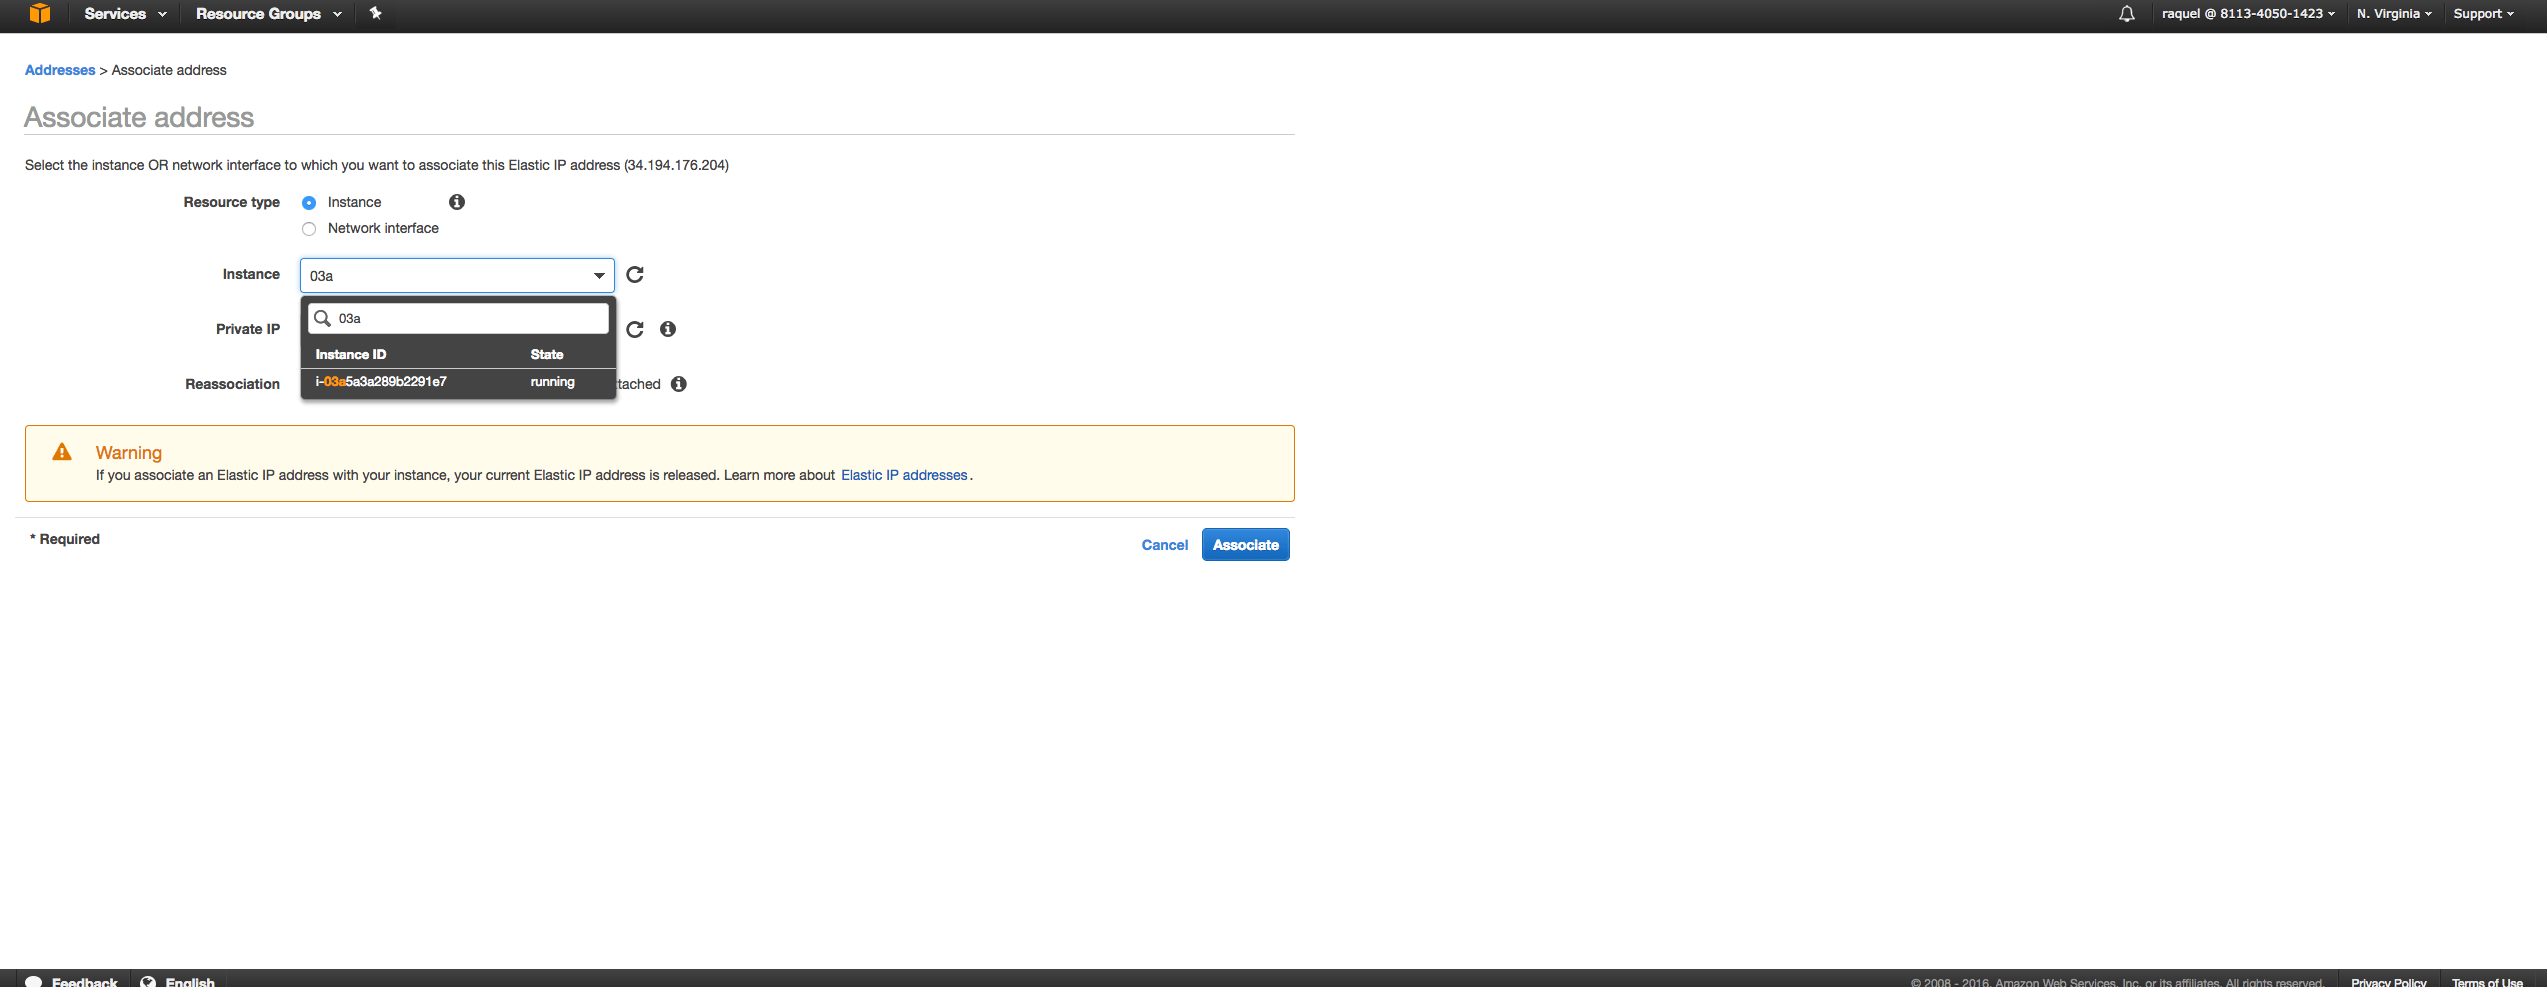
From the “Actions” drop-down menu, select the “Associate Address” menu item.
-
In the resulting dialog box, enter the instance ID of your server and click the “Associate” button.
The elastic IP address will now be assigned to your server and will persist across shutdown/reboot operations.

