Backup or restore a server
IMPORTANT: We strongly recommend creating a backup of your server prior to any major changes or upgrades.
Backup
To create a backup, you will use AWS Cloud Console’s snapshot feature. This feature creates a new snapshot of the disk, which can later be used to restore the server to an earlier state. Follow the steps below:
-
Browse to the AWS Cloud Console. Log in if needed. In the left navigation bar, select the “Instances -> Instances” menu item. Find your instance and note the instance ID of the server.
-
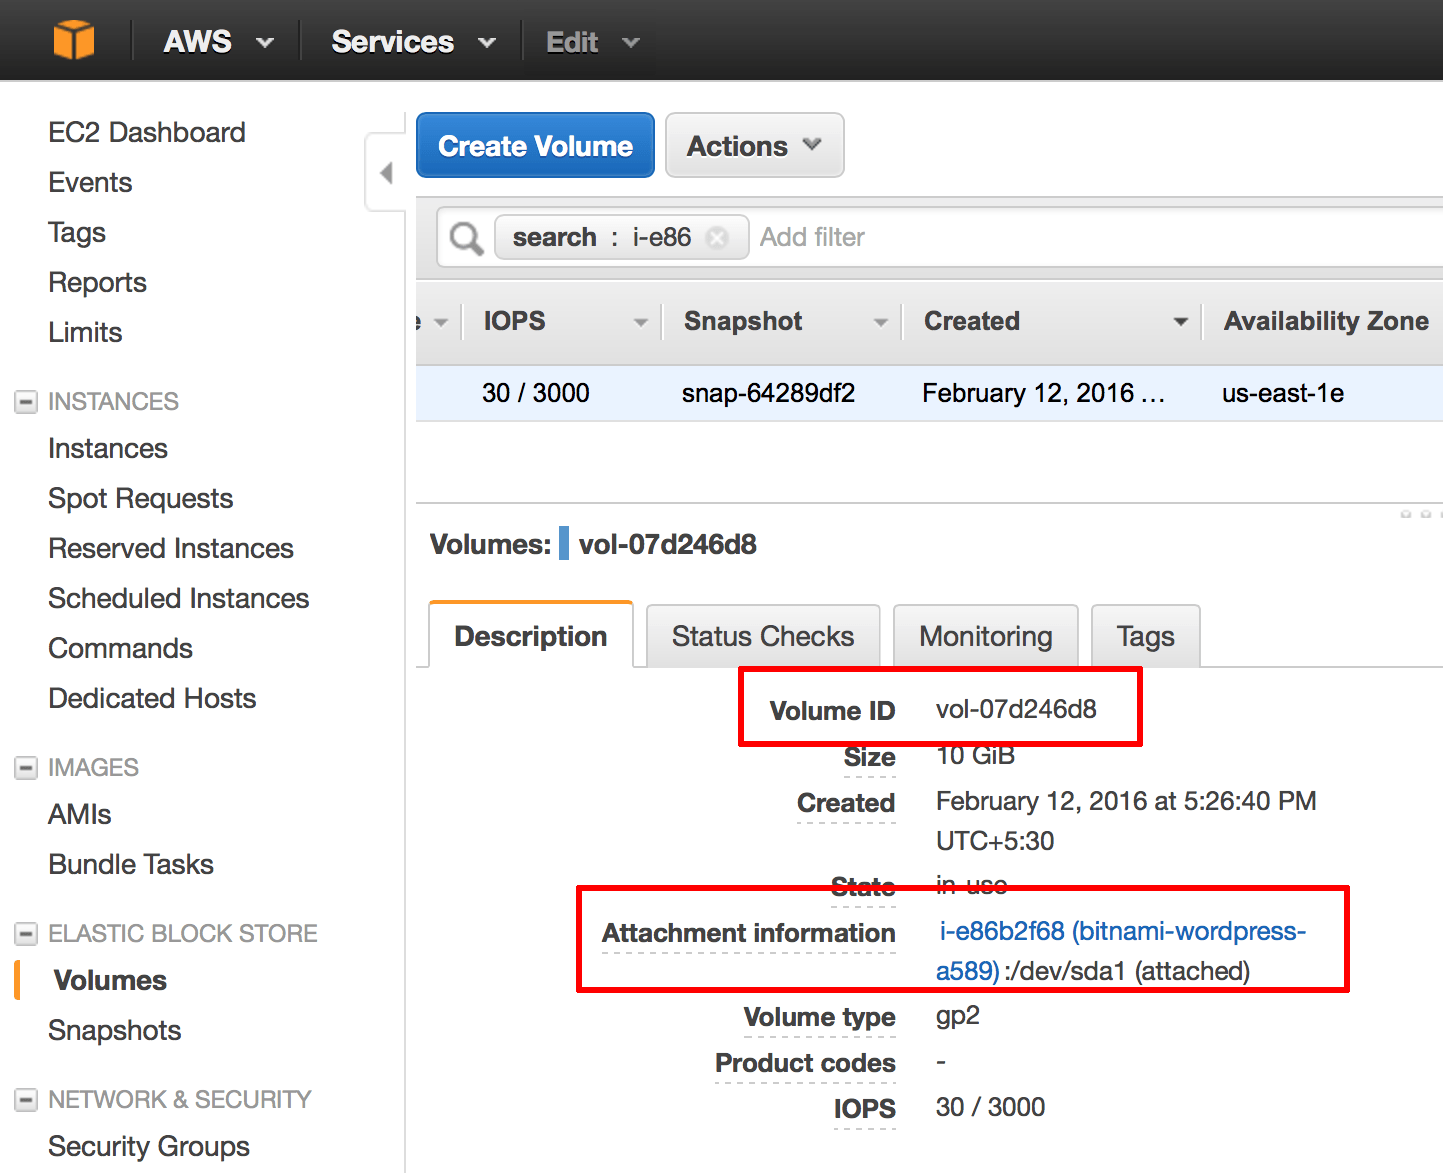
In the left navigation bar, select the “Elastic Block Store -> Volumes” menu item.
-
Review the list of volumes and identify the one attached to the server you wish to back up, using the instance ID in the “Attachment Information” column. Note the name of the volume.
-
In the left navigation bar, select the “Elastic Block Store -> Snapshots” menu item.
-
Click the “Create Snapshot” button.
-
In the resulting dialog, enter the volume name you identified earlier. Also, provide a name and description for the snapshot.
-
Click “Create” to create a snapshot of the disk.

Your new snapshot will be created and will appear in the list of snapshots.
Restore
To restore a backup is necessary to create a new image using the snapshot created from your instance. Follow these steps:
-
In the left navigation bar, select the “Elastic Block Store -> Snapshots” menu item.
-
Select the snapshot you want to restore and click “Actions -> Create Image”.
-
In the resulting dialog, enter a name and description for the image.

-
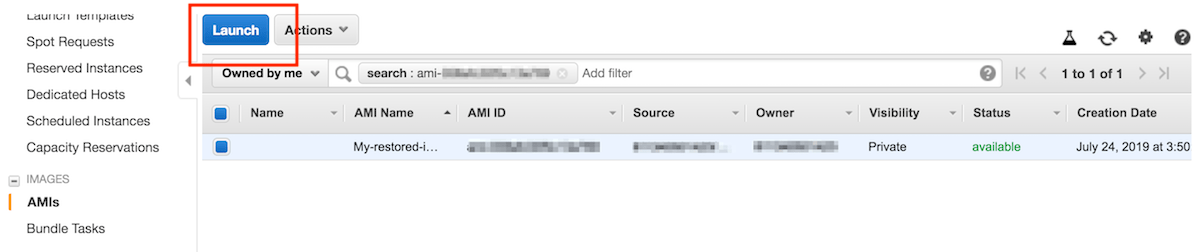
In the left navigation bar, select the “Images -> AMIs” menu item. Select the image created from the snapshot, and click “Launch”.
-
Choose the instance type and click “Review and Launch” to start creating a new instance with the restored backup.