Install the kubectl Command Line
In order to start working on a Kubernetes cluster, it is necessary to install the Kubernetes command line (kubectl). Follow these steps to install the kubectl CLI:
-
Execute the following commands to install the kubectl CLI. OS_DISTRIBUTION is a placeholder for the binary distribution of kubectl, remember to replace it with the corresponding distribution for your Operating System (OS).
  $ curl -LO https://storage.googleapis.com/kubernetes-release/release/$(curl -s https://storage.googleapis.com/kubernetes-release/release/stable.txt)/bin/OS_DISTRIBUTION/amd64/kubectl
  $ chmod +x ./kubectl
  $ sudo mv ./kubectl /usr/local/bin/kubectl
TIP: Once the kubectl CLI is installed, you can obtain information about the current version with the kubectl version command.
NOTE: You can also install kubectl by using the sudo apt-get install kubectl command.
-
Check that kubectl is correctly installed and configured by running the kubectl cluster-info command:
$ kubectl cluster-infoNOTE: The kubectl cluster-info command shows the IP addresses of the Kubernetes node master and its services.
-
You can also verify the cluster by checking the nodes. Use the following command to list the connected nodes:
$ kubectl get nodes -
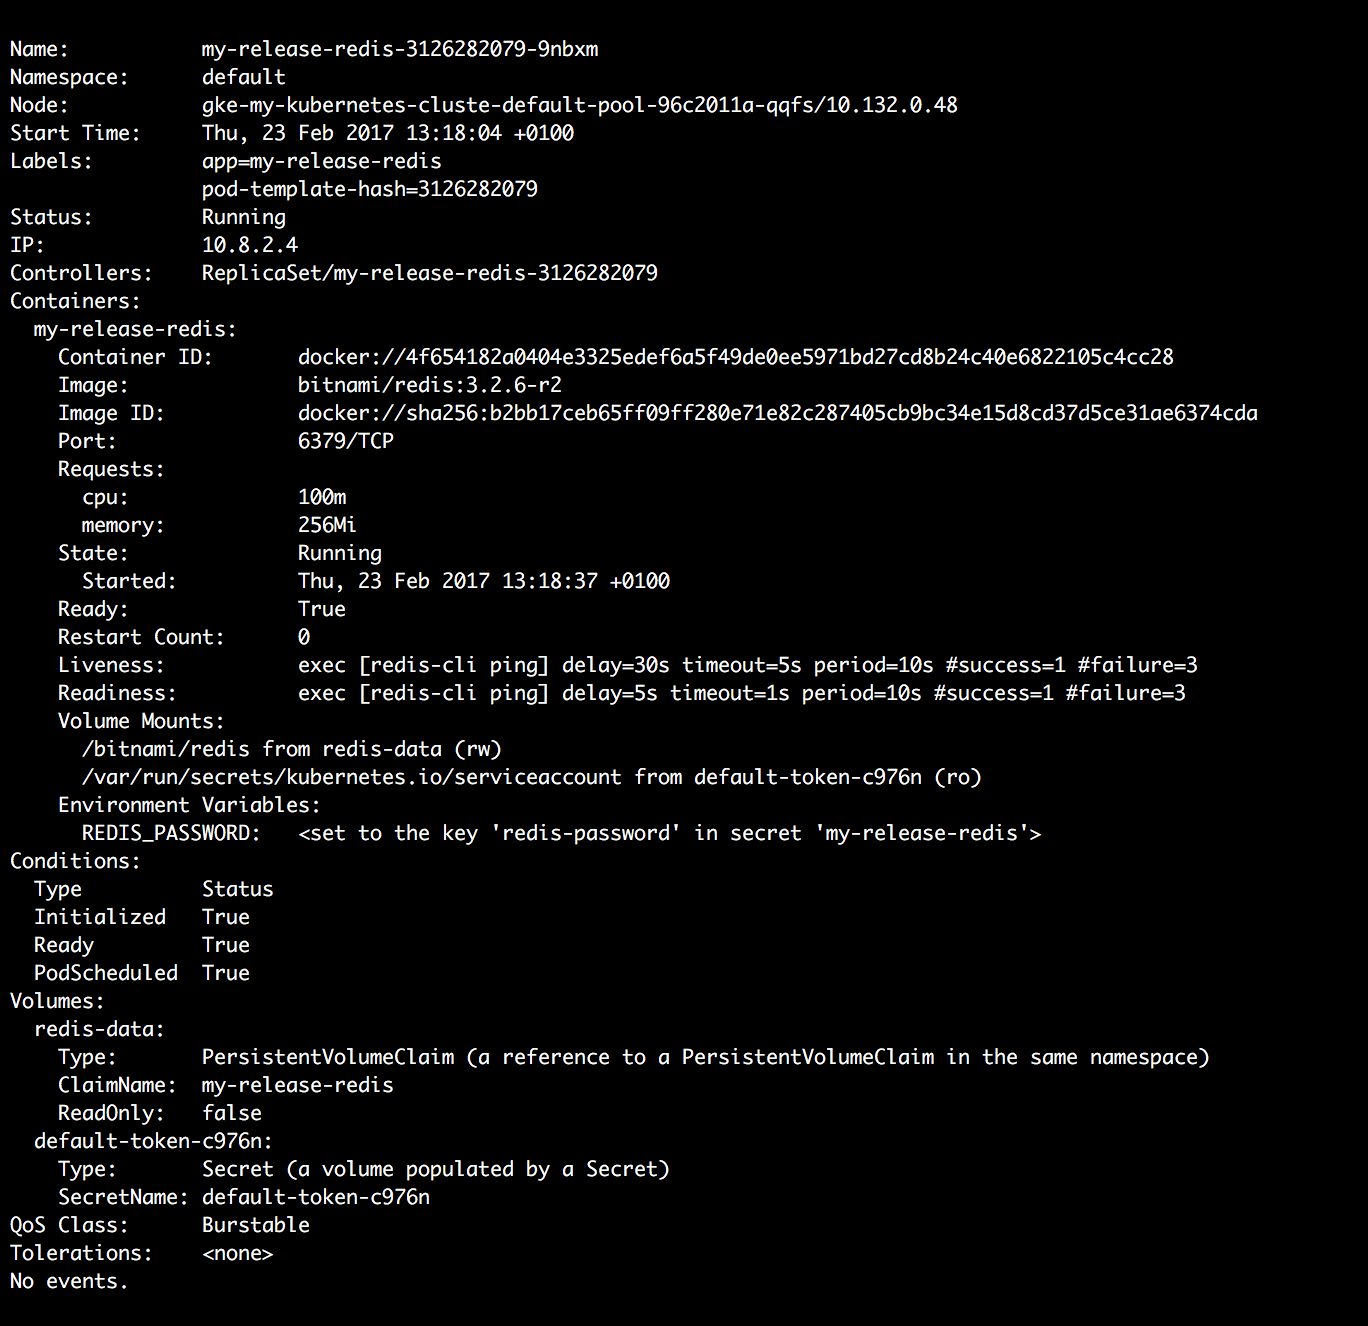
To get complete information on each node, run the following:
$ kubectl describe node


