Get Started with Bitnami Charts using VMware Enterprise PKS
Introduction
VMware Cloud PKS and VMware Enterprise PKS enable enterprise to efficiently deploy, run and manage Kubernetes clusters in production environments.
Once you have a Kubernetes cluster operating in either of these two services, the next step is to deploy applications on it. That’s where Kubeapps comes in. Kubeapps provides an application dashboard that allows you to deploy Kubernetes-ready applications into your cluster with a single click.
This tutorial will walk you, step by step, through the process of using the VMware Marketplace to deploy applications on a running PKS cluster with Kubeapps.
Overview
This guide will walk you through the process of deploying and managing applications in a PKS cluster using the VMware Marketplace and Kubeapps. Kubeapps is a one-time install that gives you a number of important benefits, including the ability to:
- browse Helm charts from public or your own private chart repositories and deploy them into your cluster;
- upgrade, manage and delete the applications that are deployed in your Kubernetes cluster;
- browse and provision external services from the Service Catalog and available Service Brokers.
For illustrative purposes, this guide will show you the steps to deploy the Bitnami WordPress Helm chart on your PKS cluster with Kubeapps. But WordPress is just an example: there are many other Helm charts available to choose from, and they’re all equally easy to deploy from the VMware Marketplace by following the same steps.
- Install and configure Helm and Tiller
- Install Kubeapps
- Log in to the Kubeapps Dashboard
- Deploy WordPress with Kubeapps
- Log in and start using WordPress
The next sections will walk you through these steps in detail.
Assumptions and prerequisites
This tutorial assumes that:
- You have an account in the VMware Marketplace.
- You have provisioned a VMware Enterprise PKS or VMware Cloud PKS cluster.
- You have the kubectl command line (kubectl CLI) installed and configured to work with your cluster.
Step 1: Install and configure Helm
At the end of this step, you will have configured Helm to work in your PKS cluster.
Helm allows you to perform key operations for managing applications such as installation, upgrade and removal.
Follow these instructions:
-
To install Helm v3.x, run the following commands:
  $ curl https://raw.githubusercontent.com/kubernetes/helm/master/scripts/get-helm-3 > get_helm.sh
  $ chmod 700 get_helm.sh
  $ ./get_helm.sh
TIP: If you are using OS X you can install it with the brew install command: brew install helm.
Step 2: Install Kubeapps
At the end of this step, you will have Kubeapps running in your PKS cluster.
The next step is to deploy Kubeapps following the instructions in the VMware Marketplace. Follow these steps:
-
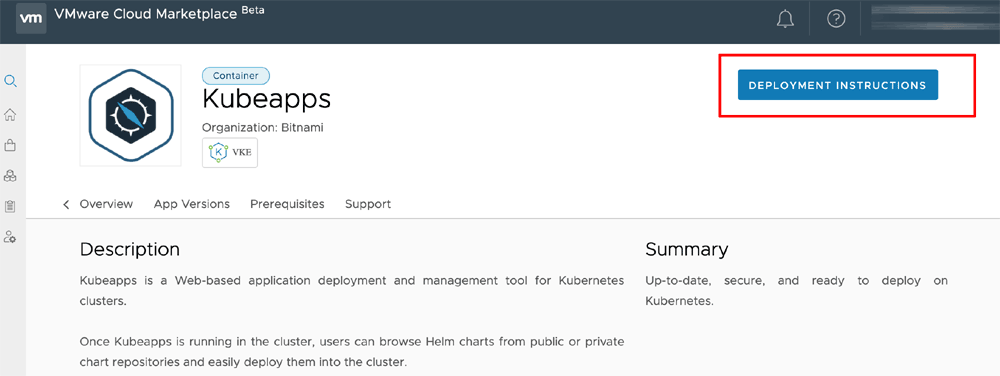
Log in to the VMware Marketplace.
-
Search for “kubeapps” and select the Kubeapps entry in the list of search results.
-
On the detail page, click the “Deployment Instructions” button.
-
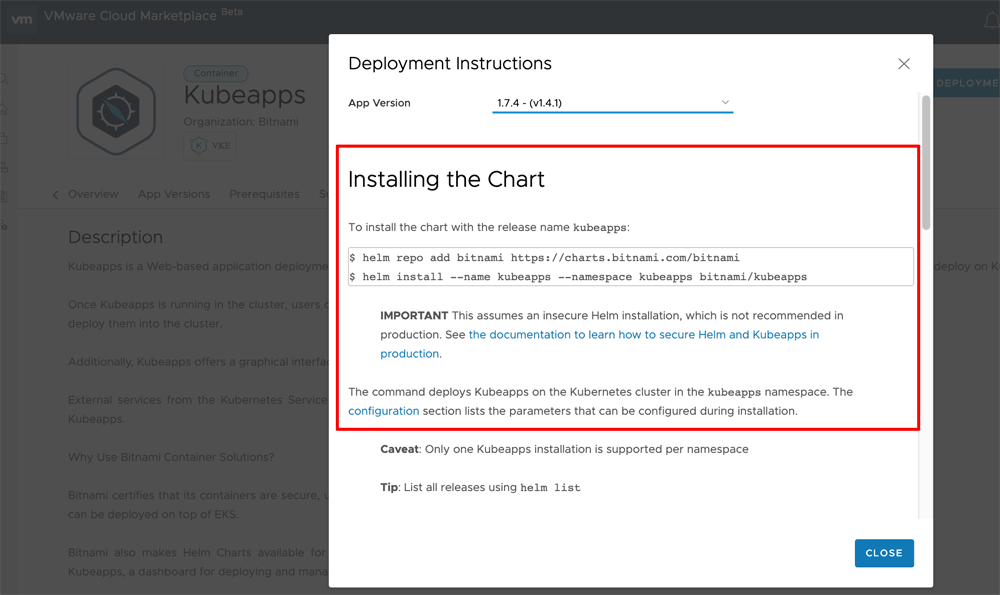
In the resulting dialog, select the latest available version of the application.
-
Follow the commands shown to install Kubeapps.
It may take a few minutes for all Kubeapps services to start. You can check the status of the deployment using the command below:
$ kubectl get pods -w --namespace kubeapps
Proceed to the next step only after confirming that all Kubeapps services have successfully started.
Step 3: Log in to the Kubeapps Dashboard
At the end of this step, you will have access to the Kubeapps Dashboard.
Once all Kubeapps services are running, obtain a Kubernetes API token as follows:
$ kubectl create serviceaccount kubeapps-operator
$ kubectl create clusterrolebinding kubeapps-operator --clusterrole=cluster-admin --serviceaccount=default:kubeapps-operator
$ kubectl get secret $(kubectl get serviceaccount kubeapps-operator -o jsonpath='{.secrets[].name}') -o jsonpath='{.data.token}' | base64 --decode
Copy the generated API token, as you will need it to log in to Kubeapps.
NOTE: It’s not recommended to create cluster-admin users for Kubeapps production usage. Please refer to the Kubeapps access control documentation to configure fine-grained access control for users.
Next, run the following commands to start the Kubeapps Dashboard:
$ export POD_NAME=$(kubectl get pods -n kubeapps -l "app=kubeapps,release=kubeapps" -o jsonpath="{.items[0].metadata.name}")
$ kubectl port-forward -n kubeapps $POD_NAME 8080:8080
This will start an HTTP proxy on port 8080 for secure access to the Kubeapps Dashboard. You can now access the Kubeapps Dashboard by browsing to http://127.0.0.1:8080. Here’s what you should see:
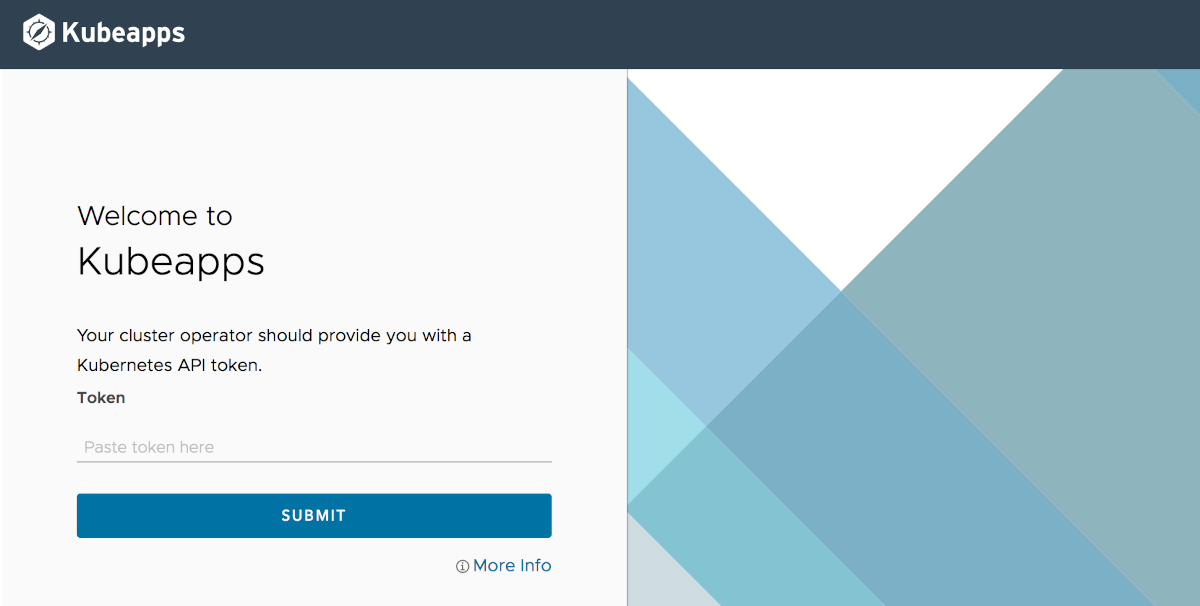
Paste the API token generated earlier into the “Kubernetes API Token” field to log in to the Kubeapps Dashboard. Here is what you should see:
Step 4: Deploy WordPress with Kubeapps
At the end of this step, you will have WordPress running in your PKS cluster.
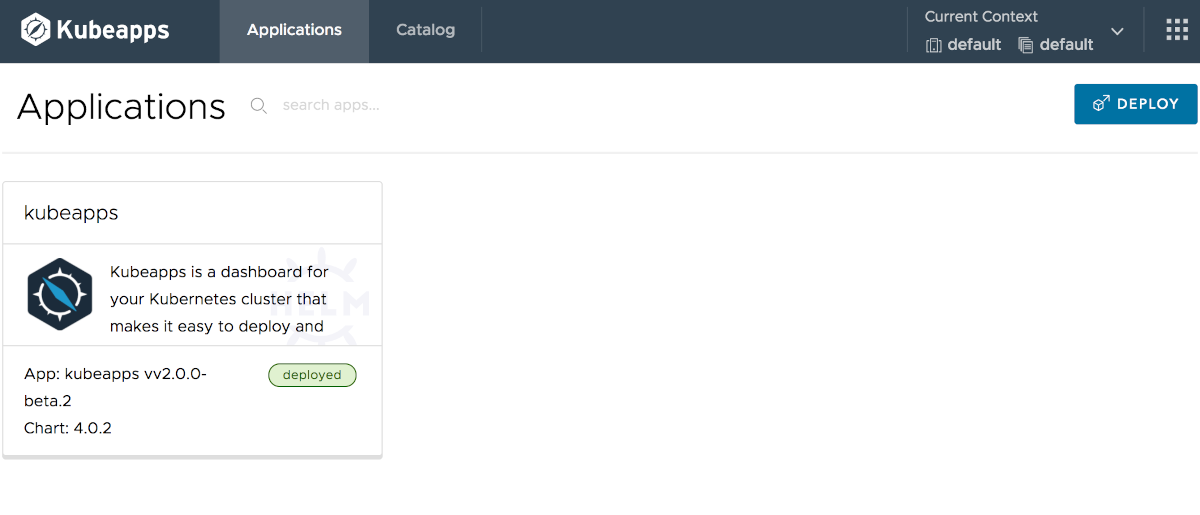
Once you have access to the Kubeapps Dashboard, you can start deploying applications into your cluster.
-
Start with the Dashboard welcome page:
-
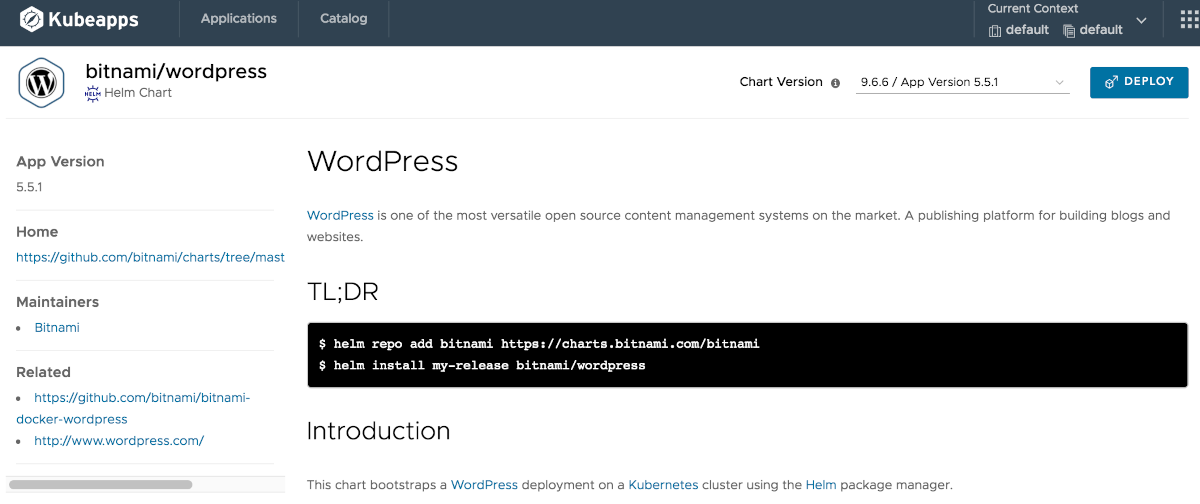
Use the “Catalog” menu to find and select WordPress from the list of charts in the official Kubernetes chart repository.

-
Click the “Deploy” button.
-
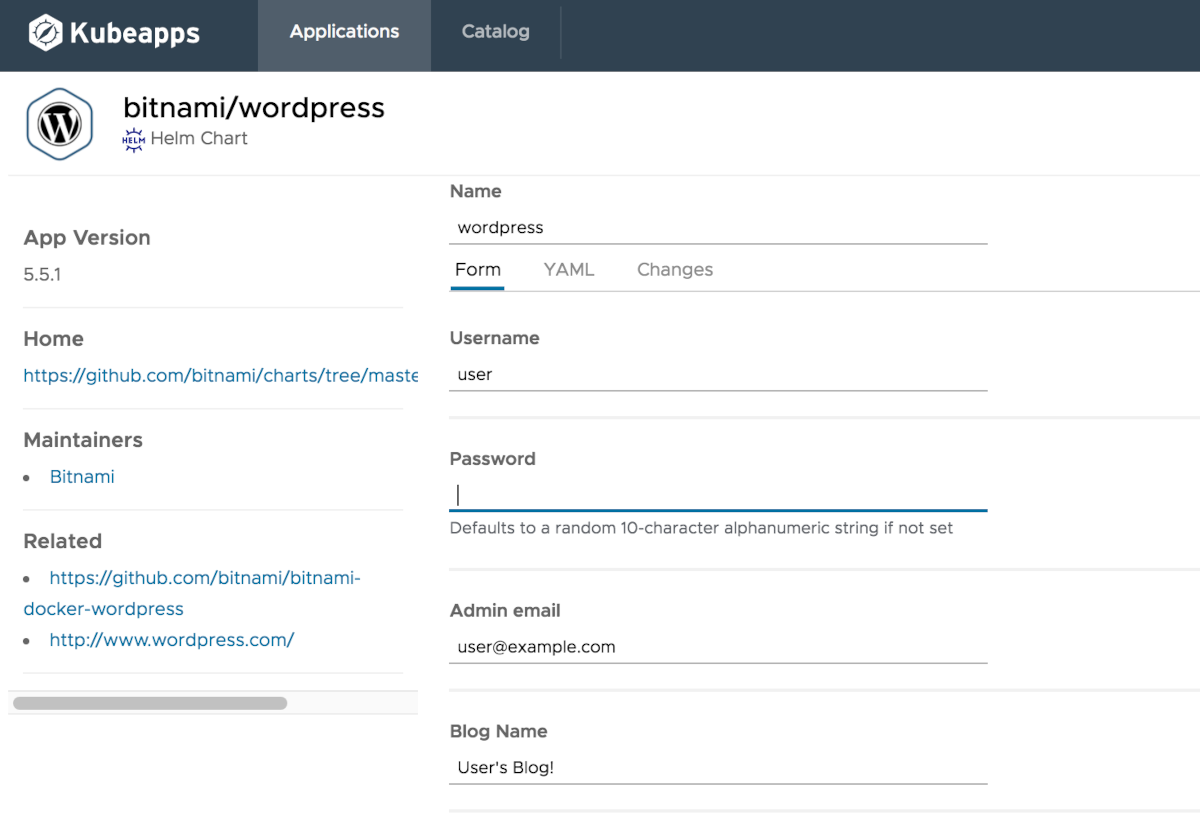
You can customize the deployment by editing the configuration form or YAML configuration file. Click “Deploy” to proceed.
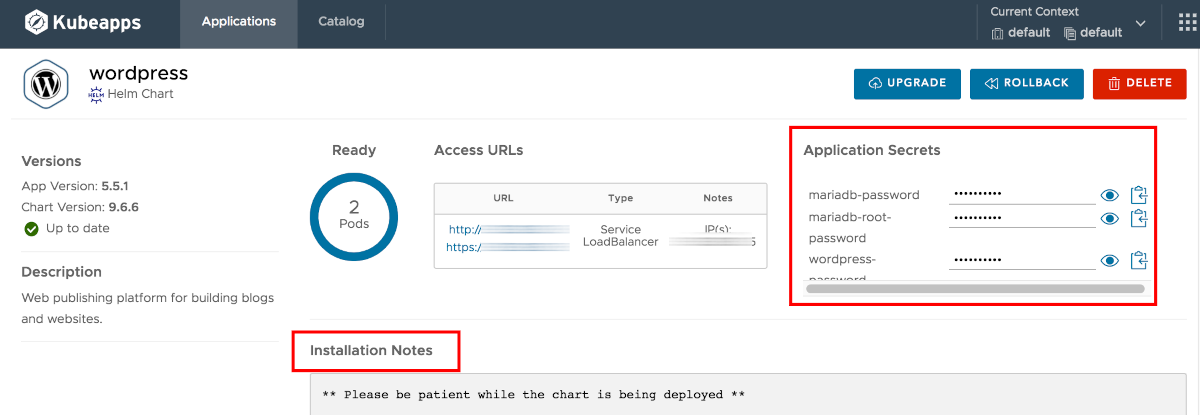
The WordPress chart will now be deployed. The deployment page contains important information to help you use the application, such as the service URL and the WordPress URL and administrator credentials. Refer to the “Application Secrets” section or run the commands shown in the “Notes” display output to obtain this information.
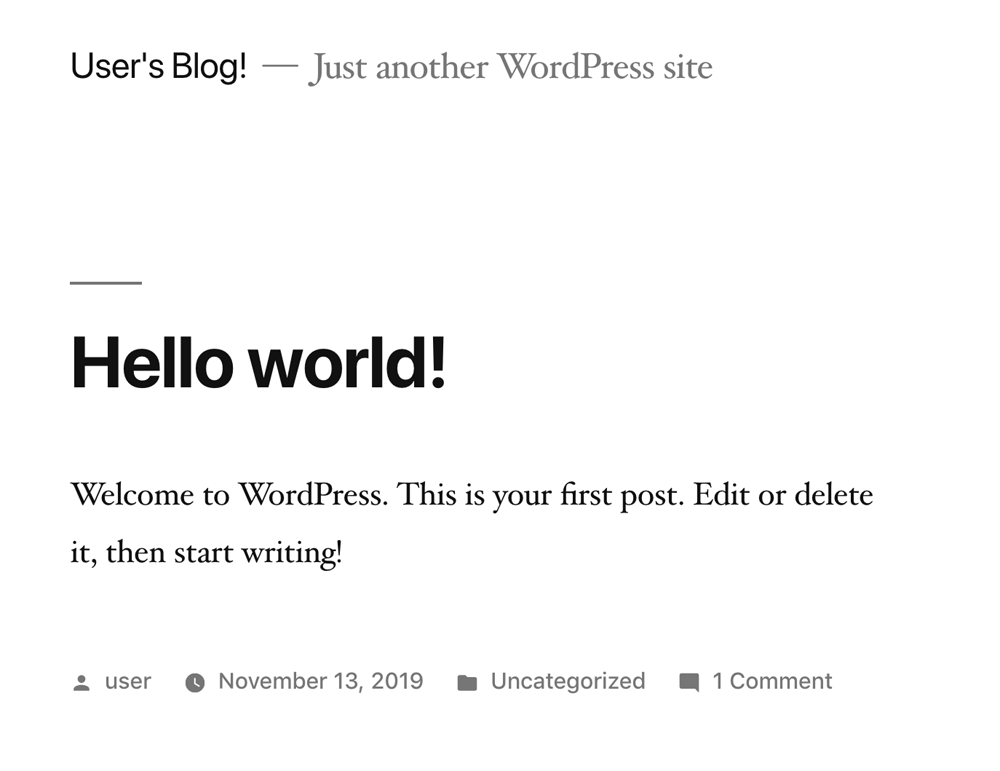
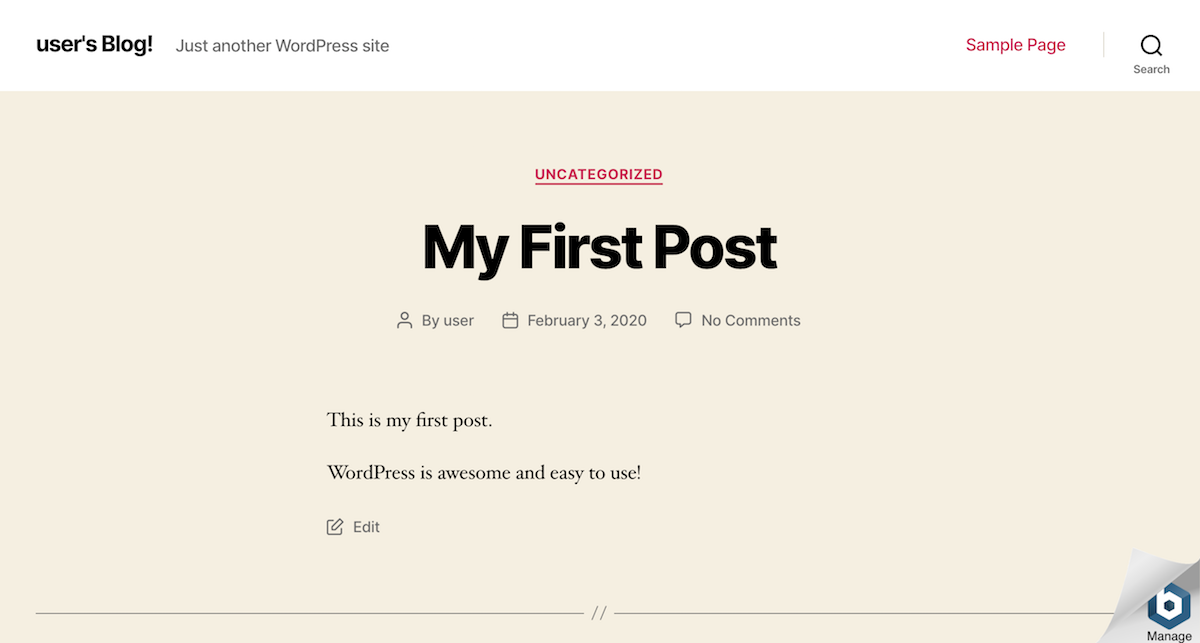
You can now access WordPress by launching your Web browser and browsing to the service URL. You should see the front page of your blog with a sample post, as below:
TIP: To remove a deployment, click the “Delete” button on the deployment detail page. To remove Kubeapps from the cluster, execute the command helm delete kubeapps.
Step 5: Log in and start using WordPress
At the end of this step, you will have logged in to WordPress and created a new blog post.
To log in to the WordPress dashboard, follow these steps:
-
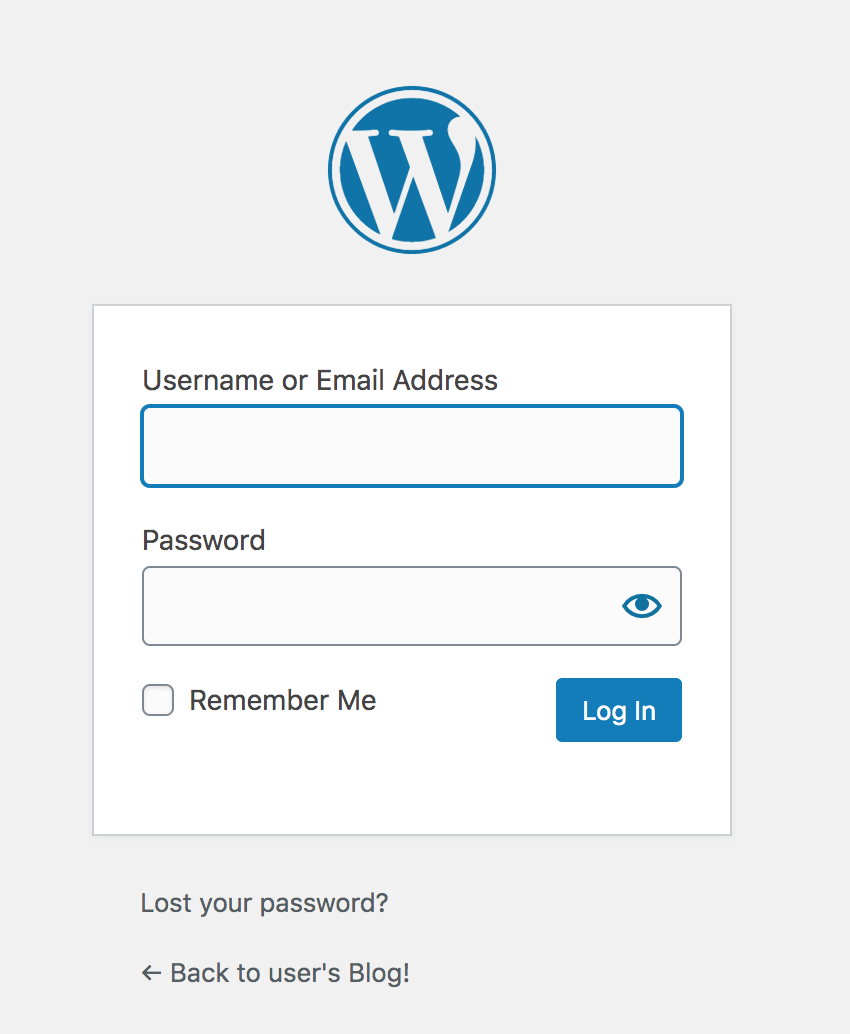
Browse to the WordPress dashboard, usually at the URL http://SERVER-IP/wp-admin.
-
Log in with the administrator credentials from the previous step.
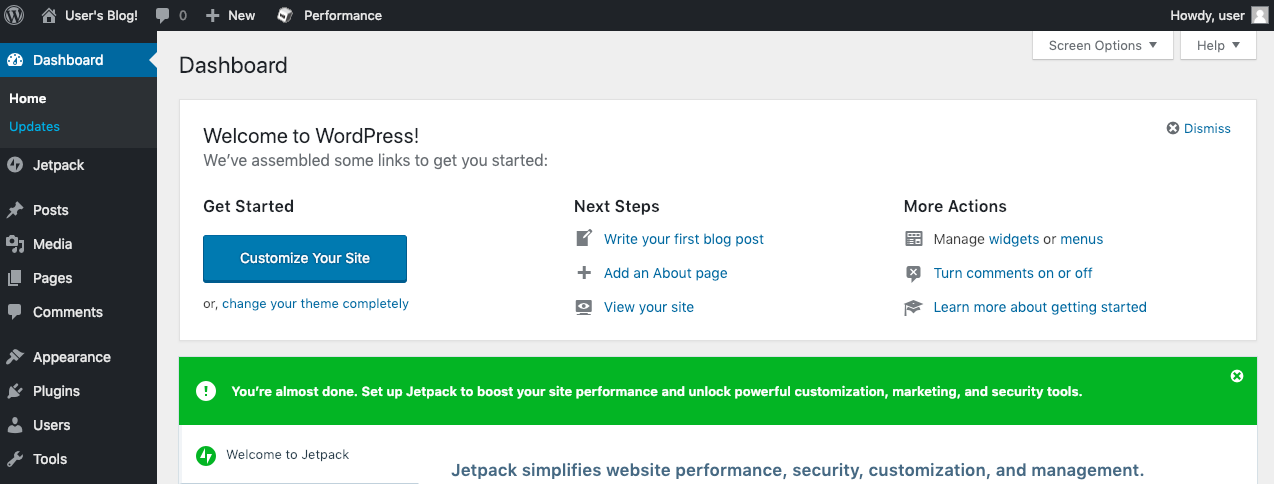
You should now arrive at the WordPress dashboard, which allows you to manage posts, pages and comments; customize your blog with themes and plugins; import and export content; manage navigation menus; add or delete new user accounts; and much more.
Create your first post
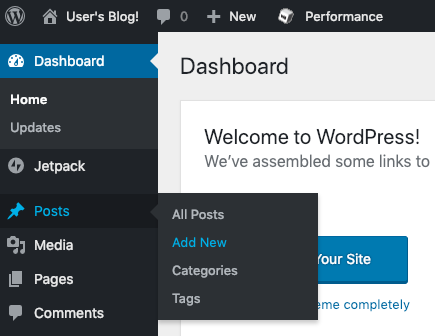
You can now add a new post using the following steps:
-
Select the “Posts -> Add New” menu option to create a new post.
-
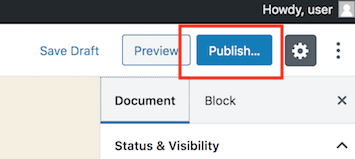
Enter a title and content for the post. You can use the formatting tools at the top of the content area to format your post and add hyperlinks or images.
-
Optionally, choose the format and category for your post.
-
Publish it immediately using the “Publish” button.
And now, when you visit your blog’s front page, you should see your new post.
Congratulations! You now have a working, fully-functional WordPress blog in the cloud.
Keep your WordPress installation up-to-date
You can keep your WordPress installation up-to-date using tools such as VaultPress or the All-in-One WP Migration plugin. Alternatively, for simple upgrades that don’t involve chart changes, you need only to update the container tag/version used in your deployment.
Alternative approach
To deploy Bitnami Helm charts on VMware PKS using the VMware Marketplace, we recommend using Kubeapps, a Web-based UI for deploying and managing applications in Kubernetes clusters, as described in this guide.
However, if you prefer not to use Kubeapps, you can still deploy Bitnami Helm charts on VMware PKS using an alternative approach. The steps below assume that:
- You have an account in the VMware Marketplace.
- You have provisioned a VMware Enterprise PKS or VMware Cloud PKS cluster.
- You have the kubectl command line (kubectl CLI) installed and configured to work with your cluster.
Follow the steps below to install WordPress on your PKS cluster using the Bitnami WordPress Helm chart from the VMware Marketplace:
-
Install and configure Helm, as described in Step 1 of this guide.
-
Log in to the VMware Marketplace.
-
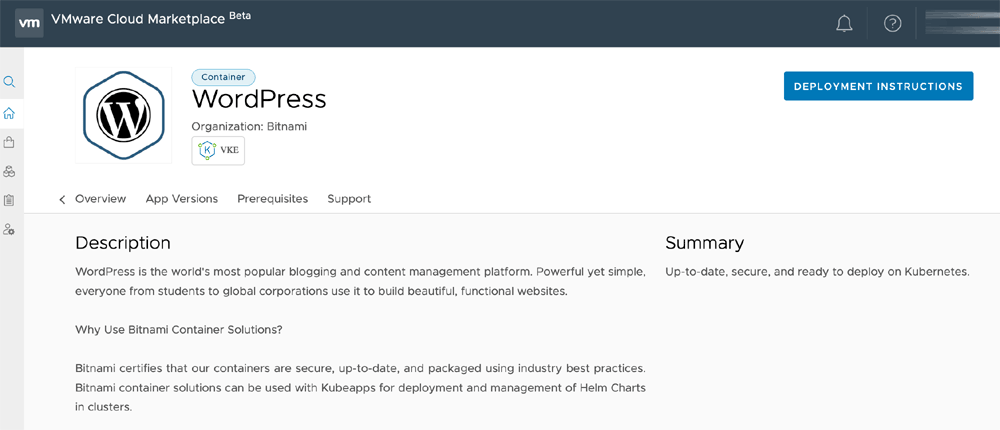
Search for “wordpress” and select the WordPress entry in the list of search results.
-
On the detail page, click the “Deployment Instructions” button.
-
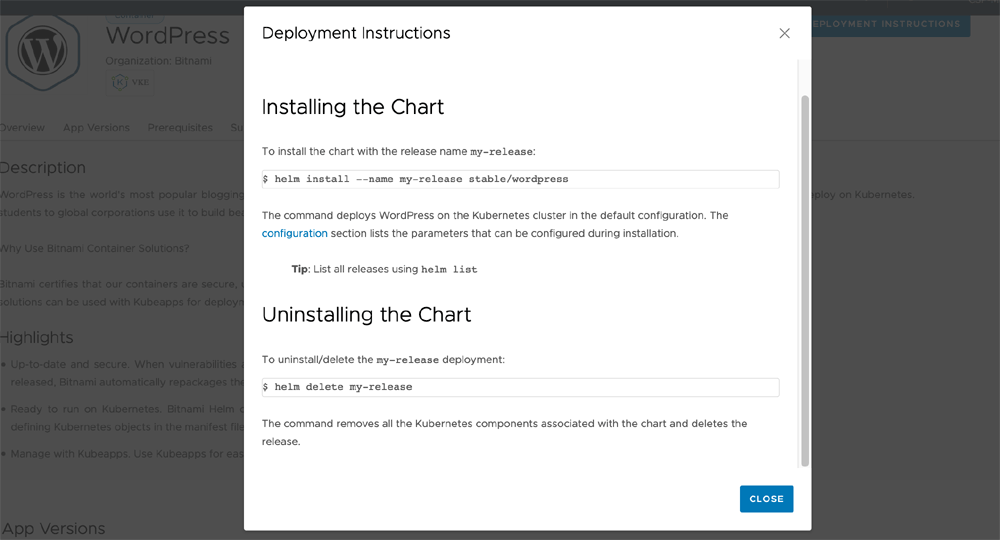
In the resulting dialog, select the latest available version of the application.
-
Follow the commands shown to install WordPress.
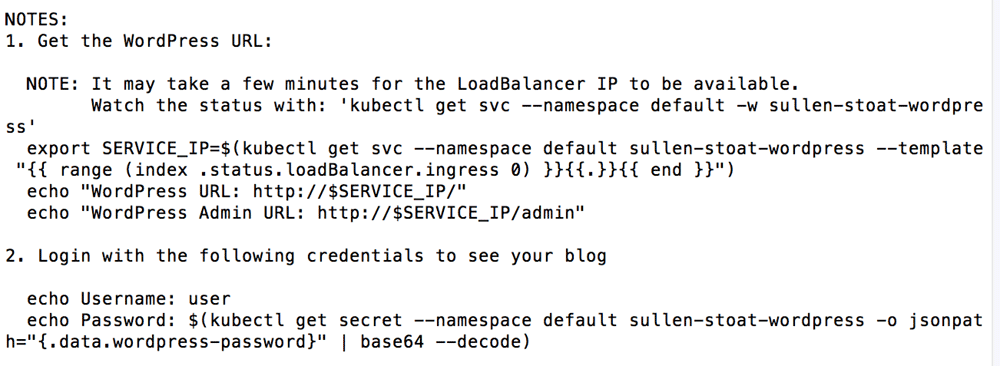
You should see something like the output below as the chart is installed. Pay special attention to the NOTES section of the output, as it contains important information to access the application.
-
Check pod status until all the pods are “running”:
$ kubectl get pods -w -
Obtain the credentials and load balancer URL for the application by executing the commands shown in the output of helm install.
You should now be able to log in and use WordPress, as described in Step 5 of this guide.
Useful links
To learn more about the topics discussed in this tutorial, use the links below: