Connect to the server using SSH
NOTE: A Multi-Tier Solution typically consists of multiple servers. The primary server will have a public IP address. Other servers in the group may have public or private IP addresses, depending on access requirements. The steps below explain how to connect to the primary server. Should you wish to connect to another server in the group, follow the same steps if it has a public IP address, or obtain its private IP address and connect to it from the primary server.
Bitnami Multi-Tier Solutions launched through the GCP Marketplace have port 22 (the SSH access port) disabled by default. This is done to increase the overall security of the deployment. Bitnami recommends that access to port 22 should be specifically enabled at deployment time for trusted IP addresses or IP address ranges. If you do not enable this access, you will not be able to connect to the nodes via the Web console or an external SSH client. Refer to the FAQ for more information on how to enable SSH access at deployment time.
Obtain SSH credentials
Obtain your SSH credentials from the GCP Marketplace
NOTE: To generate a new SSH key pair, you can use PuTTYgen (Windows) or the ssh-keygen command (Linux and Mac OS X). For instructions on how to use PuTTYgen, refer to this page. For instructions on how to use ssh-keygen, refer to this page.
To connect with an SSH client, follow these steps:
-
Prepare an SSH key pair for use.
-
Log in to the Google Cloud Console and select your project.
-
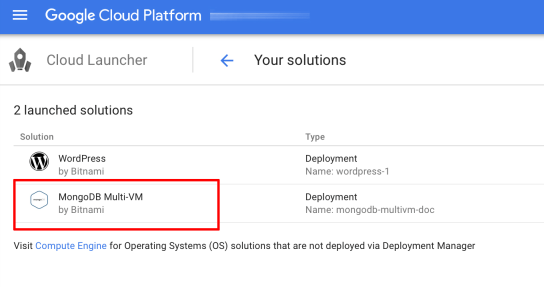
Navigate to the “Cloud Launcher -> Your Solutions” page.

-
Find the solution you wish to connect to in the resulting list and select it.
-
On the solution detail page, select the node you want to connect to. The main node is usually identified by node-1 or principal suffix in the name and the tag vm instance.
-
Click the “Manage Resource” link. The External IP section contains the IP address you will need to use for contacting to the server. Note the public IP address of the server and click the “Edit” link in the top control bar.
-
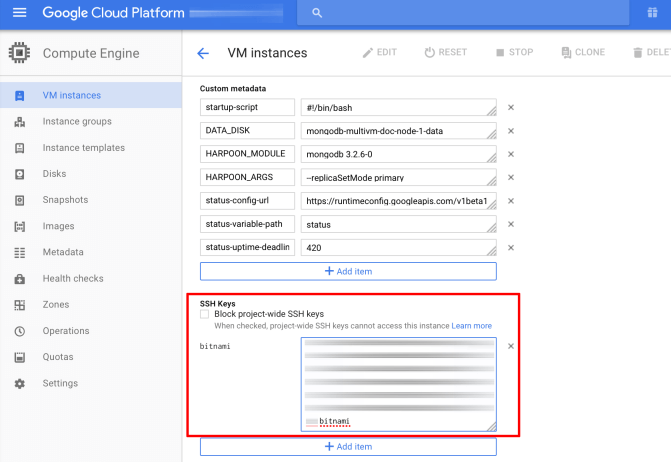
On the resulting page, copy and paste your prepared public SSH key into the “SSH Keys” field.
-
Update the user@hostname comment at the end of the SSH key content to bitnami. This will associate the SSH key with the bitnami user account that is already present on the server. The “Username” next to the form field will update accordingly.
-
Add more keys as needed by clicking the “Add Item” button. Once done, save the changes by clicking the “Save” button.
You should now be able to use any third-party SSH client and the corresponding private SSH key to log in to the server as the bitnami user.
Connect with an SSH client
Connect with an SSH client on Windows using an SSH key
In order to access your server via SSH tunnel you need an SSH client. In the instructions below we have selected PuTTY, a free SSH client for Windows and UNIX platforms. To access the server via SSH tunnel using PuTTY on a specific port using an SSH tunnel, you need to have it configured in order to allow connections to your server.
-
Step 1: Obtain PuTTY
- Download the PuTTY ZIP archive from its website.
- Extract the contents to a folder on your desktop.
- Double-click the putty.exe file to bring up the PuTTY configuration window.
-
Step 2: Convert your PEM private key to PPK format (optional)
If your private key is in .pem format, it is necessary to convert it to PuTTY’s own .ppk format before you can use it with PuTTY. If your private key is already in .ppk format, you may skip this step.
Follow the steps below to convert your .pem private key to .ppk format:
-
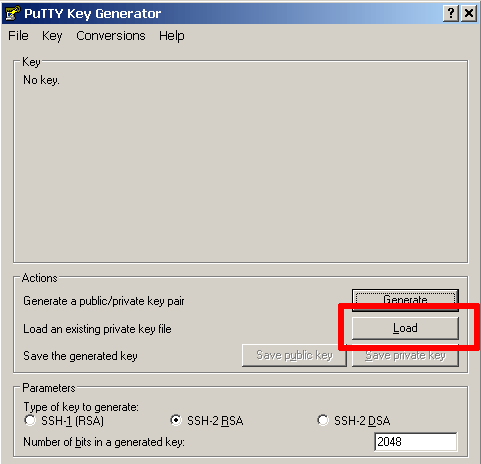
Launch the PuTTY Key Generator by double-clicking the puttygen.exe file in the PuTTY installation directory.
-
Click the “Load” button and select the private key file in .pem format.
-
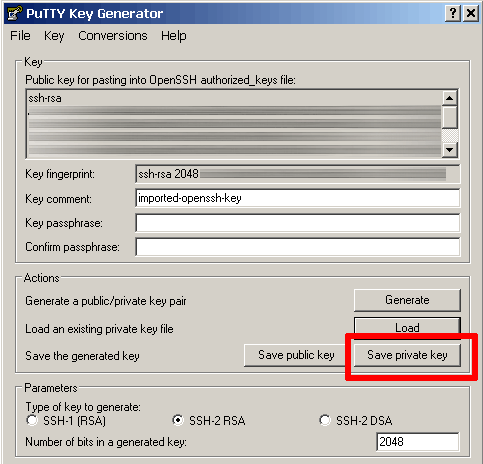
Once the private key has been imported, click the “Save private key” button to convert and save the key in PuTTY’s .ppk key file format.
-
-
Step 3: Configure PuTTY
-
Double-click the putty.exe file to bring up the PuTTY configuration window.
-
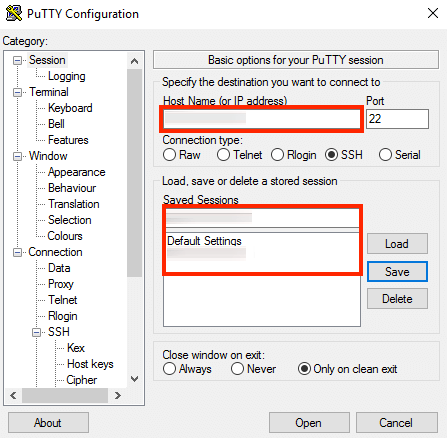
In the PuTTY configuration window, enter the host name or public IP address of your server into the “Host Name (or IP address)” field, as well as into the “Saved Sessions” field. Then, click “Save” to save the new session so you can reuse it later.
-
Obtain your SSH credentials in order to allow the authentication against the server. Refer to the FAQ to learn how to obtain your SSH credentials for your client.
-
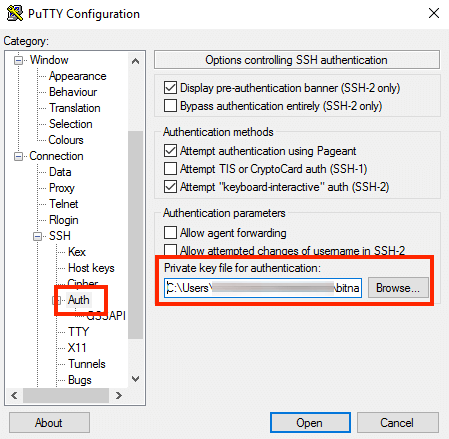
In the “Connection -> SSH -> Auth” section, browse to the private key file (.ppk) you’ve previously obtained in the step above.
-
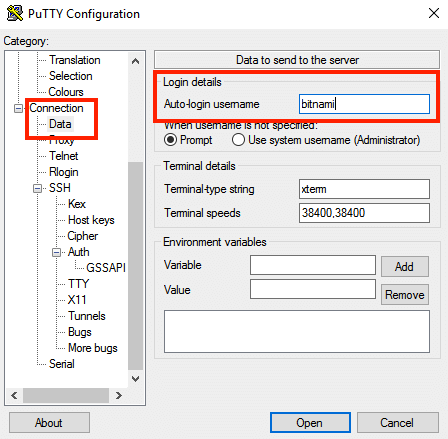
In the “Connection -> Data” section, enter the username bitnami into the “Auto-login username” field, under the “Login details” section.
-
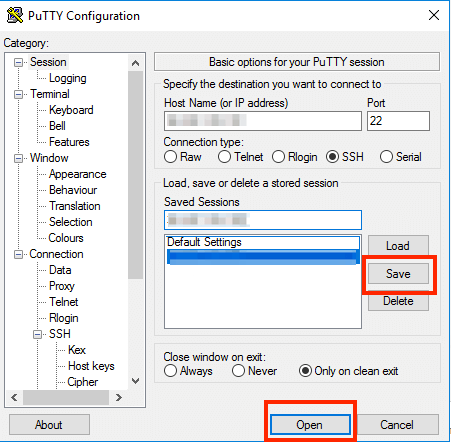
In the “Session” section, click on the “Save” button to save the current configuration.
-
Select the session you want to start (in case that you have saved more than one session) and click the “Open” button to open an SSH session to the server.
PuTTY will first ask you to confirm the server’s host key and add it to the cache. Go ahead and click “Yes” to this request (learn more).
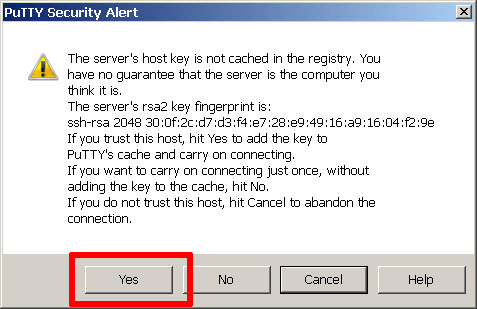
-
You should now be logged in to your server. Here is an example of what you’ll see:
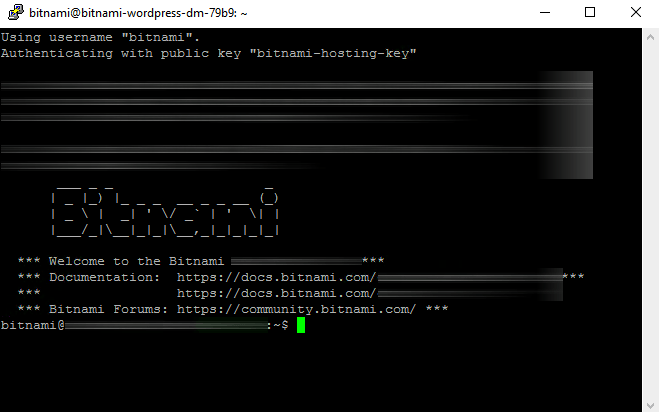
TIP: In case of difficulties using PuTTY, refer to the official documentation for troubleshooting advice and resolution for common error messages.
Connect with an SSH client on Linux and Mac OS X using an SSH key
Linux and Mac OS X come bundled with SSH clients by default. In order to log in to your server, follow the steps below:
-
Open a new terminal window on your local system (for example, using “Finder -> Applications -> Utilities -> Terminal” in Mac OS X or the Dash in Ubuntu).
-
Set the permissions for your private key file (.pem) to 600 using a command like the one below. Refer to the FAQ to learn how to obtain your SSH credentials.
$ chmod 600 KEYFILE -
Connect to the server using the following command:
$ ssh -i KEYFILE bitnami@SERVER-IPRemember to replace KEYFILE in the previous commands with the path to your private key file (.pem), and SERVER-IP with the public IP address or hostname of your server.
-
Your SSH client might ask you to confirm the server’s host key and add it to the cache before connecting. Accept this request by typing or selecting “Yes” (learn more).
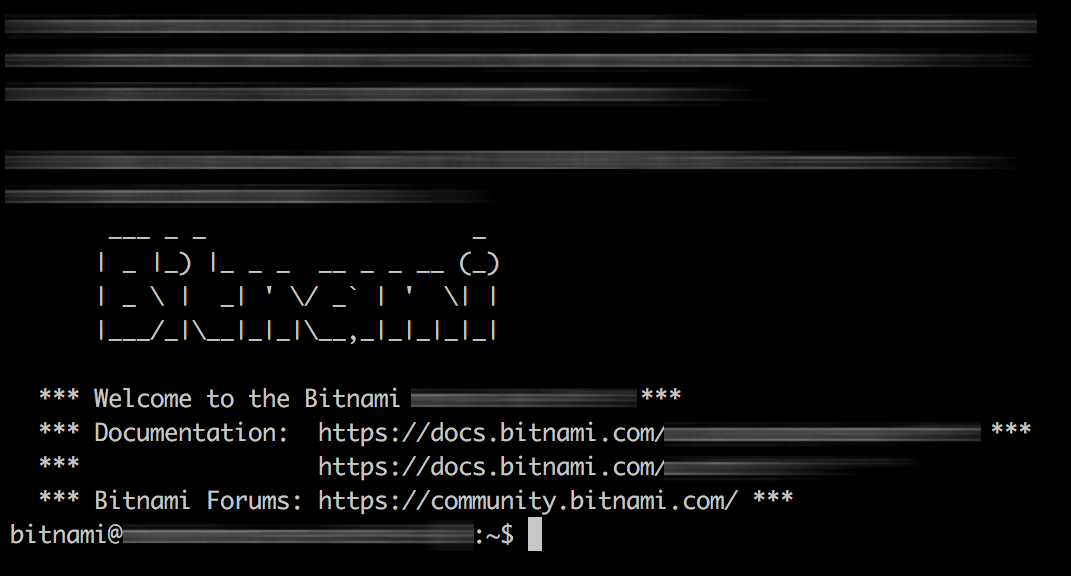
You should now be logged in to your server. Here is an example of what you’ll see:
Forward your key using SSH Agent
With key forwarding, you can connect to a host using an SSH key and then make the key available for subsequent SSH connections from that host. Key forwarding lets you connect to a host (host A) with your SSH key, and then connect to another host (host B) from host A using the same key.
Forward your key using SSH Agent on Windows
To forward your SSH key using PuTTY, you must first have SSH access to your server. Please check the SSH instructions for Windows section for more information on this.
Once you have your SSH client correctly configured, enable SSH Agent forwarding. To do so, follow these steps:
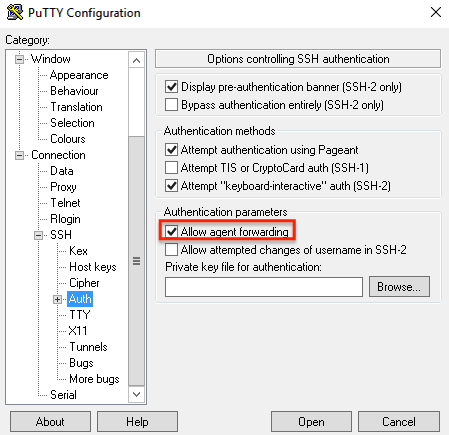
-
In the “Connection -> SSH -> Auth” section, activate the “Allow agent forwarding” checkbox.
-
In the “Session” section, save your changes by clicking the “Save” button.
-
Click the “Open” button to open an SSH session to the server. The SSH session will now forward your key for subsequent SSH sessions starting from the same server. You can check this by running the following:
$ ssh-add -L
TIP: In case of difficulties using PuTTY, refer to the official documentation for troubleshooting advice and resolution for common error messages.
Forward your key using SSH Agent on Linux and Mac OS X
Follow the steps below.
-
Open a new terminal window on your local system (for example, using “Finder -> Applications -> Utilities -> Terminal” in Mac OS X or the Dash in Ubuntu).
-
Ensure that you have the following information:
- IP address of the host which will forward the key.
- Private SSH key (.pem key file) for the host which will forward the key.
-
Run the following command on your local system to add the SSH key to the agent. Remember to replace KEYFILE with the path to your private key:
$ ssh-add KEYFILE -
Connect to the host using the -A option. Remember to replace SERVER-IP with the public IP address or hostname of your host.
$ ssh -A bitnami@SERVER-IP -
The SSH session will now forward your key for subsequent SSH sessions starting from the connected host. You can check this by running the following command:
$ ssh-add -L