Increase or decrease the server disk size
To increase (or decrease) the disk size of your instance, follow these steps:
-
Log in to the Google Cloud Console using the Google Account associated with your project.
-
Select your project from the list of available projects.
-
Click the “Hamburger” button on the left side of the top navigation bar:

-
Select the “Compute -> Compute Engine -> VM Instances” menu item.
-
Select the instance you wish to resize.
-
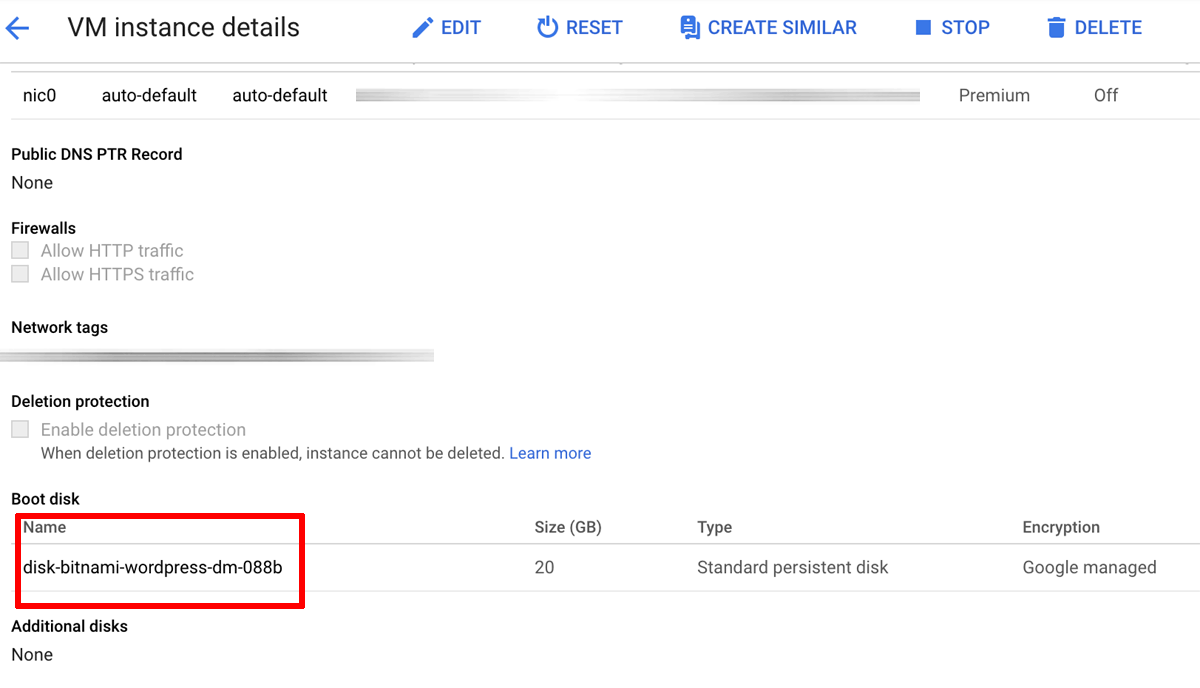
In the “Boot disk” section, select the boot disk of the instance.
-
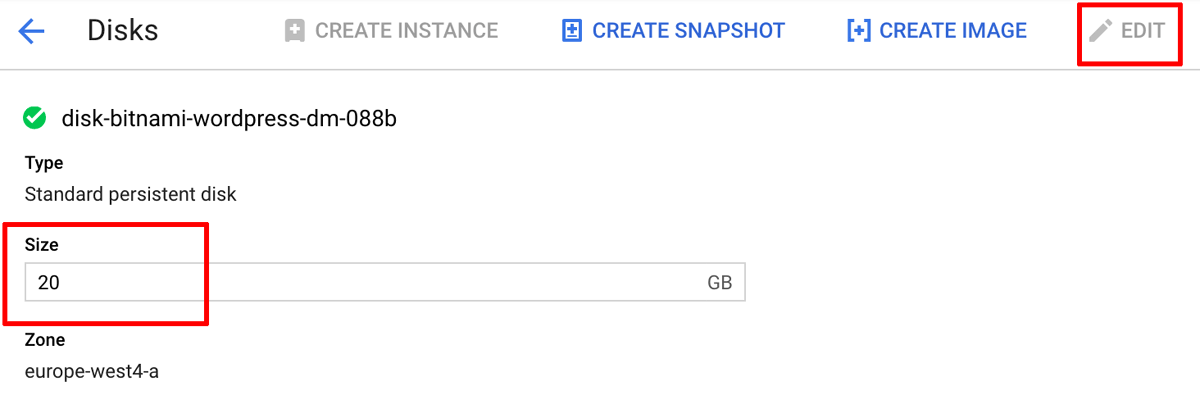
On the “Disks” detail page, click the “Edit” button.
-
Enter a new size (GB) for the disk in the “Size” field and click the “Save” button at the bottom of the page.
-
On the instance detail page, click the “Stop” button and wait for the instance to stop, then click the “Start” button to restart it.
The server should restart using the new disk size.