Migrate Data From One WordPress Instance to Another
Migrate Data From One WordPress Instance to Another
There are two different ways to upgrade and maintain your WordPress installation:
- Use the built-in upgrade feature. Read detailed instructions for this.
- Migrate your installation to a new server instance with an updated version of the application and/or underlying components.
This guide describes the second option. We recommend that you do this from time to time to make sure that you not only have the best and latest version of WordPress, but also have the latest (and most secure) versions of Apache, MariaDB and other software that WordPress runs on. We regularly refresh the images available in the Bitnami library to make sure that you always have access to the most up-to-date software.
Migrating your WordPress blog or website with the “All-in-One WP Migration” plugin is a two-step process. First, you must export the contents of the WordPress instance that you wish to migrate. Then, you must upload and import the archive file created by the export process to the new WordPress instance.
This tutorial assumes that:
- You are using the Bitnami WordPress Stack (not the WordPress Multisite Stack) on both the source and destination WordPress blogs or websites.
- The “All-in-One WP Migration” plugin has been activated on both the source and destination WordPress blogs or websites. Read detailed instructions for this.
NOTE: The “All-in-One WP Migration” plugin is also available for WordPress Multisite, but is not free in this case. However, if you have purchased this plugin for WordPress Multisite, you can still use the instructions in this guide as the plugin works the same way on WordPress and WordPress Multisite.
These are the steps to migrate the data from one WordPress instance to another:
- Step 1: Export WordPress content
- Step 2: Import WordPress content
How to export WordPress content
Follow these steps to export your WordPress blog or website:
-
Log in to the WordPress instance that you wish to migrate.
-
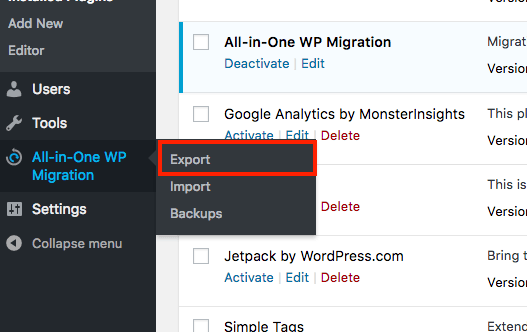
Select the “All-in-One WP Migration -> Export” option.
-
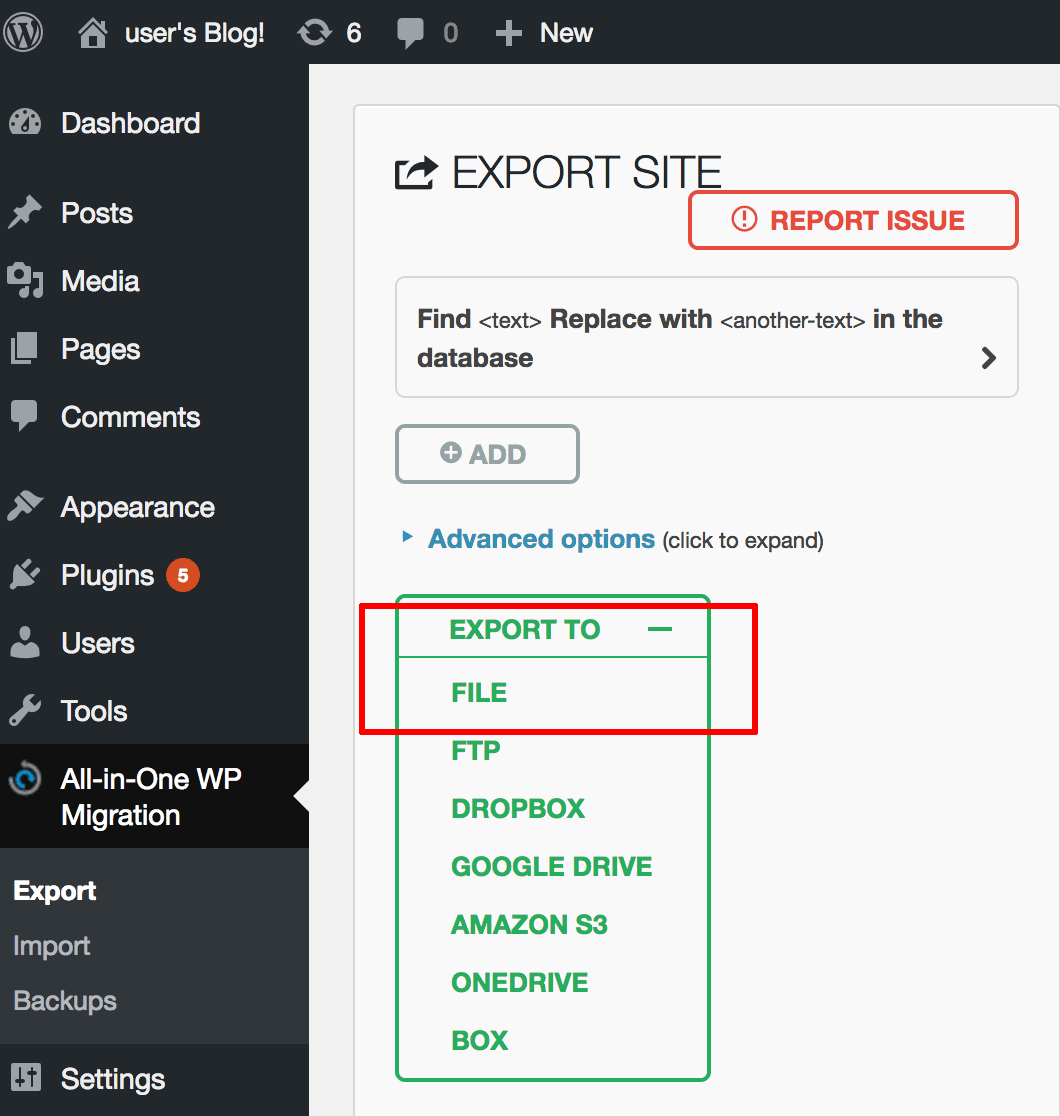
On the resulting page, click the “Export” button and select the “File” option to export the entire content of your WordPress blog, including plugins and themes. If you click other option you will be redirected to a product page for buying the specific extension to export in the format you have selected.
-
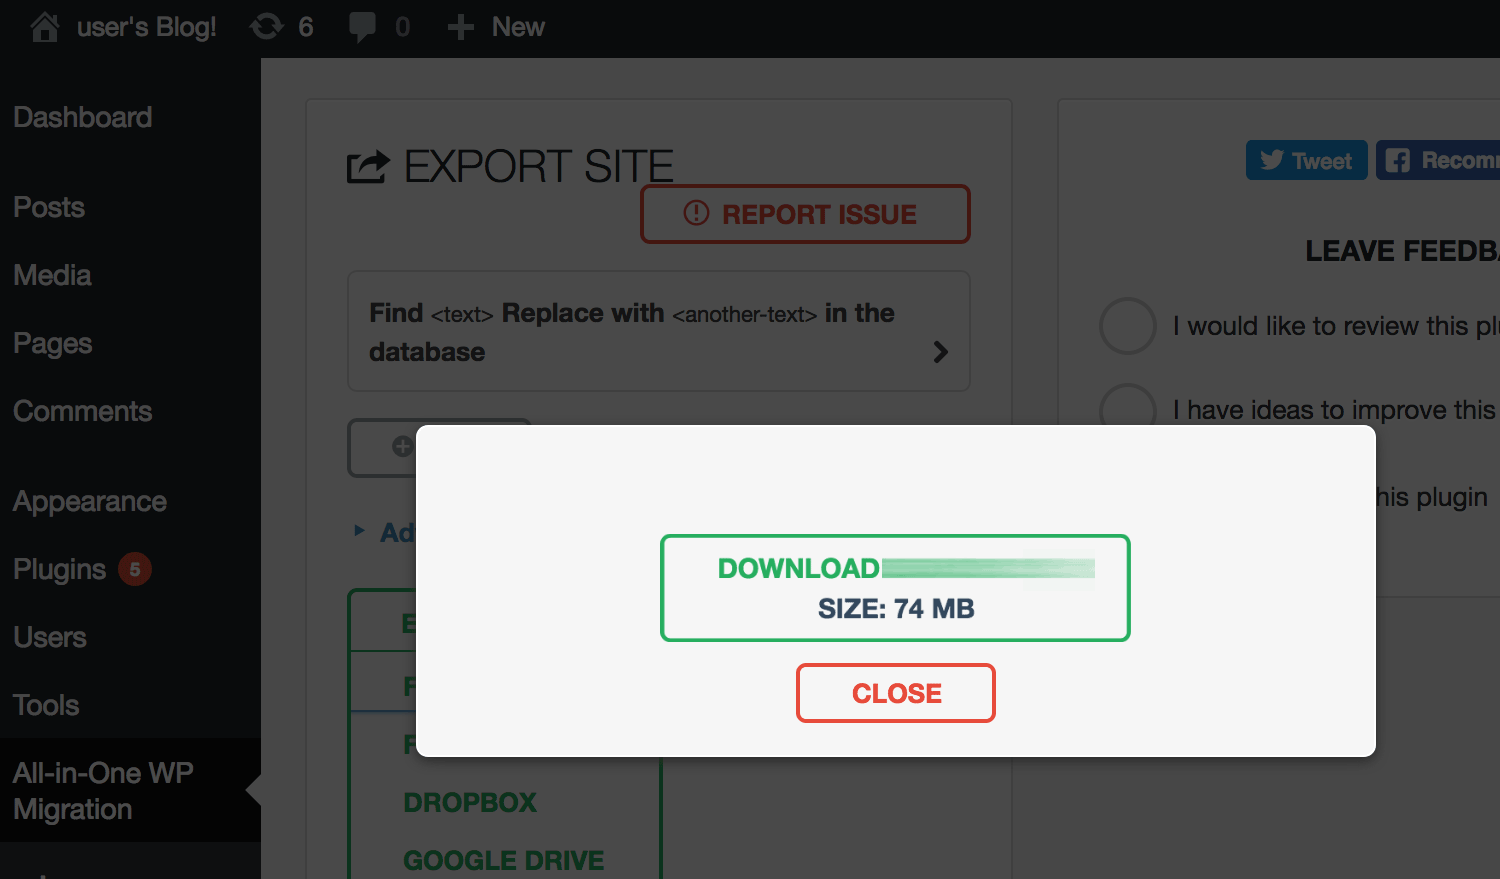
You will now be prompted to download a ZIP file containing the content to be migrated through your browser.
-
Save this file to your local system.
How to import WordPress content
Next, you must import the ZIP file into your new WordPress blog or website. Follow these steps:
-
Log in to the new WordPress instance.
-
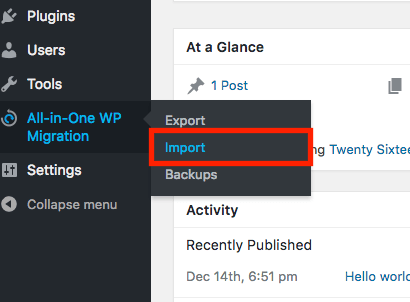
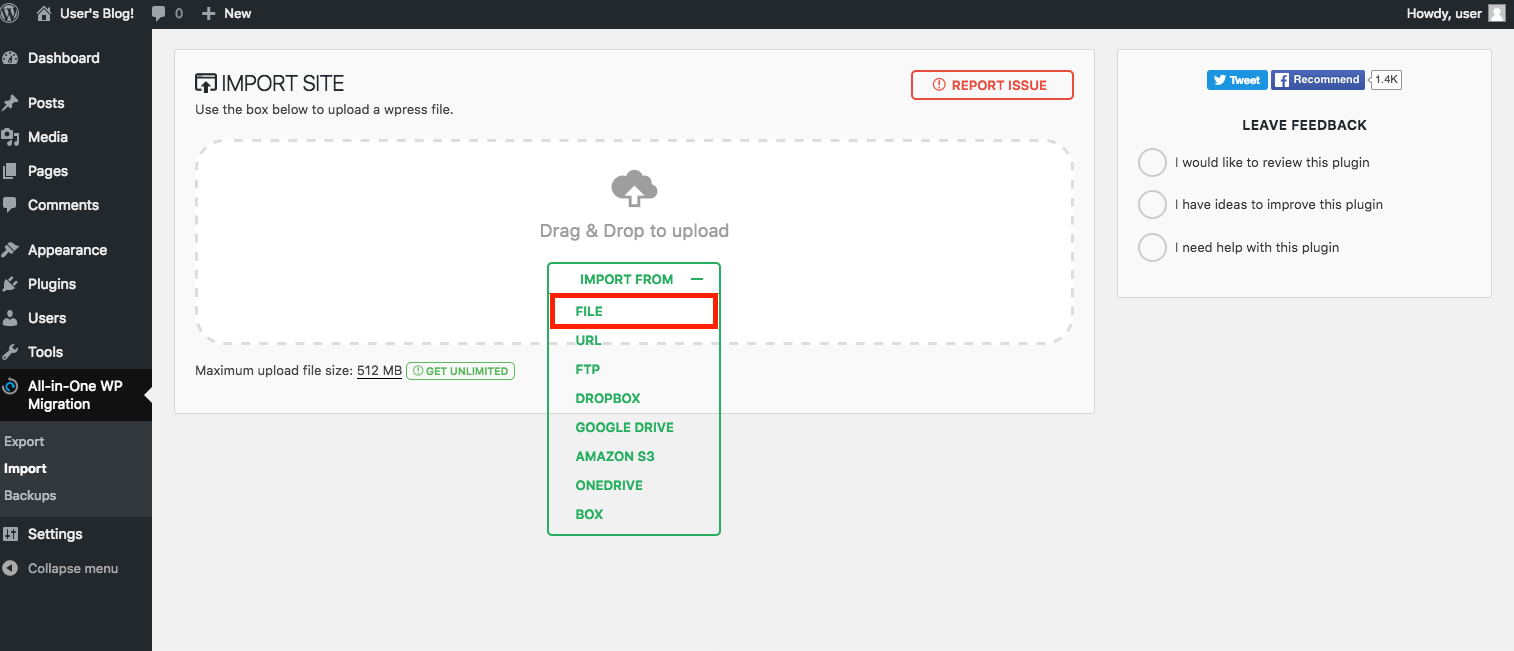
Select the “All-in-One WP Migration -> Import” option.
-
Drag and drop the ZIP file obtained earlier into the page, or click the “File” button on the page and select the ZIP file from your local system.
The file will now be uploaded to the new WordPress instance. You will see a progress bar indicating the progress of the upload.
-
Click the “Continue” button for finishing the exportation process.

-
Once the file is successfully uploaded, the content within it will be automatically transferred to the new WordPress instance and you will be prompted to log in to the WordPress dashboard again.
NOTE: At this point, you must log in using the credentials for the original imported WordPress instance.
-
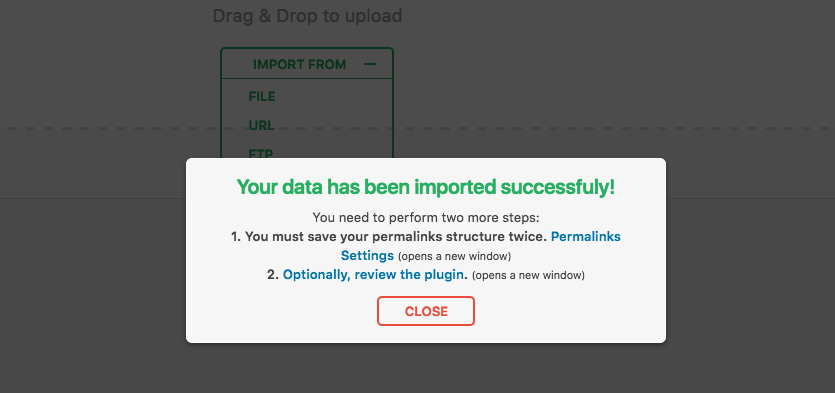
You will now be presented with a success page. Click the “Permalinks Settings” link to proceed.
-
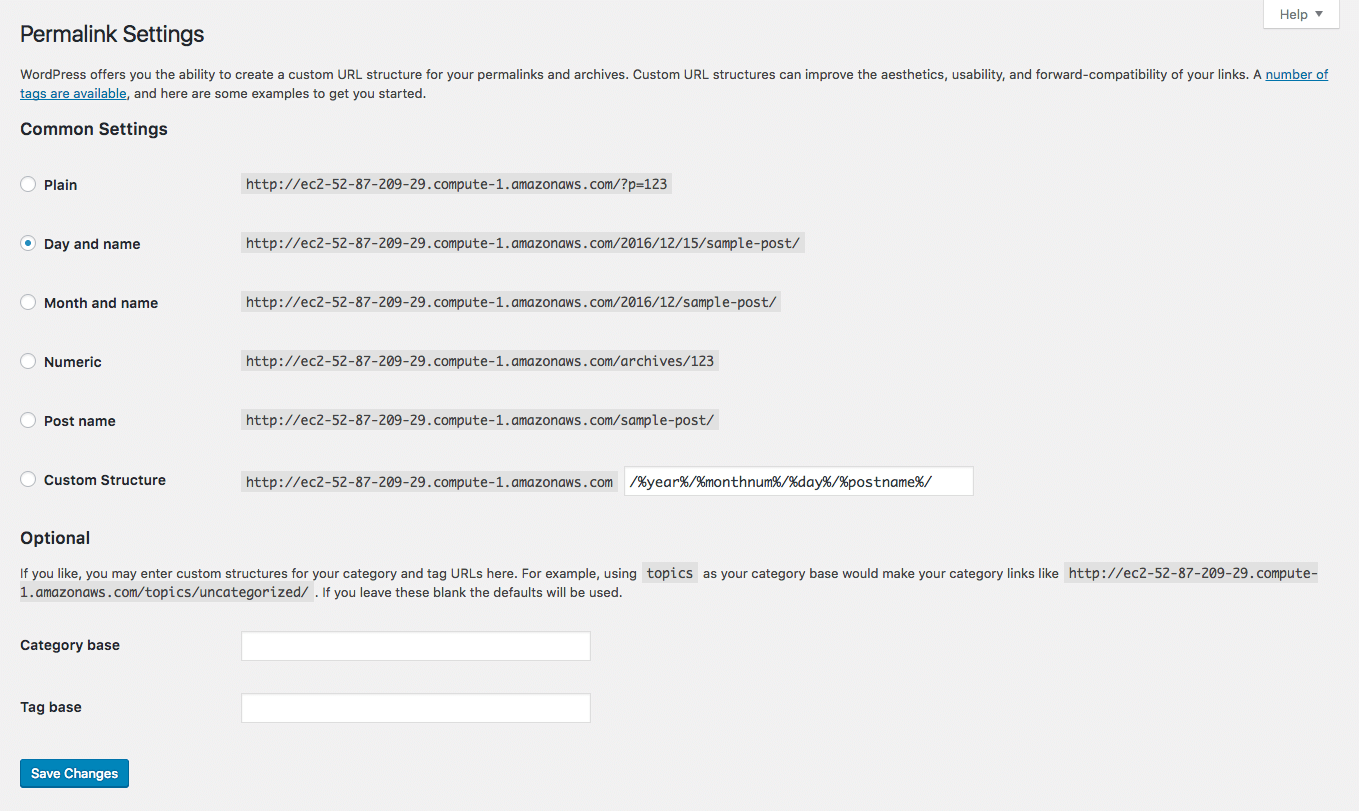
Verify the permalink settings on the resulting page. In most cases, no changes will be necessary. Click “Save Changes” to save your changes.
Your content should now be fully migrated and usable on the new WordPress instance.