Get Started with Bitnami Applications using VirtualBox
Introduction
If you’ve ever tried installing a server application (like WordPress) or a development environment (like an Apache/PHP/MySQL environment), you already know that it’s a lot harder than it seems at first glance. There are files to download and copy, configuration settings to be adjusted, and various other hoops to jump through before you can actually get some productive work in.
There is, however, an alternative and simple approach: a Bitnami virtual machine. Using a virtualization platform like VirtualBox, you can simply start the Bitnami virtual machine image whenever you want to use the application. There are no additional libraries, databases, and runtimes to deal with, and the virtual machine is completely isolated from software installed on your machine.
In this guide, I’ll walk you, step by step, through the process of using a Bitnami virtual appliance with VirtualBox to quickly get started using a new server application.
Overview
WordPress is one of the most popular blogging platforms in the world, in use on over 60 million websites (according to Wikipedia). It’s not hard to see why: WordPress is incredibly easy to use, comes with thousands of extensions and themes, and is completely free and open source.
In this tutorial, I’ll walk you through setting up a Bitnami WordPress virtual machine, which gives you a pre-configured WordPress blog that you can start using right away. But WordPress is just an example: there are hundreds of other Bitnami virtual appliances to choose from, and they’re all equally easy to set up.
Here are the steps you’ll follow in this tutorial:
- Launch a Bitnami WordPress virtual machine with VirtualBox
- Log in and start using WordPress
The next sections will walk you through these steps in detail.
NOTE: This tutorial assumes that you have already downloaded and installed VirtualBox for your platform.
Step 1: Launch a Bitnami WordPress virtual machine
At the end of this step, you will have launched a Bitnami WordPress virtual machine.
Begin by downloading a Bitnami WordPress virtual machine as a .ova file. Once downloaded, follow these steps:
-
Launch VirtualBox.
-
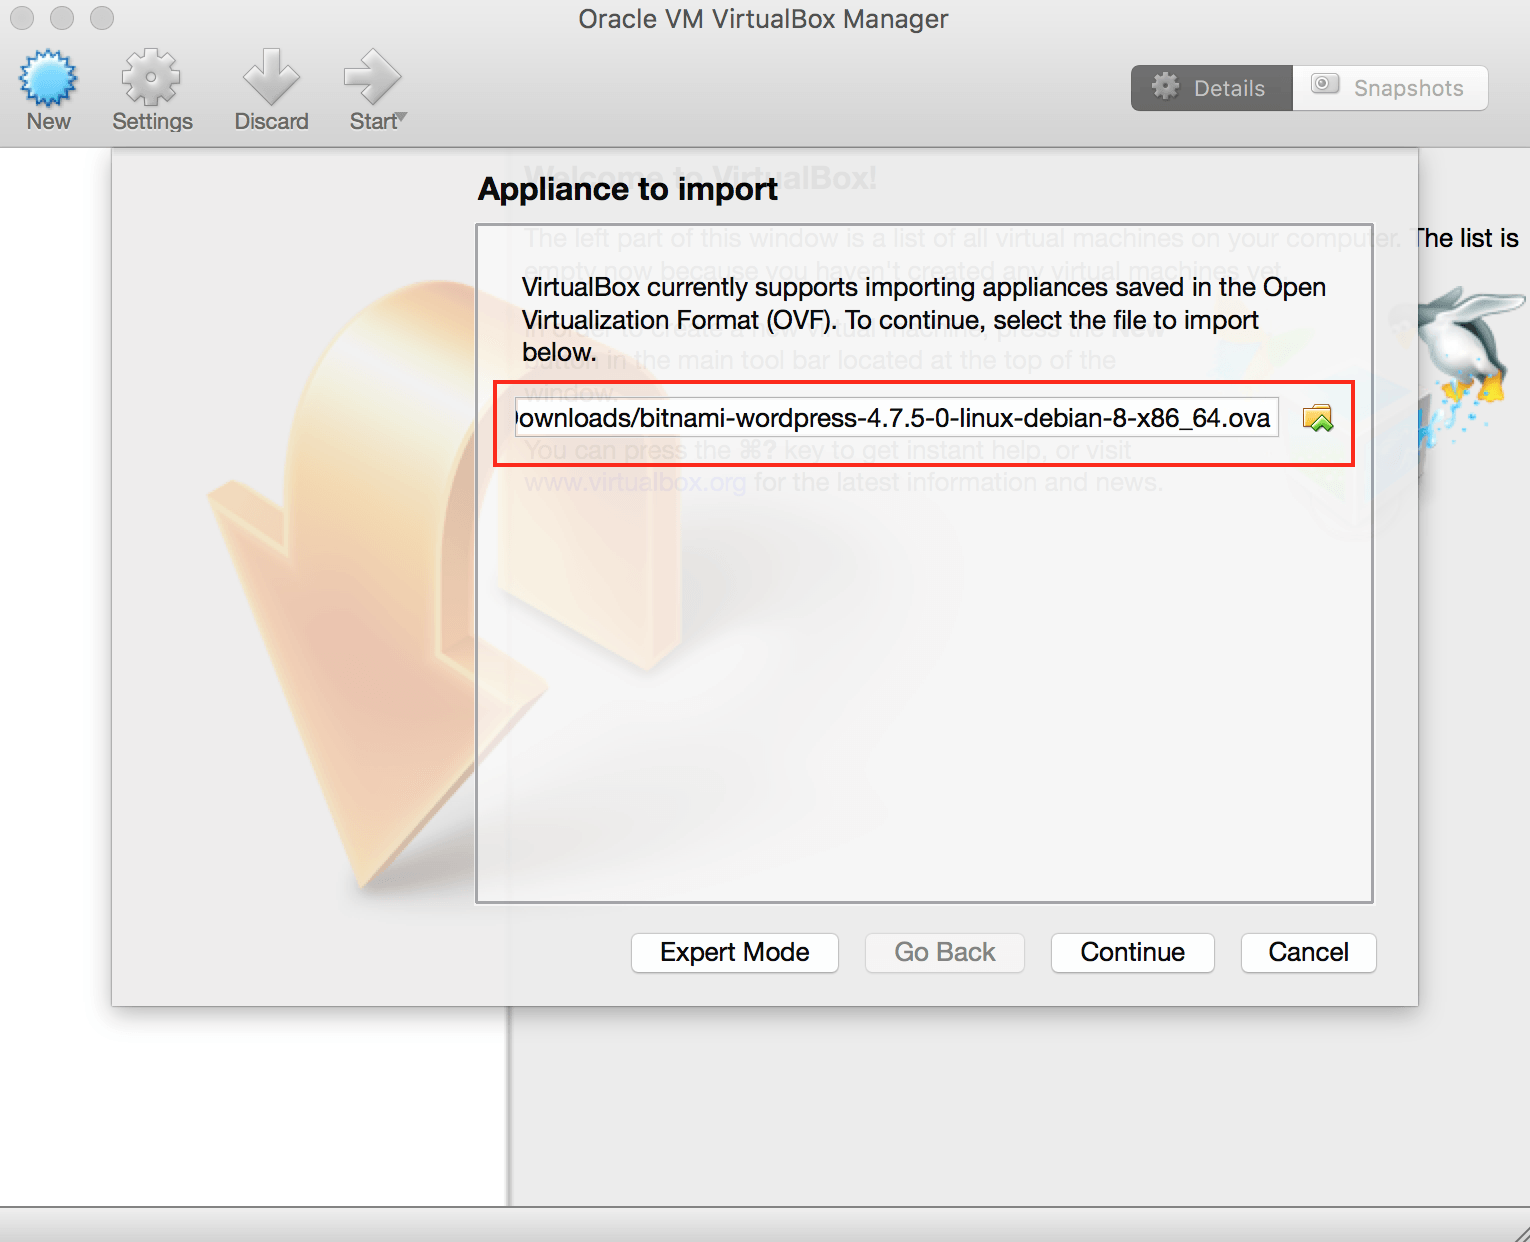
Select the “File -> Import Appliance” menu option in VirtualBox and select the .ova file downloaded from the Bitnami website. Click “Continue” to proceed.
-
Review the configuration displayed and modify values by double-clicking them and entering new values. For example, you can set a different machine name, or adjust the available memory. Click “Import” to proceed.

TIP: Ensure that the memory is set to 512 MB or higher. For Ruby or Java applications, configure the machine memory size to 1 GB or higher.
The virtual machine will now be imported and should appear in the list of virtual machines in the VirtualBox interface. Select it and click the “Start” button in the VirtualBox toolbar. This should launch a new window for the running virtual machine, as shown below:
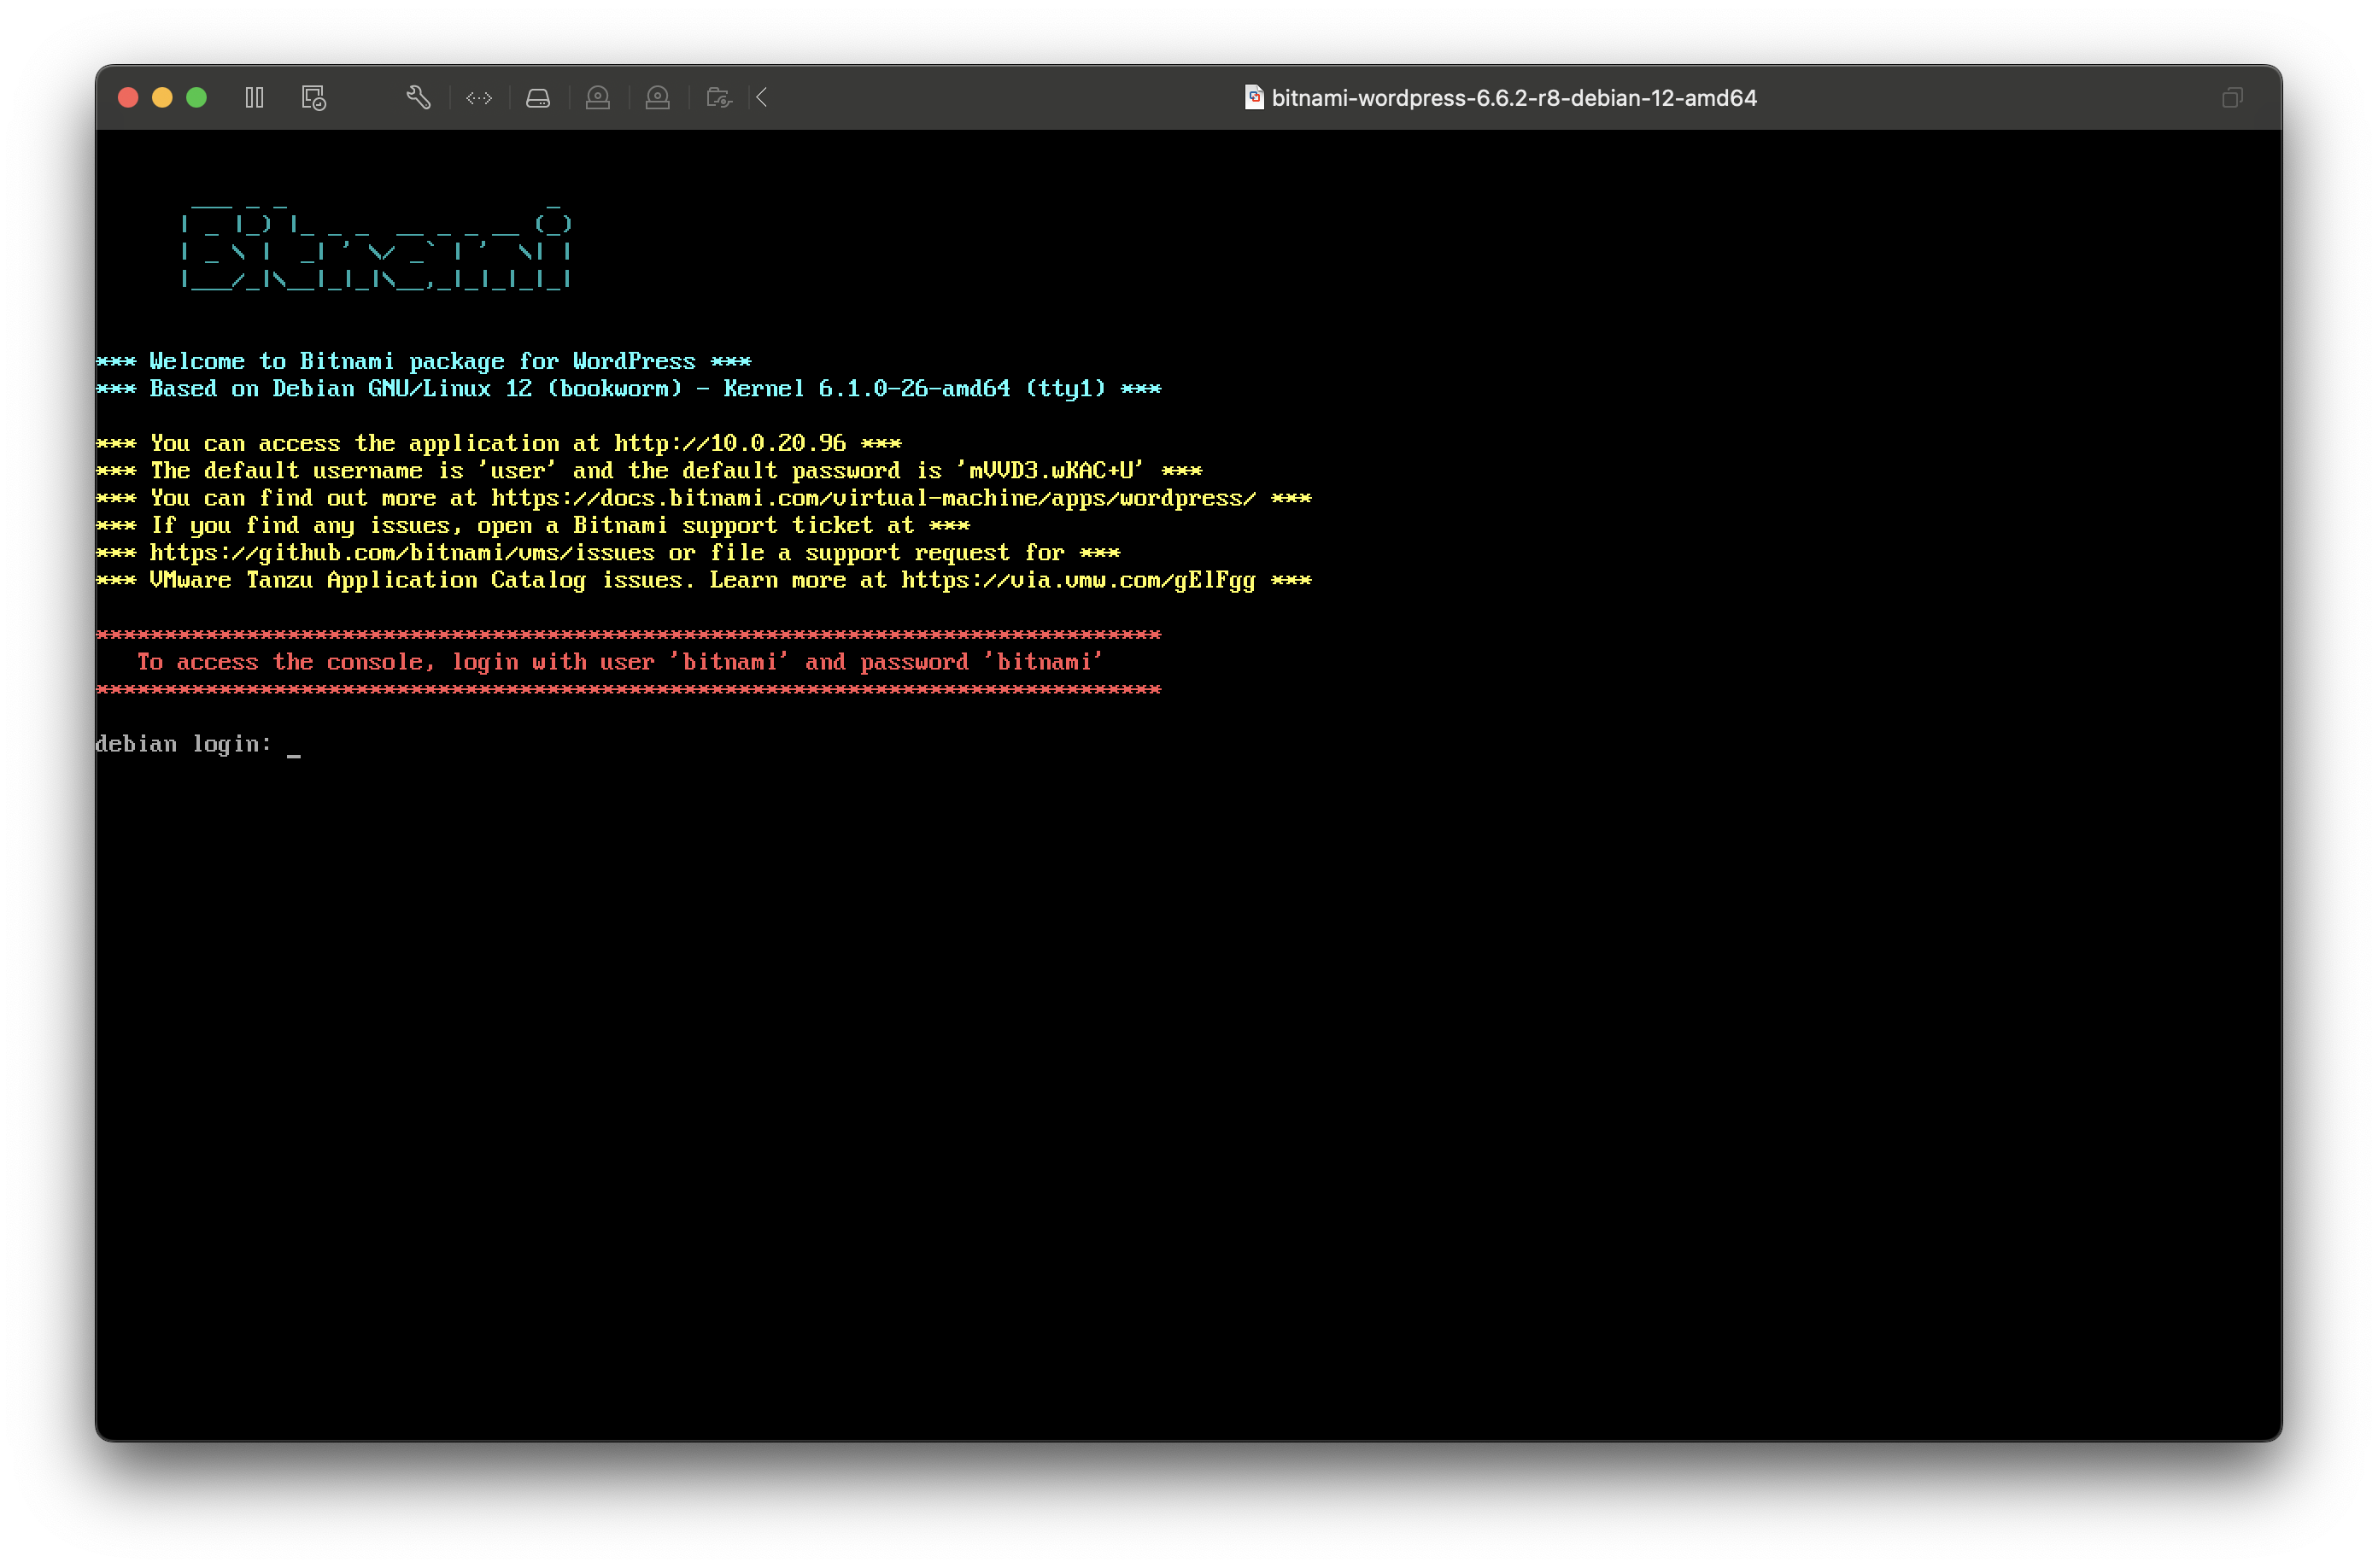
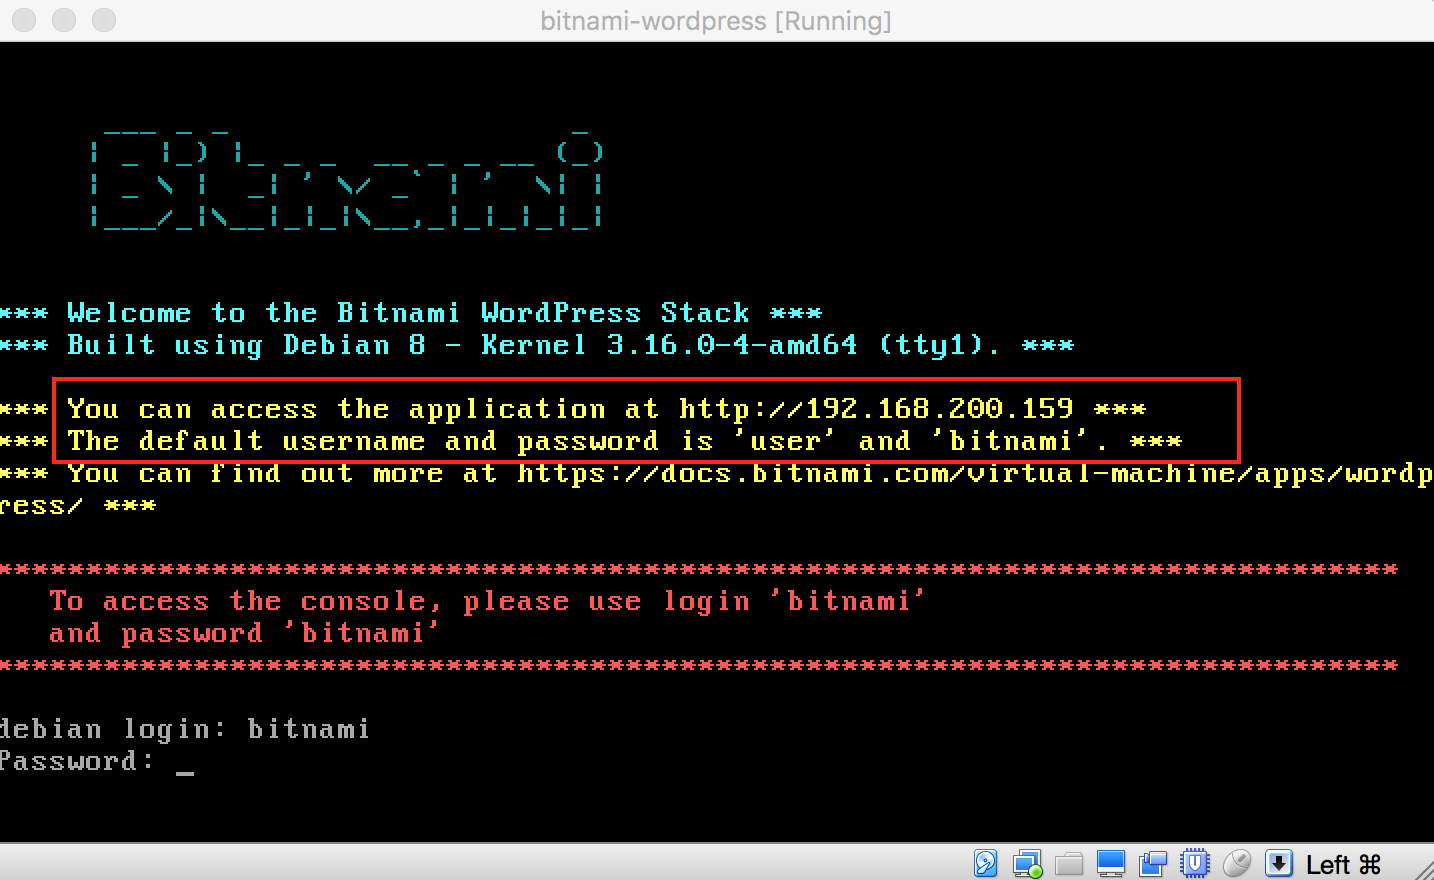
Once the startup process is complete, you should see the virtual machine console with a login prompt, as shown below. The same screen will also display the login credentials for the application and the current IP address of the virtual machine. Make a note of these details.
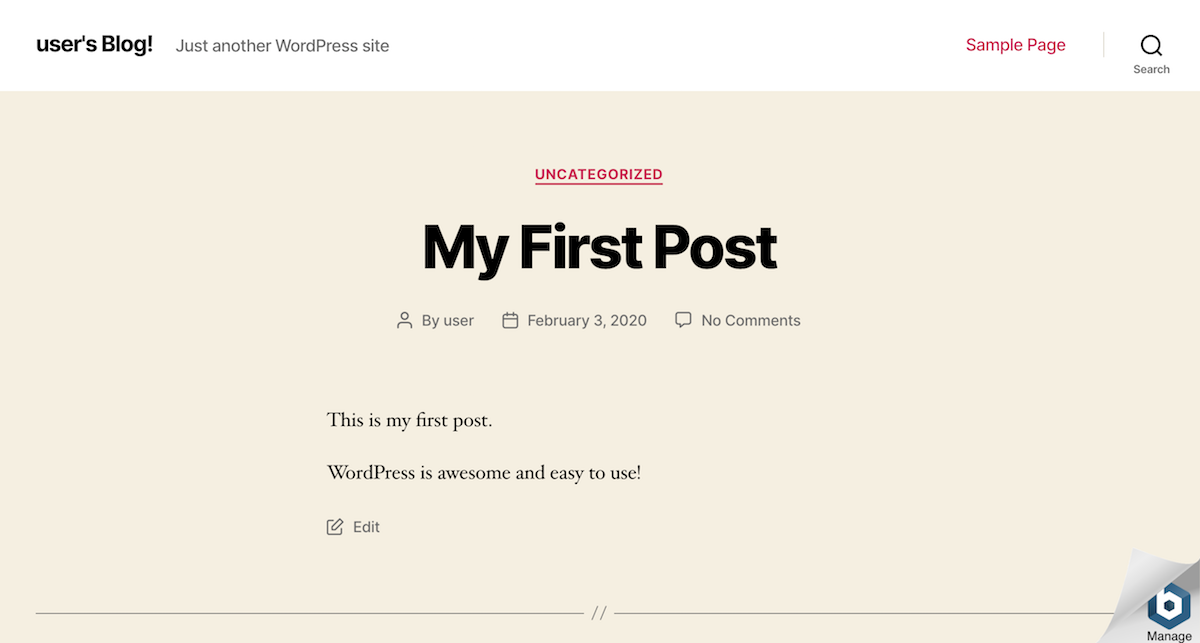
You can now access WordPress by launching your Web browser and browsing to the virtual machine’s IP address. You should see the front page of your blog with a sample post, as below:
Step 2: Log in and start using WordPress
At the end of this step, you will have logged in to WordPress and created a new blog post.
To log in to the WordPress dashboard, follow these steps:
-
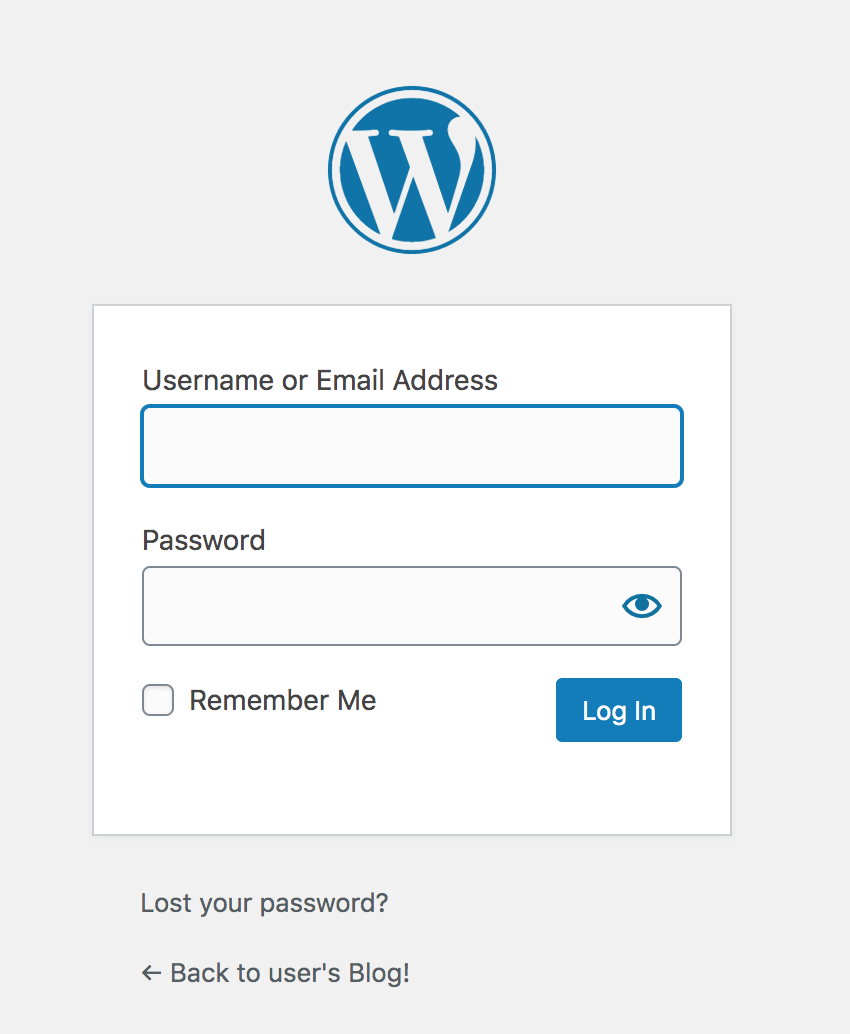
Browse to the WordPress dashboard, usually at the URL http://SERVER-IP/wp-admin.
-
Log in with the administrator credentials from the previous step.
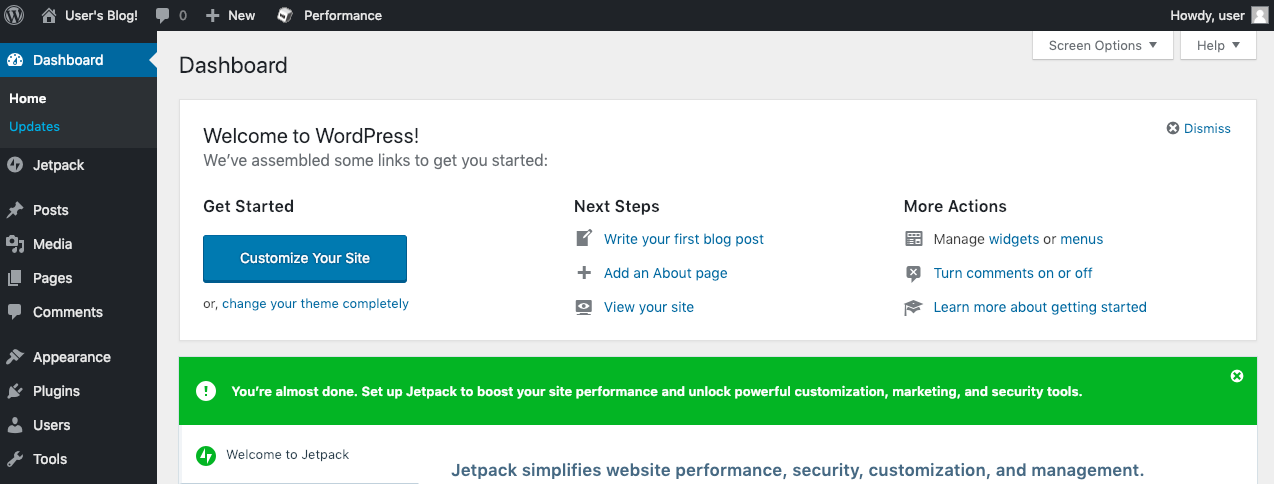
You should now arrive at the WordPress dashboard, which allows you to manage posts, pages and comments; customize your blog with themes and plugins; import and export content; manage navigation menus; add or delete new user accounts; and much more.
Create your first post
You can now add a new post using the following steps:
-
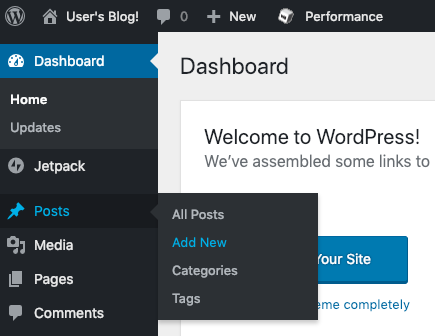
Select the “Posts -> Add New” menu option to create a new post.
-
Enter a title and content for the post. You can use the formatting tools at the top of the content area to format your post and add hyperlinks or images.
-
Optionally, choose the format and category for your post.
-
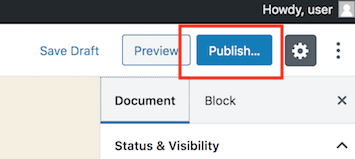
Publish it immediately using the “Publish” button.
And now, when you visit your blog’s front page, you should see your new post.
Congratulations! You now have a working, fully-functional WordPress blog in the cloud.
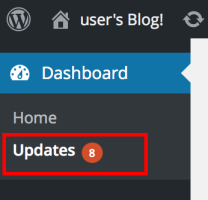
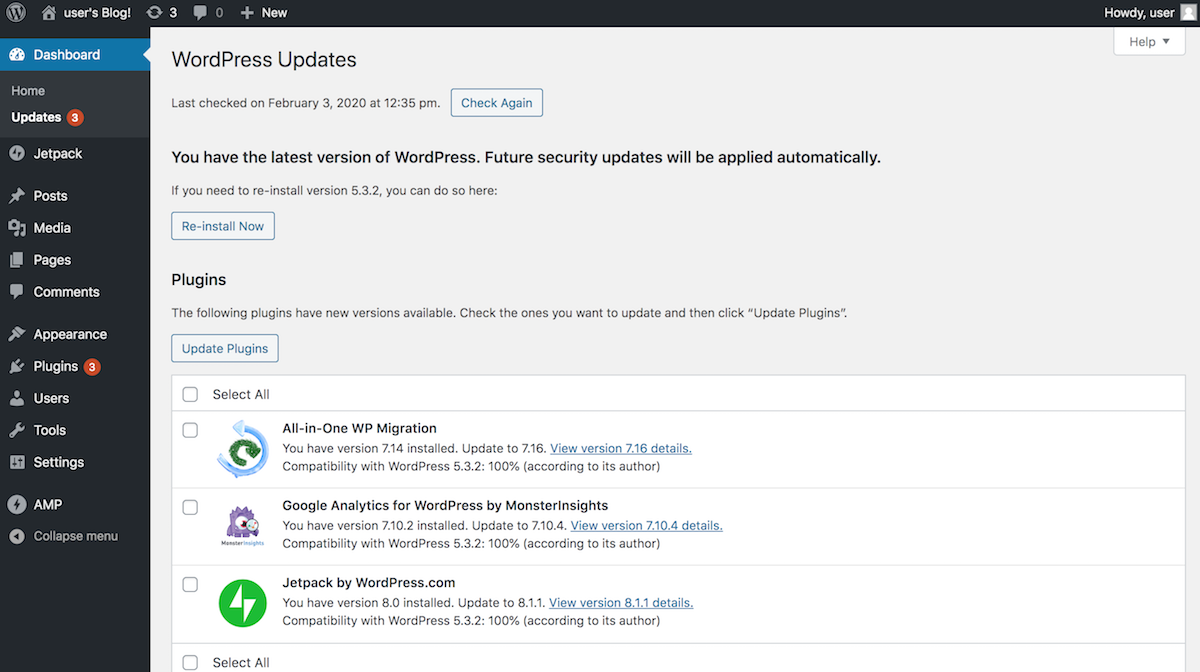
Keep your WordPress installation up-to-date
You can keep your WordPress installation up-to-date with the WordPress update feature. To access this:
-
Log in to WordPress using the administrator account.
-
Select the “Dashboard -> Updates” menu item.
-
Review the resulting page to see if WordPress needs an update. If an update is available, you can install it by clicking the “Update Now” button. You can also re-install WordPress if needed with the “Re-install Now” button.
Useful links
To learn more about the topics discussed in this tutorial, use the links below: