Generate and configure a Let's Encrypt certificate
The steps below describe the process of manually generating and installing a Let’s Encrypt certificate for your Bitnami application. They assume that:
- You have deployed a Bitnami virtual machine and it’s available at a public IP address so that the Let’s Encrypt process can verify your domain.
- You have the necessary credentials to log in to the Bitnami application instance.
- You own one or more domain names.
- You have configured the domain name’s DNS record to point to the public IP address of your Bitnami application instance.
Follow the steps below:
Step 1: Install the Lego client
The Lego client simplifies the process of Let’s Encrypt certificate generation. To use it, follow these steps:
-
Log in to the server console as the bitnami user.
-
Run the following commands to install the Lego client. Note that you will need to replace the X.Y.Z placeholder with the actual version number of the downloaded archive:
  $ cd /tmp
  $ curl -Ls https://api.github.com/repos/xenolf/lego/releases/latest | grep browser_download_url | grep linux_amd64 | cut -d '"' -f 4 | wget -i -
  $ tar xf lego_vX.Y.Z_linux_amd64.tar.gz
  $ sudo mkdir -p /opt/bitnami/letsencrypt
  $ sudo mv lego /opt/bitnami/letsencrypt/lego
These steps will download, extract and copy the Lego client to a directory in your path.
Step 2: Generate a Let’s Encrypt certificate for your domain
NOTE: Before proceeding with this step, ensure that your domain name points to the public IP address of the Bitnami application host. If the Bitnami application host is behind a load balancer or CDN, the commands below require additional parameters, which can be provided by the Bitnami support team on request.
The next step is to generate a Let’s Encrypt certificate for your domain.
-
Turn off all Bitnami services:
$ sudo /opt/bitnami/ctlscript.sh stop -
Request a new certificate for your domain as below, both with and without the www prefix.
IMPORTANT: Replace the DOMAIN placeholder with your actual domain name, and the EMAIL-ADDRESS placeholder with your email address.
$ sudo /opt/bitnami/letsencrypt/lego --tls --email="EMAIL-ADDRESS" --domains="DOMAIN" --domains="www.DOMAIN" --path="/opt/bitnami/letsencrypt" runNOTE: You can use more than one domain (for example, DOMAIN and www.DOMAIN) by specifying the --domains option as many times as the number of domains you want to specify. When supplying multiple domains, Lego creates a SAN (Subject Alternate Names) certificate which results in only one certificate valid for all domains you entered. The first domain in your list will be added as the “CommonName” of the certificate and the rest, will be added as “DNSNames” to the SAN extension within the certificate.
-
Agree to the terms of service.
A set of certificates will now be generated in the /opt/bitnami/letsencrypt/certificates directory. This set includes the server certificate file DOMAIN.crt and the server certificate key file DOMAIN.key.
IMPORTANT: For security reasons, never post or disclose your server’s SSL private key file in a public forum.
An output message will provide some information, including the expiry date of the certificate. Note this expiry date carefully as you will need to renew your certificate before that date in order for it to remain valid.
An example certificate is shown below:
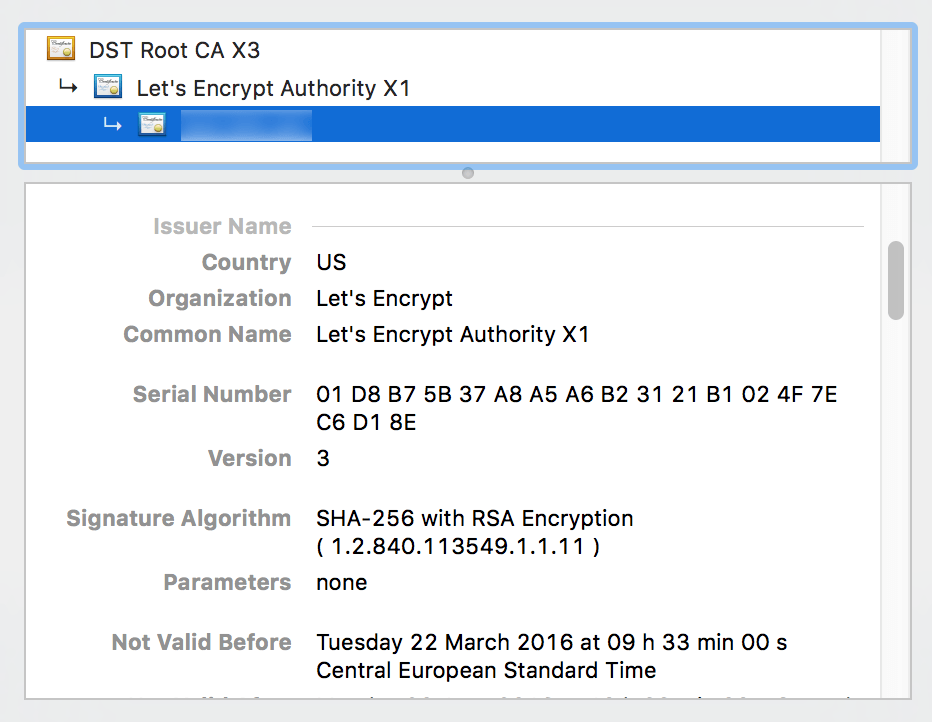
NOTE: The steps described above will generate certificates for one or more explicitly-named domains. To generate a certificate for a wildcard domain, you will need to use DNS-01 validation when running the lego tool, as explained in the official Let’s Encrypt documentation.
NOTE: Many browsers perform SSL verification of HTTPS endpoints before executing any redirection. This means that if you plan to redirect HTTPS requests to a non-HTTPS endpoint, you must ensure that your SSL certificate includes an entry for the HTTPS endpoint requested in the first instance.
Step 3: Configure the Web server to use the Let’s Encrypt certificate
Next, tell the Web server about the new certificate, as follows:
-
Link the new SSL certificate and certificate key file to the correct locations. Update the file permissions to make them readable by the root user only.
IMPORTANT: Remember to replace the DOMAIN placeholder with your actual domain name.
$ sudo mv /opt/bitnami/nginx/conf/bitnami/certs/server.crt /opt/bitnami/nginx/conf/bitnami/certs/server.crt.old $ sudo mv /opt/bitnami/nginx/conf/bitnami/certs/server.key /opt/bitnami/nginx/conf/bitnami/certs/server.key.old $ sudo mv /opt/bitnami/nginx/conf/server.csr /opt/bitnami/nginx/conf/server.csr.old $ sudo ln -sf /opt/bitnami/letsencrypt/certificates/DOMAIN.key /opt/bitnami/nginx/conf/bitnami/certs/server.key $ sudo ln -sf /opt/bitnami/letsencrypt/certificates/DOMAIN.crt /opt/bitnami/nginx/conf/bitnami/certs/server.crt $ sudo chown root:root /opt/bitnami/nginx/conf/server* $ sudo chmod 600 /opt/bitnami/nginx/conf/server* $ sudo ln -sf /opt/bitnami/letsencrypt/certificates/DOMAIN.key /opt/bitnami/apps/mattermost/conf/certs/server.key $ sudo ln -sf /opt/bitnami/letsencrypt/certificates/DOMAIN.crt /opt/bitnami/apps/mattermost/conf/certs/server.crt -
Restart all Bitnami services:
$ sudo /opt/bitnami/ctlscript.sh start
To add one or more domains to an existing certificate, simply repeat Steps 2 and 3 again, ensuring the same order of domain names is maintained in the lego command and adding the new domain name(s) to the end with additional –domains arguments.
Step 4: Test the configuration
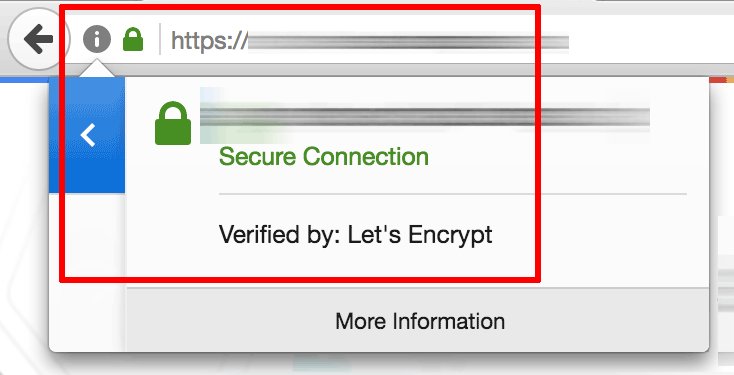
After reconfirming that your domain name points to the public IP address of the Bitnami application instance, you can test it by browsing to https://DOMAIN (replace the DOMAIN placeholder with the correct domain name).
This should display the secure welcome page of the Bitnami application. Clicking the padlock icon in the browser address bar should display the details of the domain and SSL certificate.
Step 5: Renew the Let’s Encrypt certificate
Let’s Encrypt certificates are only valid for 90 days. To renew the certificate before it expires, run the following commands from the server console as the bitnami user. Remember to replace the DOMAIN placeholder with your actual domain name, and the EMAIL-ADDRESS placeholder with your email address.
    $ sudo /opt/bitnami/ctlscript.sh stop
    $ sudo /opt/bitnami/letsencrypt/lego --tls --email="EMAIL-ADDRESS" --domains="DOMAIN" --path="/opt/bitnami/letsencrypt" renew --days 90
    $ sudo /opt/bitnami/ctlscript.sh start
To automatically renew your certificates before they expire, write a script to perform the above tasks and schedule a cron job to run the script periodically. To do this:
-
Create a script at /opt/bitnami/letsencrypt/scripts/renew-certificate.sh
$ sudo mkdir -p /opt/bitnami/letsencrypt/scripts $ sudo nano /opt/bitnami/letsencrypt/scripts/renew-certificate.sh -
Enter the following content into the script and save it. Remember to replace the DOMAIN placeholder with your actual domain name, and the EMAIL-ADDRESS placeholder with your email address.
For NGINX:
#!/bin/bash sudo /opt/bitnami/ctlscript.sh stop nginx sudo /opt/bitnami/letsencrypt/lego --tls --email="EMAIL-ADDRESS" --domains="DOMAIN" --path="/opt/bitnami/letsencrypt" renew --days 90 sudo /opt/bitnami/ctlscript.sh start nginx -
Make the script executable:
$ sudo chmod +x /opt/bitnami/letsencrypt/scripts/renew-certificate.sh -
Execute the following command to open the crontab editor:
$ sudo crontab -e -
Add the following lines to the crontab file and save it:
0 0 1 * * /opt/bitnami/letsencrypt/scripts/renew-certificate.sh 2> /dev/null
NOTE: If renewing multiple domains, remember to update the /opt/bitnami/letsencrypt/renew-certificate.sh script to include the additional domain name(s) in the lego command.
Troubleshooting
In case the certificate generation process fails or you wish to start again for any reason, run the commands below to delete the generated output, replace the previous certificates and restart services. You can then go back to Step 1. It is important to note that doing this will delete any previously-generated certificates and keys.
$ rm -rf /opt/bitnami/letsencrypt
For NGINX:
    $ sudo mv  /opt/bitnami/nginx/conf/bitnami/certs/server.crt.old /opt/bitnami/nginx/conf/bitnami/certs/server.crt
    $ sudo mv /opt/bitnami/nginx/conf/bitnami/certs/server.key.old /opt/bitnami/nginx/conf/bitnami/certs/server.key
    $ sudo mv /opt/bitnami/nginx/conf/server.csr.old /opt/bitnami/nginx/conf/server.csr
    $ sudo /opt/bitnami/ctlscript.sh restart
If you created a cron job for certificate renewal, remove it by opening the crontab editor using the command below and removing the line added for the certificate renewal script:
$ sudo crontab -e