Upgrade Ghost
How to upgrade Ghost 1.x onwards
-
In the Ghost installation directory, execute the update command as follows:
$ cd /opt/bitnami/ghost $ sudo su ghost -c "ghost update" -
To finish the update, modify file permissions:
  $ sudo chown ghost:bitnami -R /opt/bitnami/ghost
  $ sudo chmod 640 /opt/bitnami/ghost/config.production.json
Congratulations! Your Ghost installation has been updated!
How to upgrade Ghost from 0.x to 1.x
If you already have an older running version of Bitnami Ghost, you can update your application by following these simple steps:
-
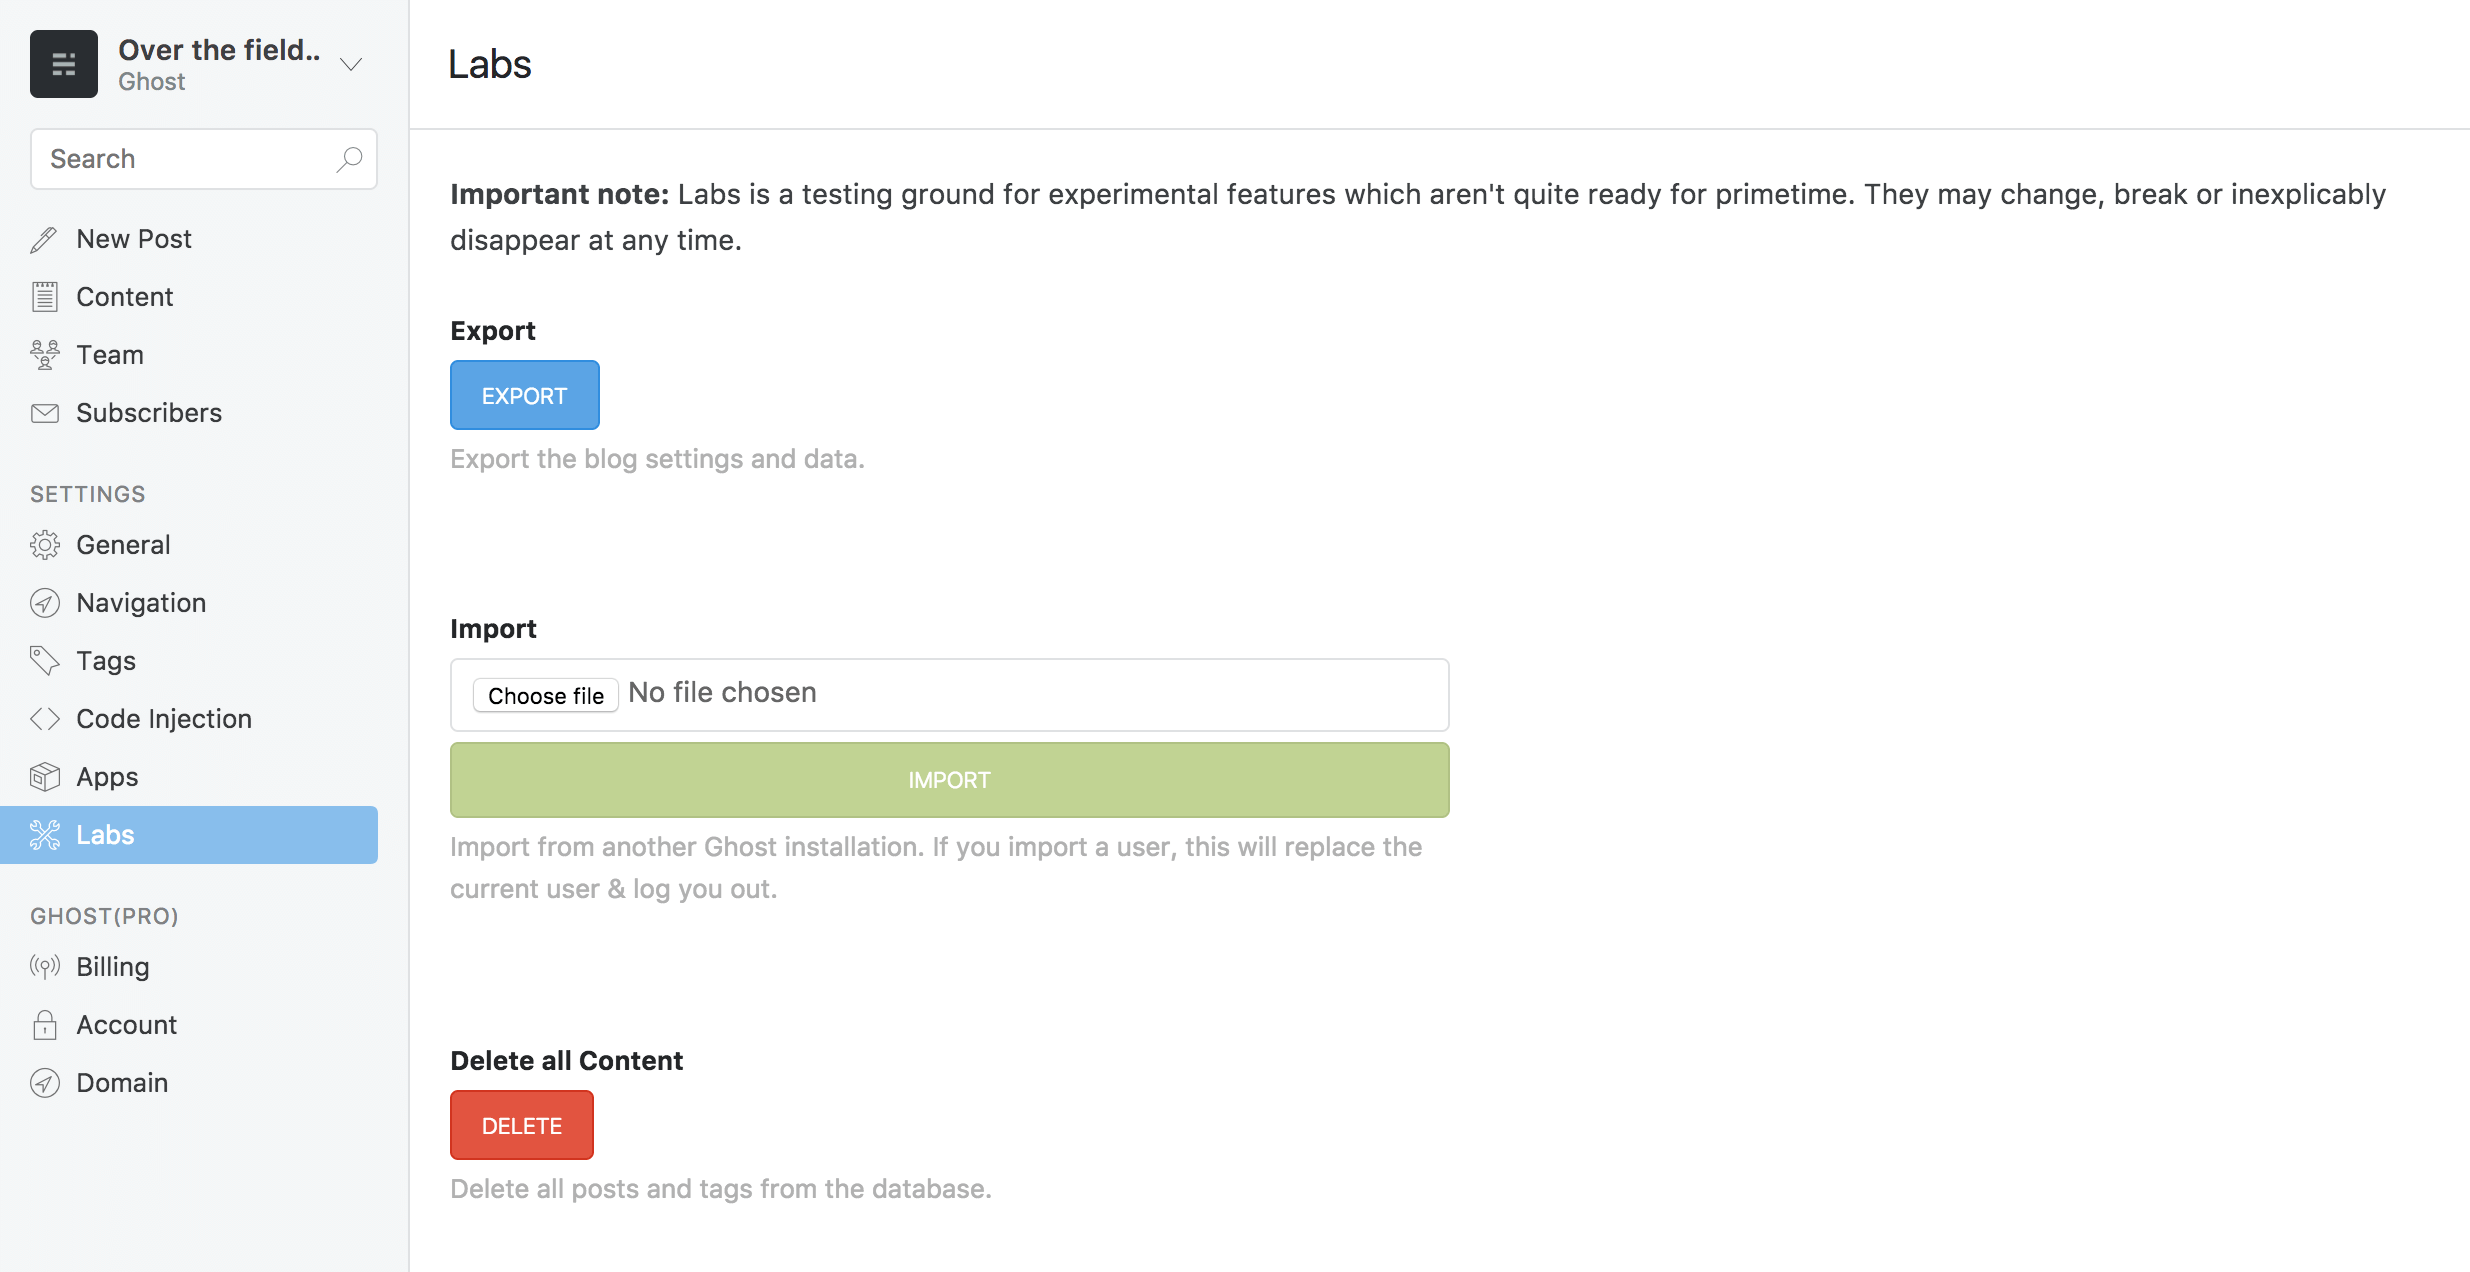
In your existing (pre v1.0.0) Ghost blog, navigate to the “Settings -> Labs” section and click on the “Export” button.
This will download in your system your JSON export file that you need later.
-
Launch a new Bitnami Ghost instance.
-
Import your content into your new Ghost instance.
-
In the new blog navigate to the “Settings -> Labs” section. Click “Choose file” and select the JSON export file created before from your system, then click “Import”.
NOTE: Please note that Ghost importer will not import themes. You could see a warning that your themes have not been imported, that is the normal behaviour, you can continue to the next step.
-
Copy your images from your existing directory /opt/bitnami/apps/ghost/htdocs/content/images to the new instance directory /opt/bitnami/apps/ghost/htdocs/current/content/images.
-
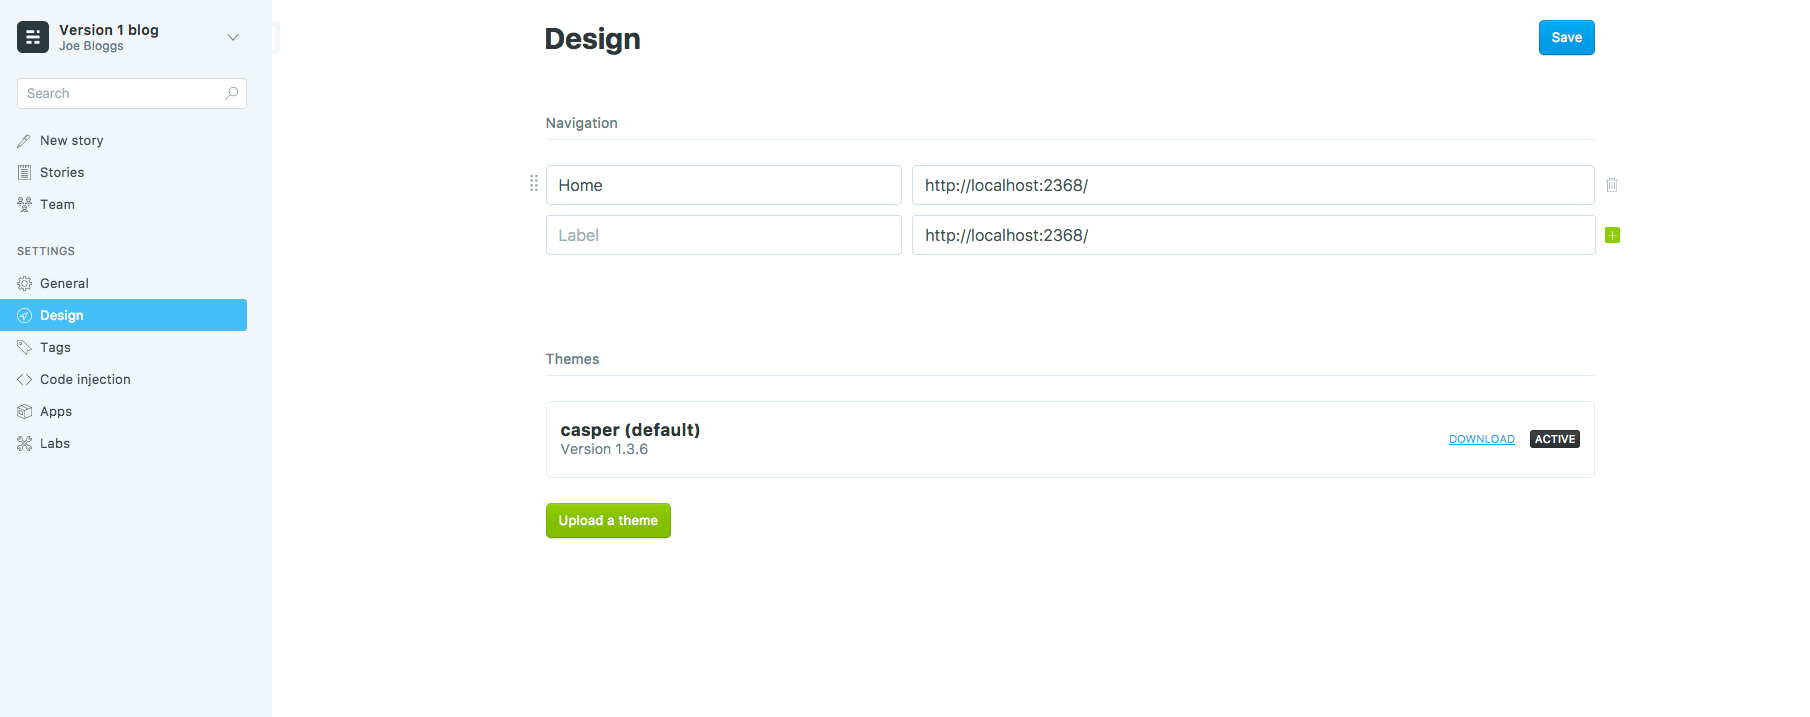
Move or upload your themes. To do so, navigate to the “Settings -> Design” section and click the “Upload a Theme” button. Follow the instructions.
Now you have your system fully migrated to the newest Ghost version!


