Modify the interface language
Bitnami WordPress comes with English translation pre-installed currently. To change the WordPress language, follow the steps below:
Change language using the WordPress administration panel
If the language you wish to use is already available in WordPress, follow these steps:
-
Log in to the WordPress administration panel.
-
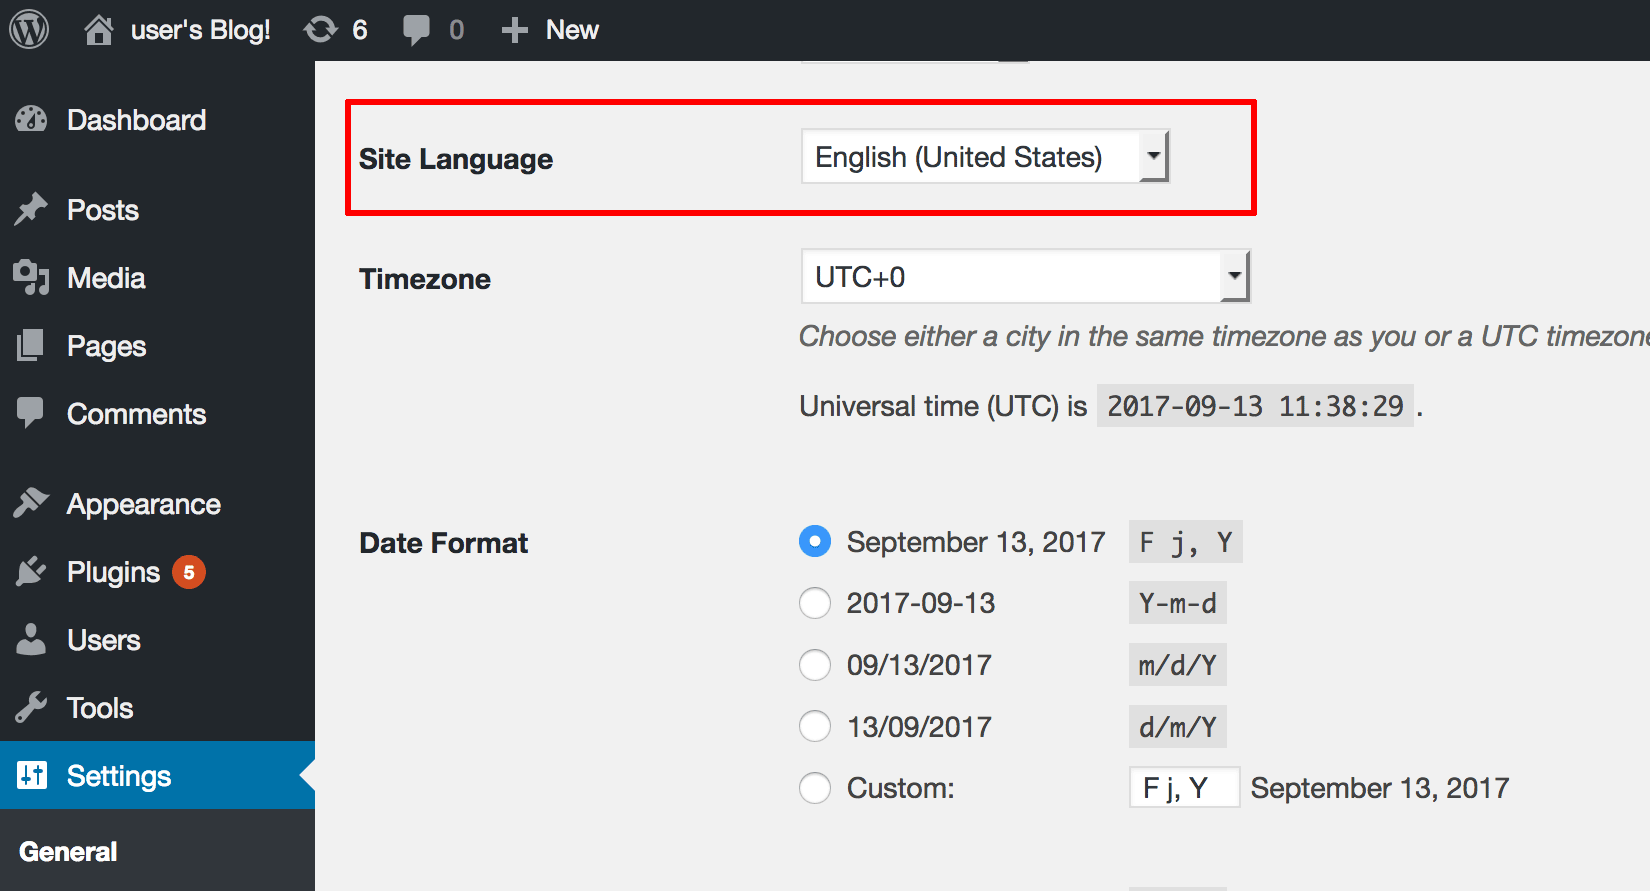
Click on the “Settings -> General” tab located in the menu on the left.
-
Scroll down until “Site Language” and select the one you prefer and click .“Save Changes”.
Change language manually
If the language you wish to use is not available in WordPress, you must first install the necessary translation files:
-
Download the translation files for your language from http://codex.wordpress.org/WordPress_in_Your_Language
-
Once you have downloaded the files, copy the .po and .mo files into the WordPress /opt/bitnami/wordpress/wp-content/languages directory. If this directory does not exist, create it manually.
-
Log in to the WordPress administration panel.
-
Click on the “Settings -> General” tab located in the menu on the left.
-
Scroll down until “Site Language”. The newly-installed language should now appear in the list. Select it and click “Save Changes”.
-
Restart the web server using these instructions.