Enable multi-site support
Multi-store support in Magento is an important feature. This guide will attempt to set up domain1.com and domain2.com, both sharing the same catalog. You can also configure subdomains if you prefer, and use a different catalog for each store.
Add new categories
To begin with, add new Categories. You can add Subcategories or Root Categories, depending on whether you want to share the catalog or not. In this case, create two Subcategories, “Shoes” and “Clothes”.
To do so, go to the “Products -> Categories -> Add Subcategory” menu. Use the name you want, set “Is Active” to “Yes” in the “General Information” tab, and “Is Anchor” to “Yes” in the “Display Settings” tab.
Configure the stores
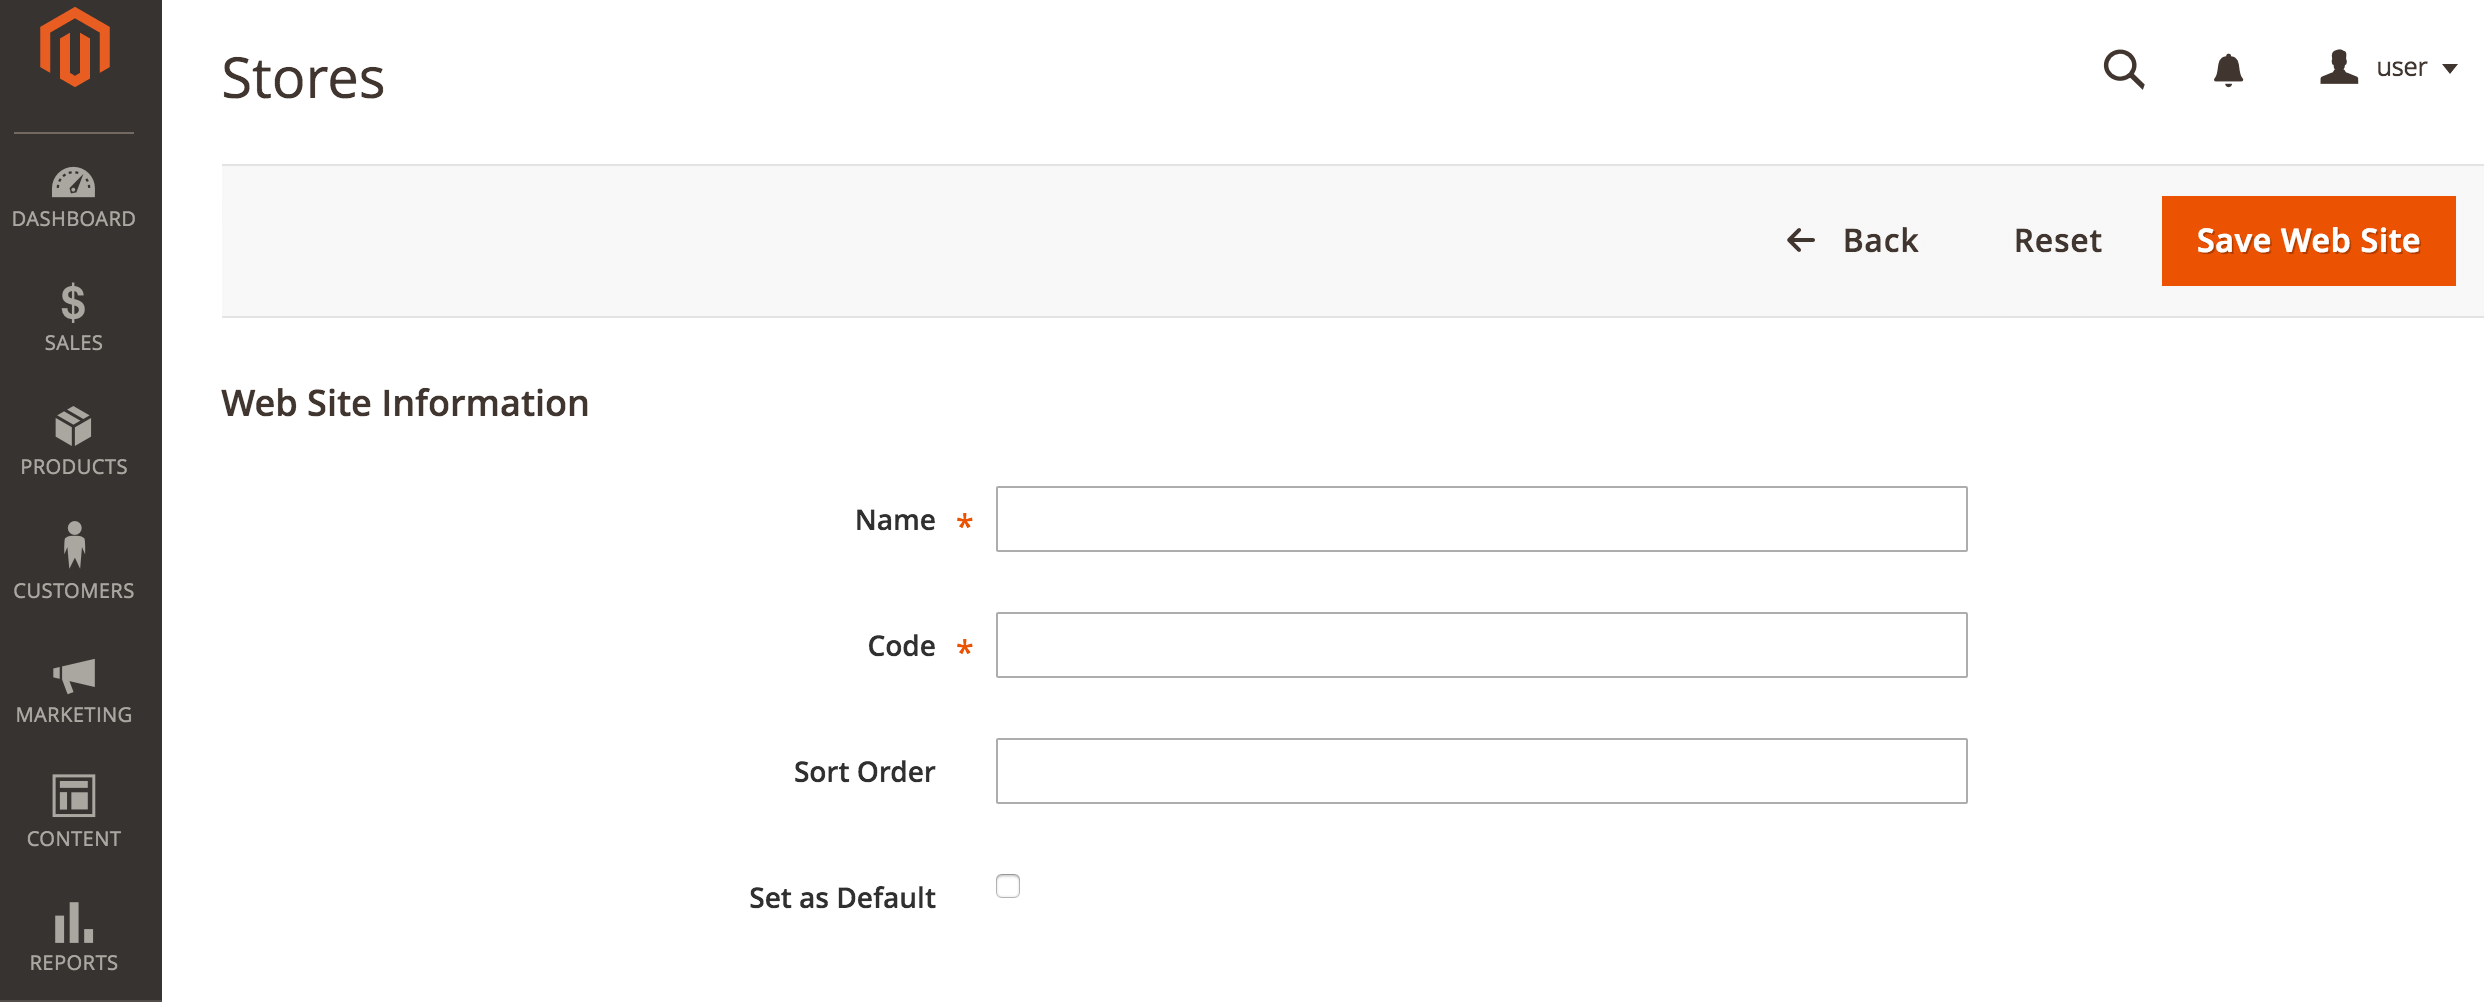
The next step is to create the websites. To do so, go to the “Stores -> All Stores -> Create Website” menu. In the “Name” field, enter the domain of your new site and in the “Code” field, the code Magento will use to call this site. Here’s an example:
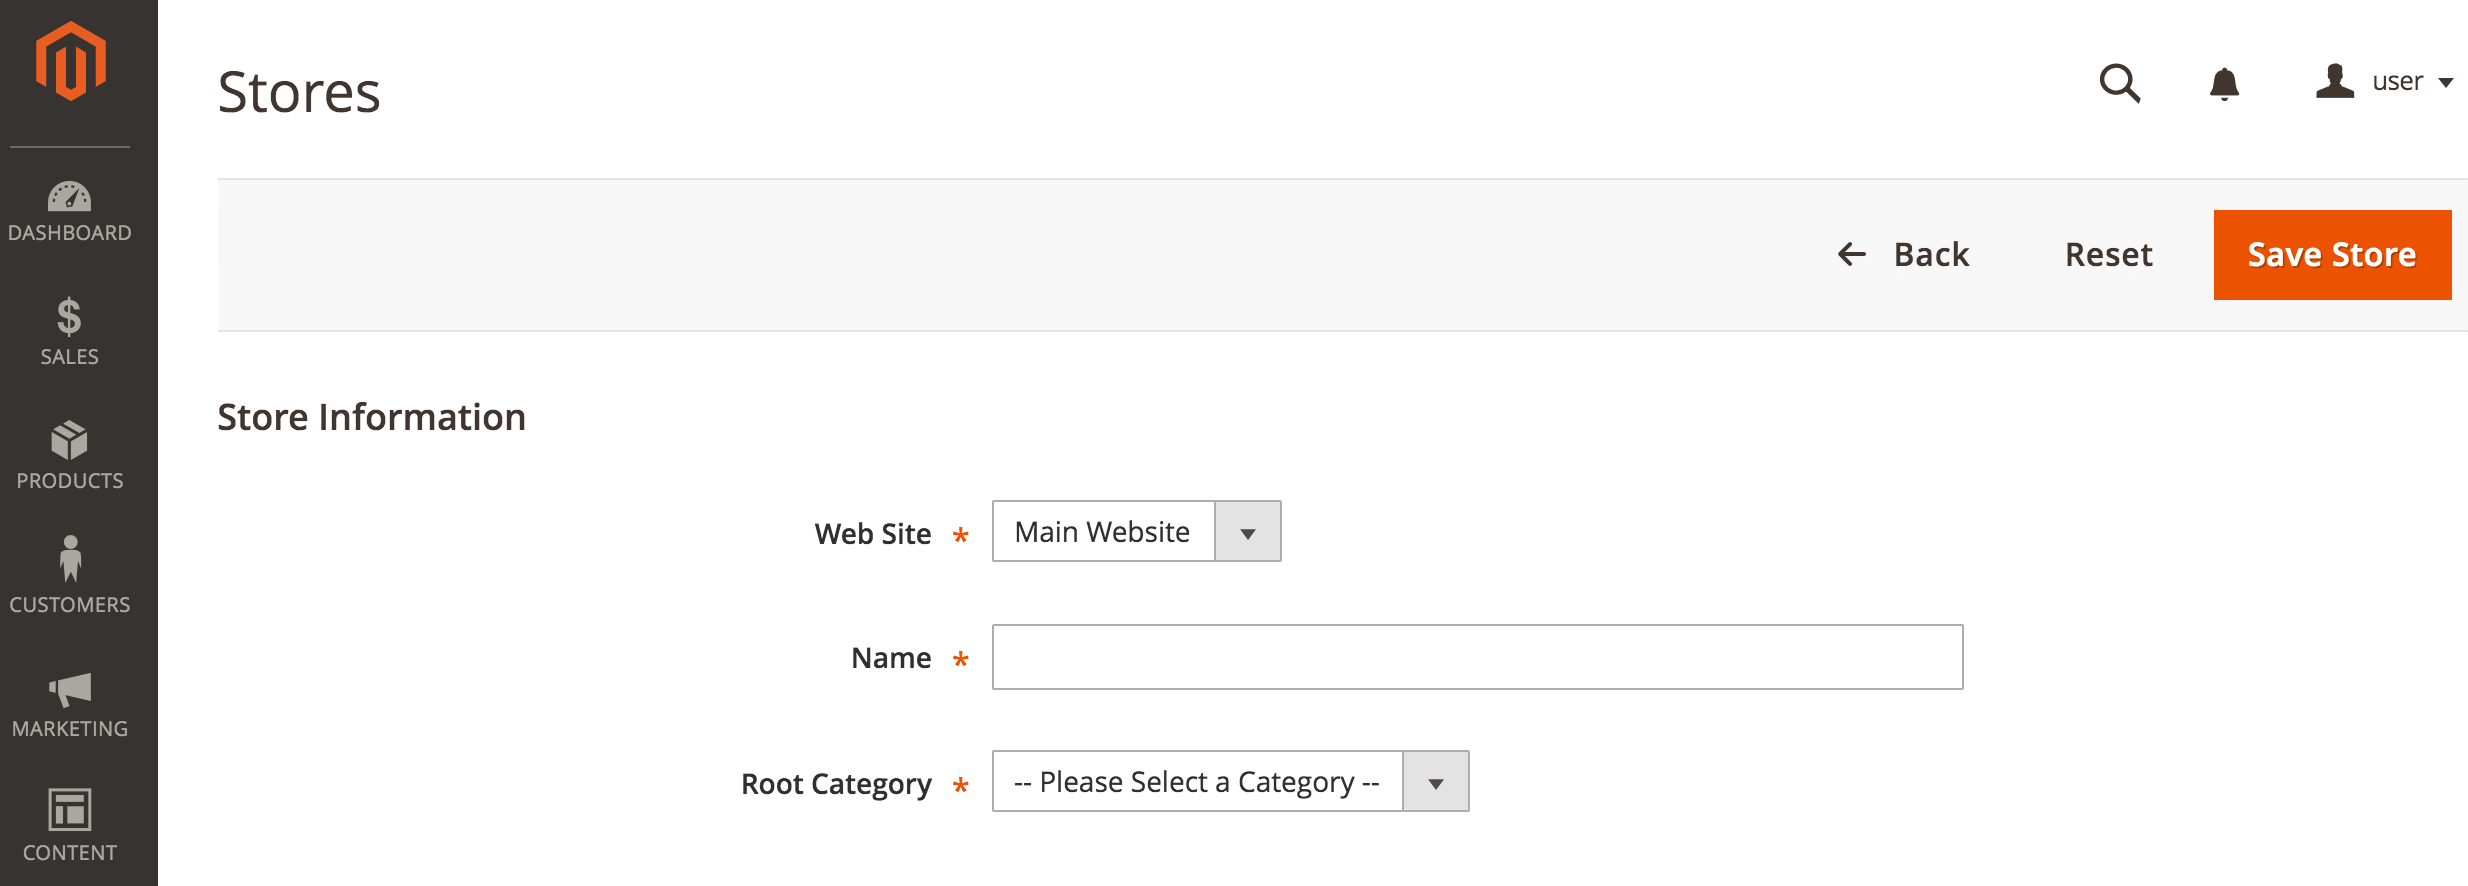
Once the websites have been created, create the store corresponding to each website by clicking the “Create Store” button in the “Stores -> All Stores -> Create Store” menu. “Website” is the website to which this store will be associated, “Name” is the same as “Website”, and “Root Category” is the root category that will be used for this store.
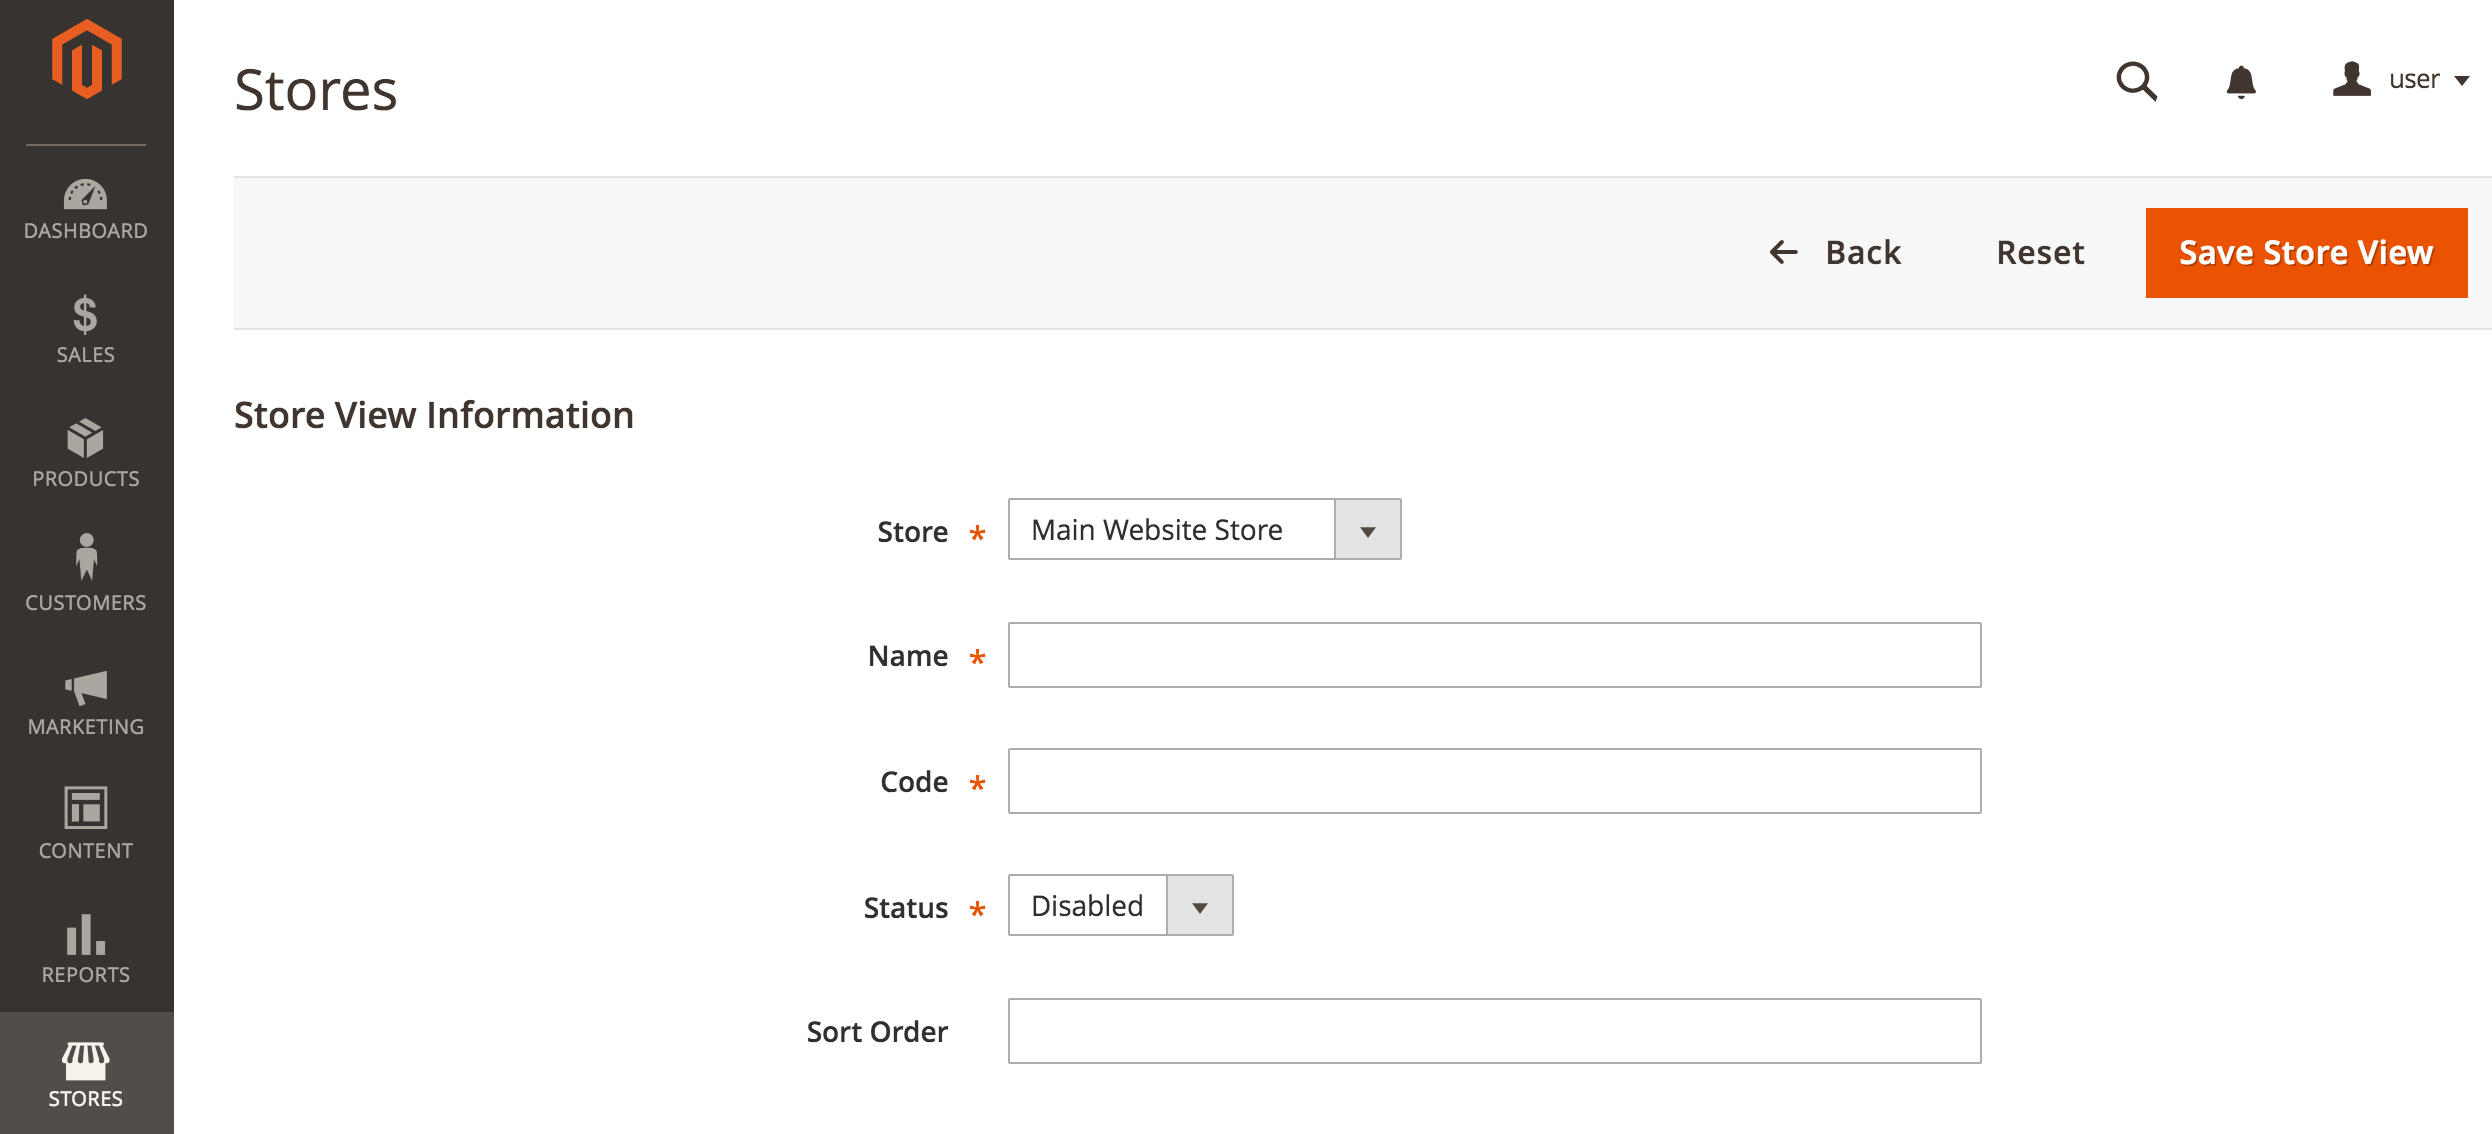
Finally, create the store view, which is the interface that the customer will access on the front-end. Click the “Create Store View” button in the “Stores -> All Stores” menu. Set the “Store” field to the store which this view will be associated with. Enter the name of this store view, the code for this store view and use the “Status” field to enable the store view and make it accessible from the front-end.
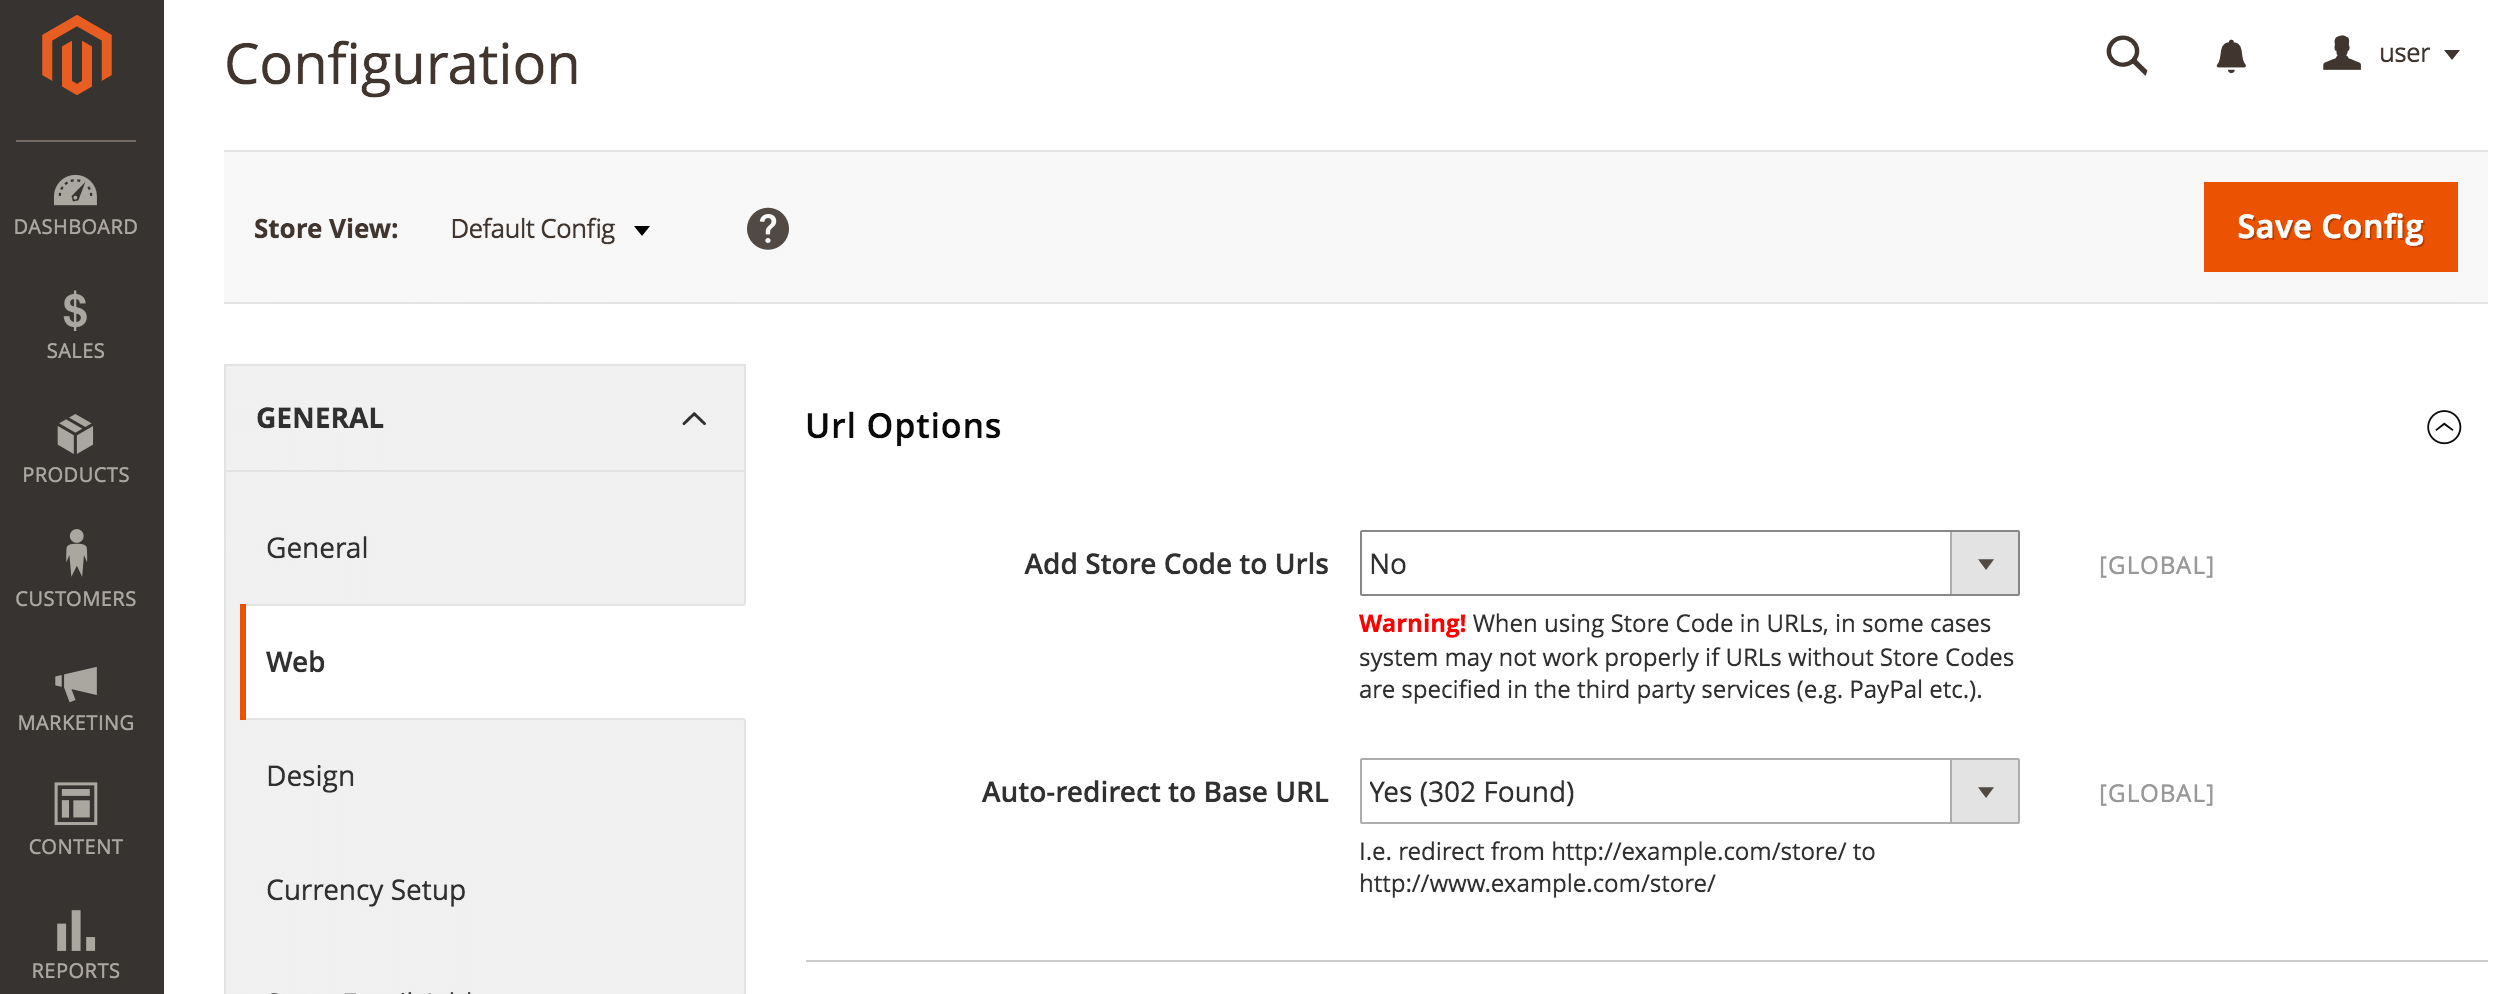
After the store has been created, go to the “System -> Configuration -> General” menu and make sure that “Default Config” is selected under “Current Configuration Scope”. Select the Web section and set “Auto-redirect to Base URL” to “No” under the “URL Options” menu.
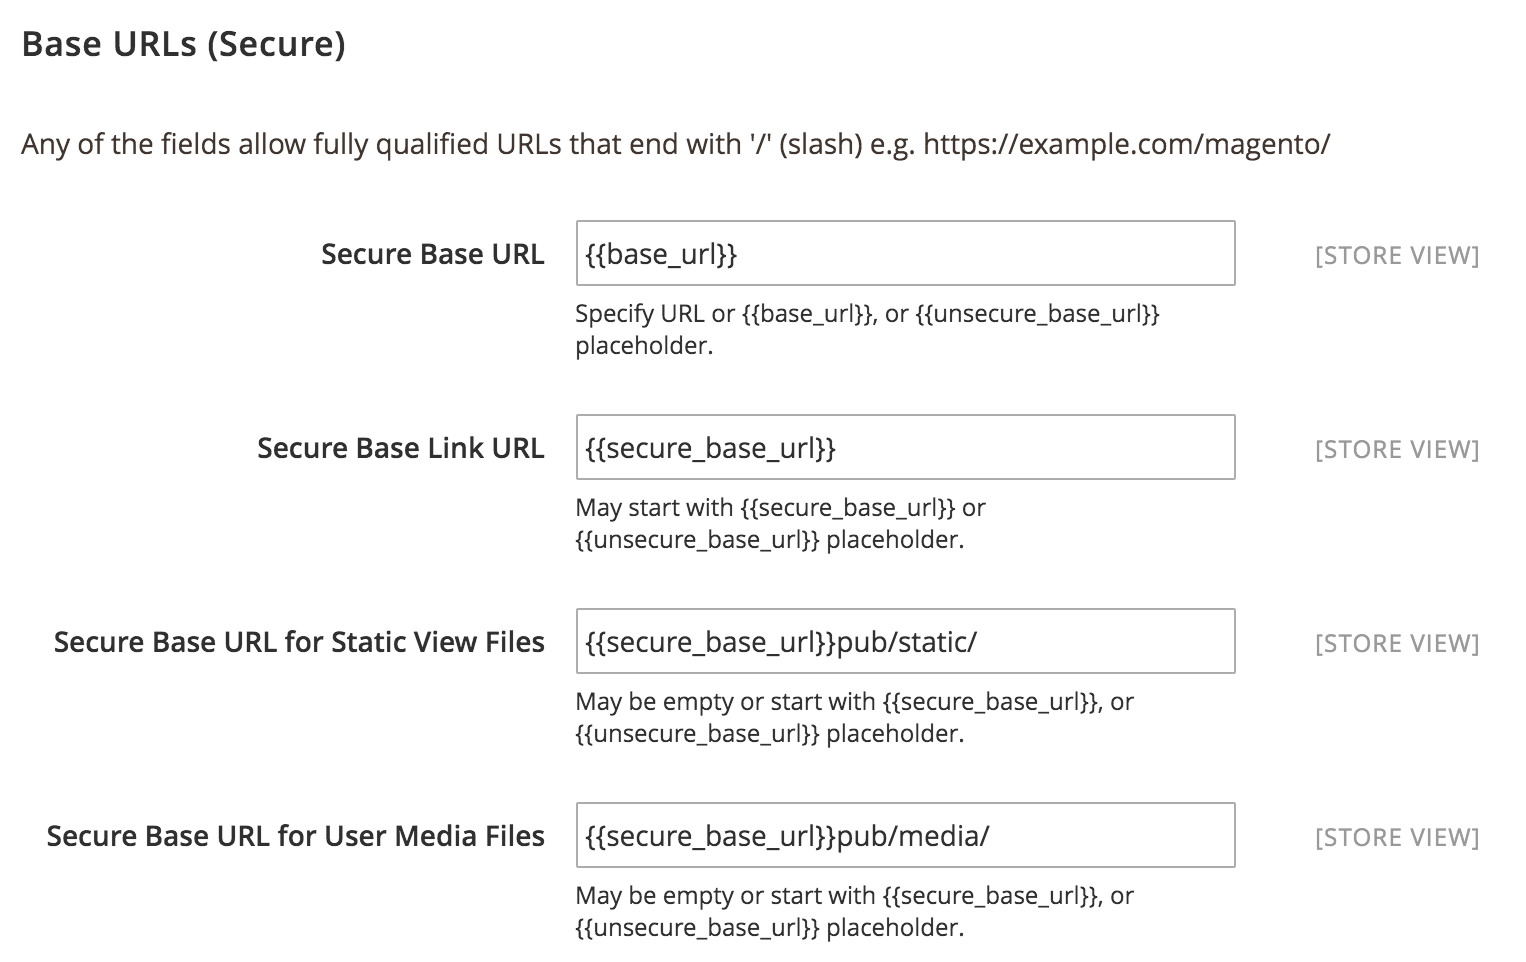
Configure the “Unsecure Base URL” and “Secure Base URL” for your newly created stores. Before setting their respective base URLs, ensure that the configuration scope is set to the domain1.com website to define which site you are working on.
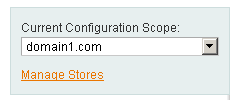
Then, modify the base URLs for both “Unsecure” and “Secure” scenarios with the corresponding domain name by unchecking the “Use default [STORE VIEW]” checkbox . Save the configuration.

Repeat the steps above for domain2.com.
Configure the Apache server
The next step is to configure Apache to use Virtual Hosts and redirect depending on the domain.
Add the following lines at the end of the /opt/bitnami/magento/.htaccess file to redirect the request depending on the domain.
...
SetEnvIf Host www\.domain1\.com MAGE_RUN_CODE=domain1_com
SetEnvIf Host www\.domain1\.com MAGE_RUN_TYPE=website
SetEnvIf Host ^domain1\.com MAGE_RUN_CODE=domain1_com
SetEnvIf Host ^domain1\.com MAGE_RUN_TYPE=website

SetEnvIf Host www\.domain2\.com MAGE_RUN_CODE=domain2_com
SetEnvIf Host www\.domain2\.com MAGE_RUN_TYPE=website
SetEnvIf Host ^domain2\.com MAGE_RUN_CODE=domain2_com
SetEnvIf Host ^domain2\.com MAGE_RUN_TYPE=website
Here, MAGE_RUN_CODE is the code provided when configuring the New Website.
You should now have different stores depending on the domain used.