Upload files using SFTP
NOTE: Bitnami applications can be found in /opt/bitnami/apps.
-
If you are using the GCP Marketplace, you will need to generate and add your SSH key manually using these instructions.
To generate a new SSH key pair, you can use PuTTYgen (Windows) or the ssh-keygen command (Linux and Mac OS X). For instructions on how to use PuTTYgen, refer to this page. For instructions on how to use ssh-keygen, refer to this page.
Although you can use any SFTP/SCP client to transfer files to your server, this guide documents FileZilla (Windows, Linux and Mac OS X), WinSCP (Windows) and Cyberduck (Mac OS X).
Using an SSH Key
NOTE: The steps below assume that you have obtained the SSH credentials for your server. Learn more about obtaining SSH credentials
Once you have your server’s SSH key, choose your preferred application and follow the steps below to connect to the server using SFTP.
FileZilla
IMPORTANT: To use FileZilla, your server private key should be in PPK format.
Watch the following video to learn how to upload files to your Google Cloud server with SFTP using FileZilla. The example below shows a server launched using the Bitnami Launchpad, but this video is applicable to those servers launched using the Google Cloud Marketplace.
Follow these steps:
-
Download and install FileZilla.
-
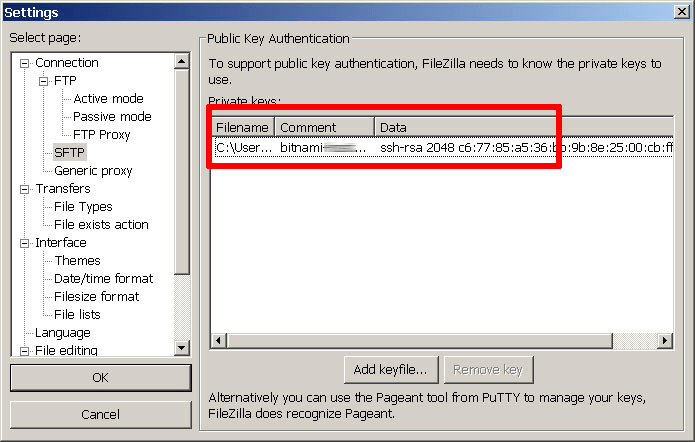
Launch FileZilla and use the “Edit -> Settings” command to bring up FileZilla’s configuration settings.
-
Within the “Connection -> SFTP” section, use the “Add keyfile” command to select the private key file for the server. FileZilla will use this private key to log in to the server.
-
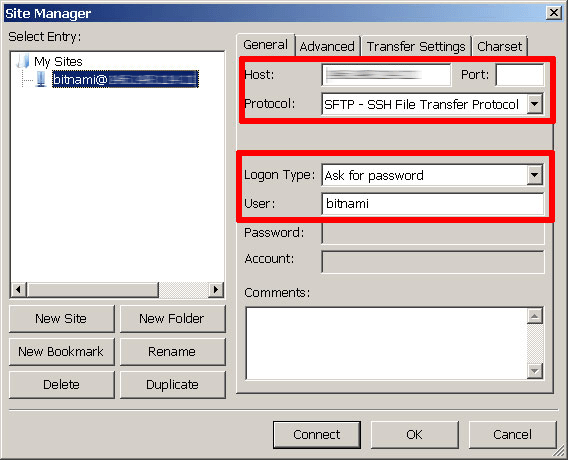
Use the “File -> Site Manager -> New Site” command to bring up the FileZilla Site Manager, where you can set up a connection to your server.
-
Enter your server host name and specify bitnami as the user name.
-
Select “SFTP” as the protocol and “Ask for password” as the logon type.
-
Use the “Connect” button to connect to the server and begin an SFTP session. You might need to accept the server key, by clicking “Yes” or “OK” to proceed.
You should now be logged into the /home/bitnami directory on the server. You can now transfer files by dragging and dropping them from the local server window to the remote server window.
If you have problems accessing your server, get extra information by use the “Edit -> Settings -> Debug” menu to activate FileZilla’s debug log.

WinSCP
IMPORTANT: To use WinSCP, your server private key should be in PPK format.
Follow these steps:
-
Download and install WinSCP.
-
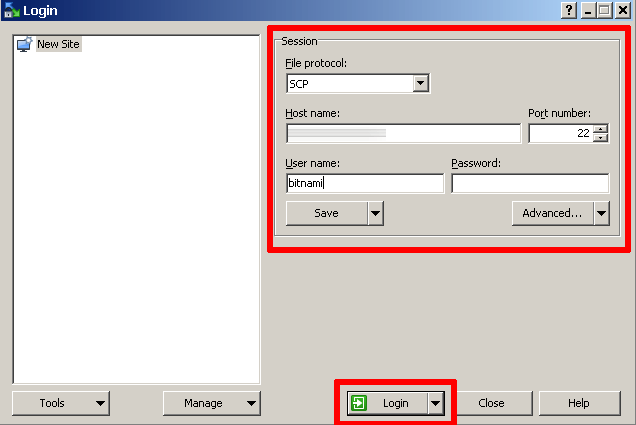
Launch WinSCP and in the “Session” panel, select “SCP” as the file protocol.
-
Enter your server host name and specify bitnami as the user name.
-
Click the “Advanced…” button and within the “SSH -> Authentication -> Authentication parameters” section, select the private key file for the server. WinSCP will use this private key to log in to the server.

-
From the “Session” panel, use the “Login” button to connect to the server and begin an SCP session.
You should now be logged into the /home/bitnami directory on the server. You can now transfer files by dragging and dropping them from the local server window to the remote server window.
If you need to upload files to a location where the user doesn’t have write permissions, you have two options:
-
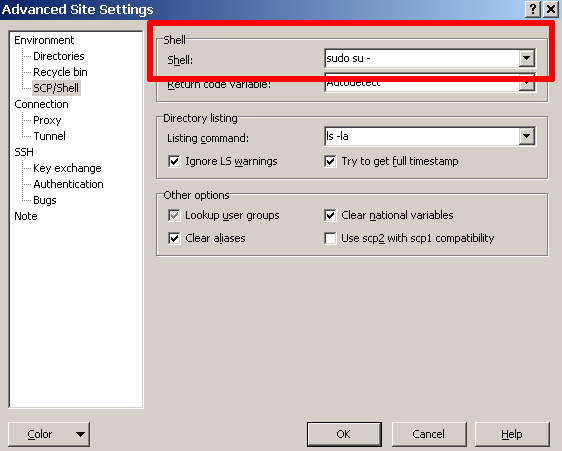
Once you have configured WinSCP as described above, click the “Advanced…” button and within the “Environment -> Shell” panel, select sudo su - as your shell. This will allow you to upload files using the administrator account.
-
Upload the files to the /home/bitnami directory as usual. Then, connect via SSH and move the files to the desired location with the sudo command, as shown below. Replace the FILENAME placeholder with the actual name of the file being moved.
$ sudo mv /home/bitnami/FILENAME /path/to/desired/location/
Cyberduck
IMPORTANT: To use Cyberduck, your server private key should be in PEM format.
Follow these steps:
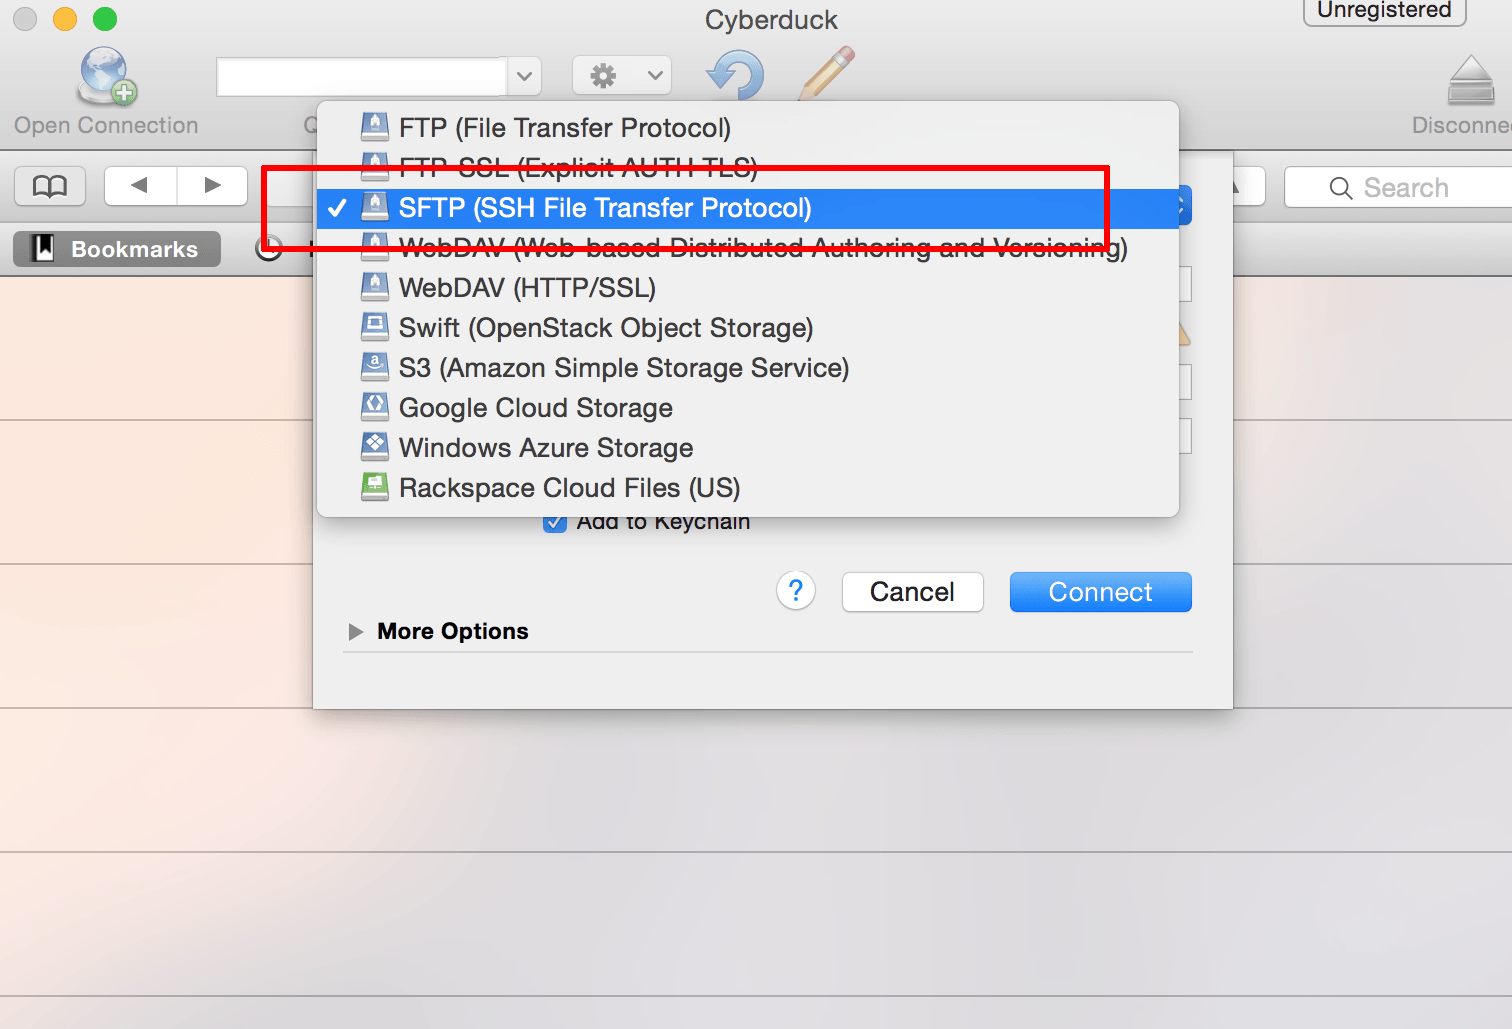
-
Select the “Open Connection” command and specify “SFTP” as the connection protocol.
-
In the connection details panel, under the “More Options” section, enable the “Use Public Key Authentication” option and specify the path to the private key file for the server.

-
Use the “Connect” button to connect to the server and begin an SFTP session.
You should now be logged into the /home/bitnami directory on the server. You can now transfer files by dragging and dropping them from the local server window to the remote server window.