Install Docker Toolbox in Windows
Why Docker?
Docker is an open platform that can be used to deploy applications in isolated, secure containers. Docker containers are lightweight, simple to configure and work consistently in diverse IT environments. Most Bitnami applications are available as Docker containers and offer all the usual Bitnami benefits: security, optimization, consistency and frequent updates.
Install Docker Toolbox in Windows
For Windows 7 (and higher) users, Docker provides Docker Toolbox, an installer that includes everything needed to configure and launch a Docker environment. Docker Toolbox allows you to deploy development containers in legacy Windows systems that do not meet the requirements of the new Docker for Windows application.
Docker Toolbox contains the following tools:
- Docker Machine
- Docker Engine
- Docker Compose
- Kinematic
- Docker Quickstart Terminal App
- Oracle VirtualBox
Prerequisites
Your Windows system must meet the following minimum requirements:
- 64-bit Windows 7 (or higher)
- Virtualization enabled
Step 1: Check system configuration
The first step is to check if your system configuration meets the requirements needed for running the installer successfully.
Check Windows version
Docker Toolbox requires 64-bit Windows 7 (or higher). There are many ways to verify if your machine meets these requirements.
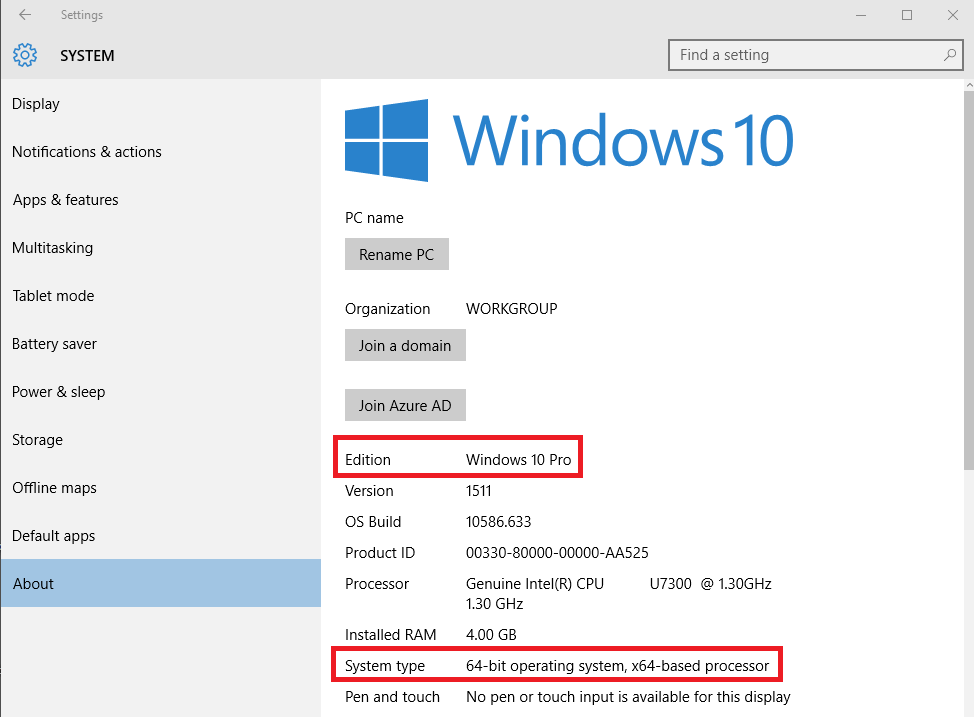
Check OS version in Windows 10
- Type “Settings” in the Windows Search Box and select “System -> About”.
- Find your Edition and Version under your PC name.
- Look “System type” to check if you are running a 32-bit or 64-bit version of Windows.
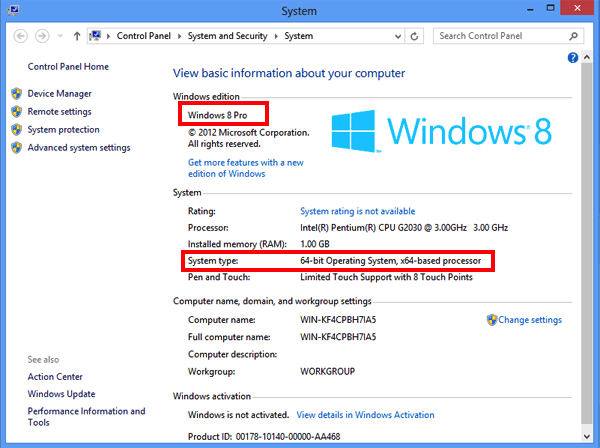
Check OS version in Windows 7 and 8
- Go to “Control Panel -> System and Security -> System”. Check the Windows Edition and System Type.
Find more information about how to check your Windows operating system.
Enable hardware-assisted virtualization
Enabling hardware-assisted virtualization is mandatory for installing Docker Toolbox.
Hardware-assisted virtualization in Windows 8 or higher
You can check if your system supports this technology in two different ways.
-
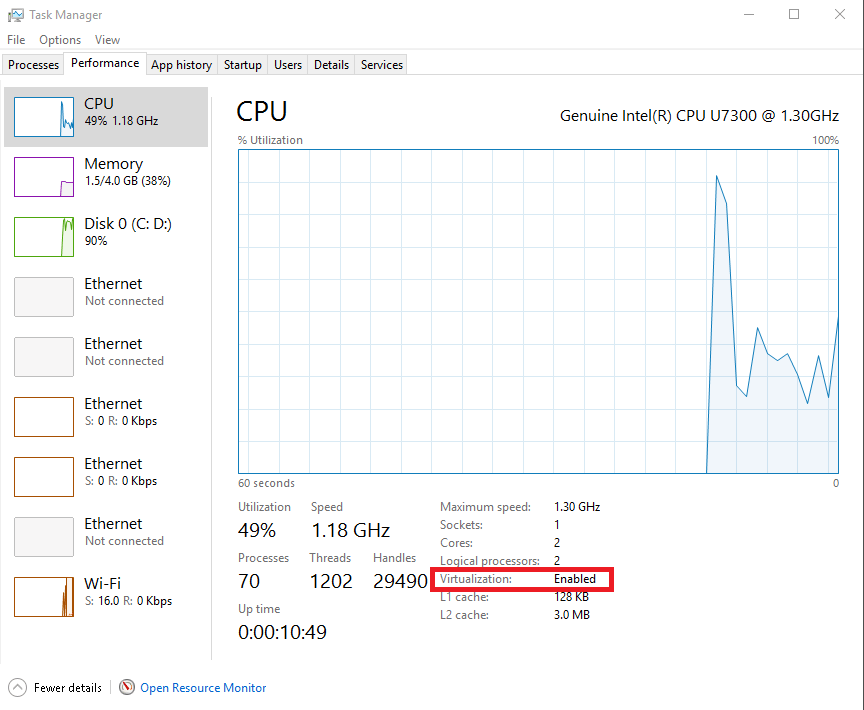
Using the Windows Task Manager:
- Type “Task Manager” in the Windows Search Box.
- Click “Performance” tab. Look under “CPU” to find out if virtualization is enabled or not.
-
Using the Windows Command Prompt:
-
Type “Command Prompt” in the Windows Search Box.
-
Right-click to open the options menu. Select “Run as administrator”.
-
Navigate to the C: drive by typing:
$ cd c:\ -
Run the following command:
$ coreinfo.exe -v
-
NOTE: If virtualization is not enabled in your machine, please check how to enable it in your BIOS by following your manufacturer’s instructions.
Hardware-assisted virtualization in Windows 7
- Download and run the Microsoft Hardware-Assisted Virtualization Detection Tool.
Step 2: Install Docker Toolbox
Download Docker Toolbox
Once the system requirements have been verified, download the installer from the Docker website. Click the download button with the Windows logo.
NOTE: Make sure that you are installing the latest release of Docker Toolbox. Find the list of releases in Docker’s GitHub repository.
Docker Toolbox will install the following applications:
- Docker Client for Windows
- Docker Toolbox management tool and ISO
- Oracle VirtualBox
- Git MSYS-git UNIX tools
Launch the Docker Toolbox setup wizard
IMPORTANT: If you have VirtualBox installed and running, please shut down it before the installation begins.
These are the steps you must follow for completing the Docker Toolbox installation:
-
Open the installer by double-clicking the .exe file. Choose “Yes” in the Windows security dialog box to allow the program to make changes to your PC.
-
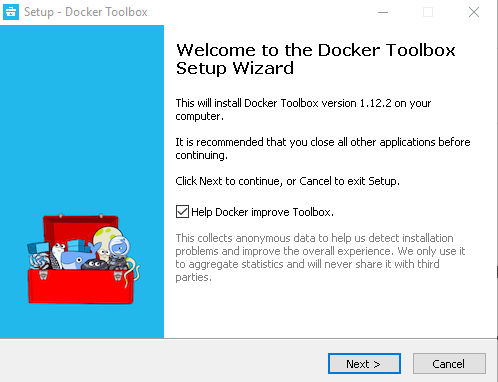
When the Docker Toolbox setup wizard starts, click the “Next” button.
-
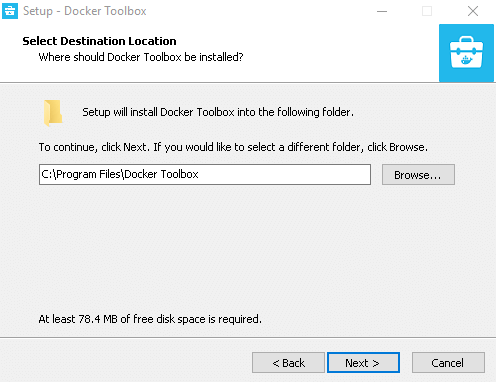
Choose the local folder for Docker Toolbox installation. Click the “Next” button.
-
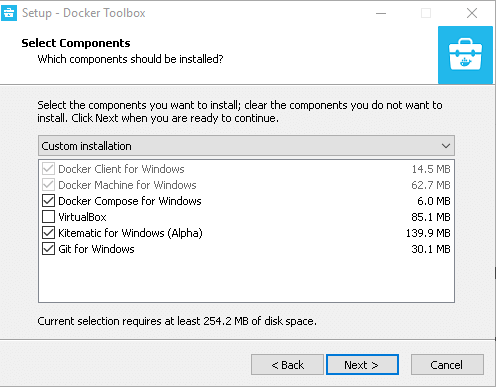
Check the components to be installed (“Git for Windows” is recommended; uncheck “VirtualBox” if already installed). Click “Next”.
-
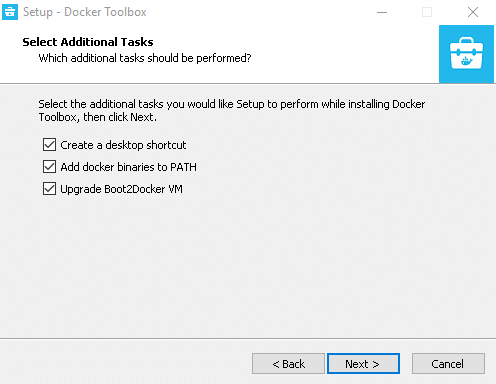
Accept all default options and click the “Next” button.
-
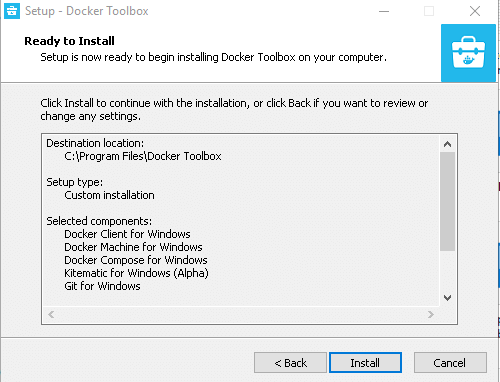
Verify that all selected components will be installed. Click “Back” to change any settings.
-
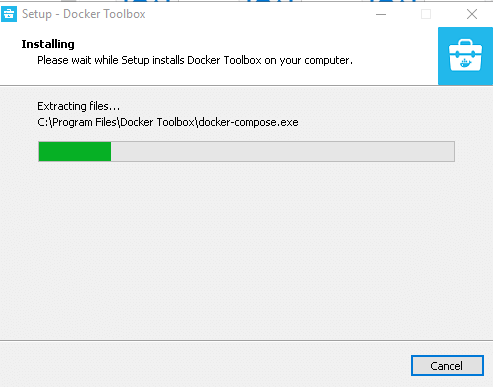
Click the “Install” button to finish the installation. If Windows should ask you about permitting changes to your PC, click “Yes” to allow it to make the necessary changes.
-
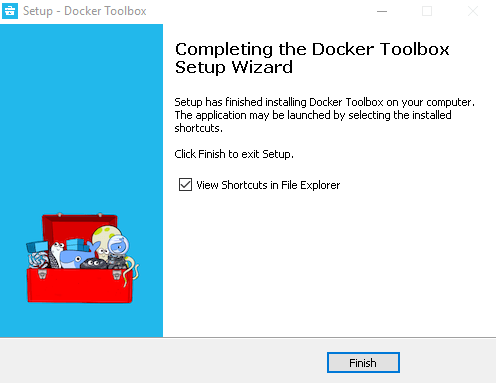
After all the components are installed, the wizard will notify that installation was successful. Uncheck “View Shortcuts in File Explorer” and click “Finish”.
Step 3: Verify the installation
To verify installation, follow these steps:
-
Go to your desktop, which should have these three icons:
- Docker Quickstart Terminal
- Kitematic
- Oracle VM VirtualBox.
-
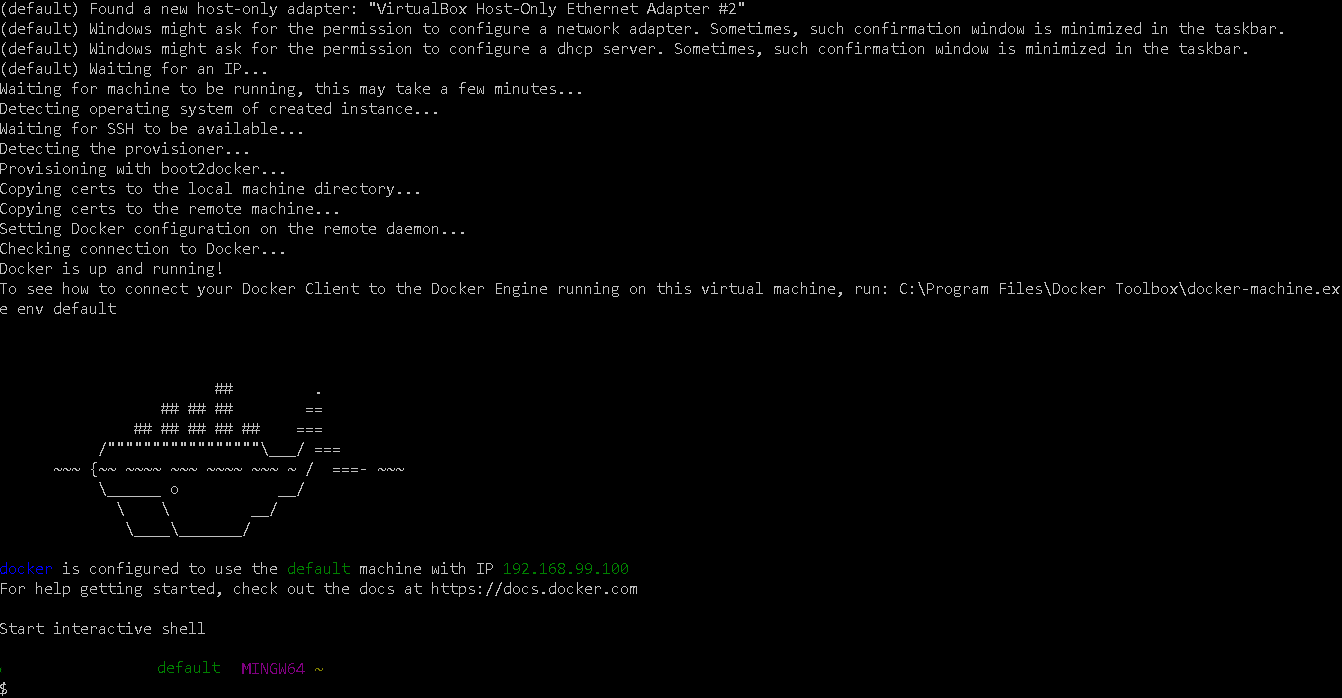
Launch the Docker Quickstart Terminal by clicking the corresponding icon. This starts the creation of the Docker machine and all its components.
-
Click near the $ symbol to activate the terminal.
-
Type the following command and press Enter:
$ docker run hello-world -
Docker will download and run the “Hello world” container. A confirmation message will be displayed in the terminal.
This indicates that your Docker installation is successful.
Step 4: Run Bitnami WordPress in Docker
Now that Docker is running, the next step is to use it with a Bitnami application. This guide will use the Bitnami WordPress Docker image.
The Bitnami WordPress Docker image provides the latest version of WordPress, including recent updates. This image deploys two containers, one for the database and another for the application itself.
Follow the steps below to deploy the Bitnami WordPress image:
-
Open the Docker Quickstart Terminal by double-clicking the icon.
-
Browse to Bitnami’s Docker image for WordPress. Click the “Clone or download” button. Copy the URL to the clipboard.
-
Type git clone in the Docker Quickstart Terminal and paste the URL:
$ git clone https://github.com/bitnami/containers.git -
Check the IP address of your Docker machine by executing the following command:
$ docker-machine ip -
Change the directory:
$ cd containers/bitnami/wordpress -
Run the docker-compose up command to launch the containers and to create the volumes:
$ docker-compose up -
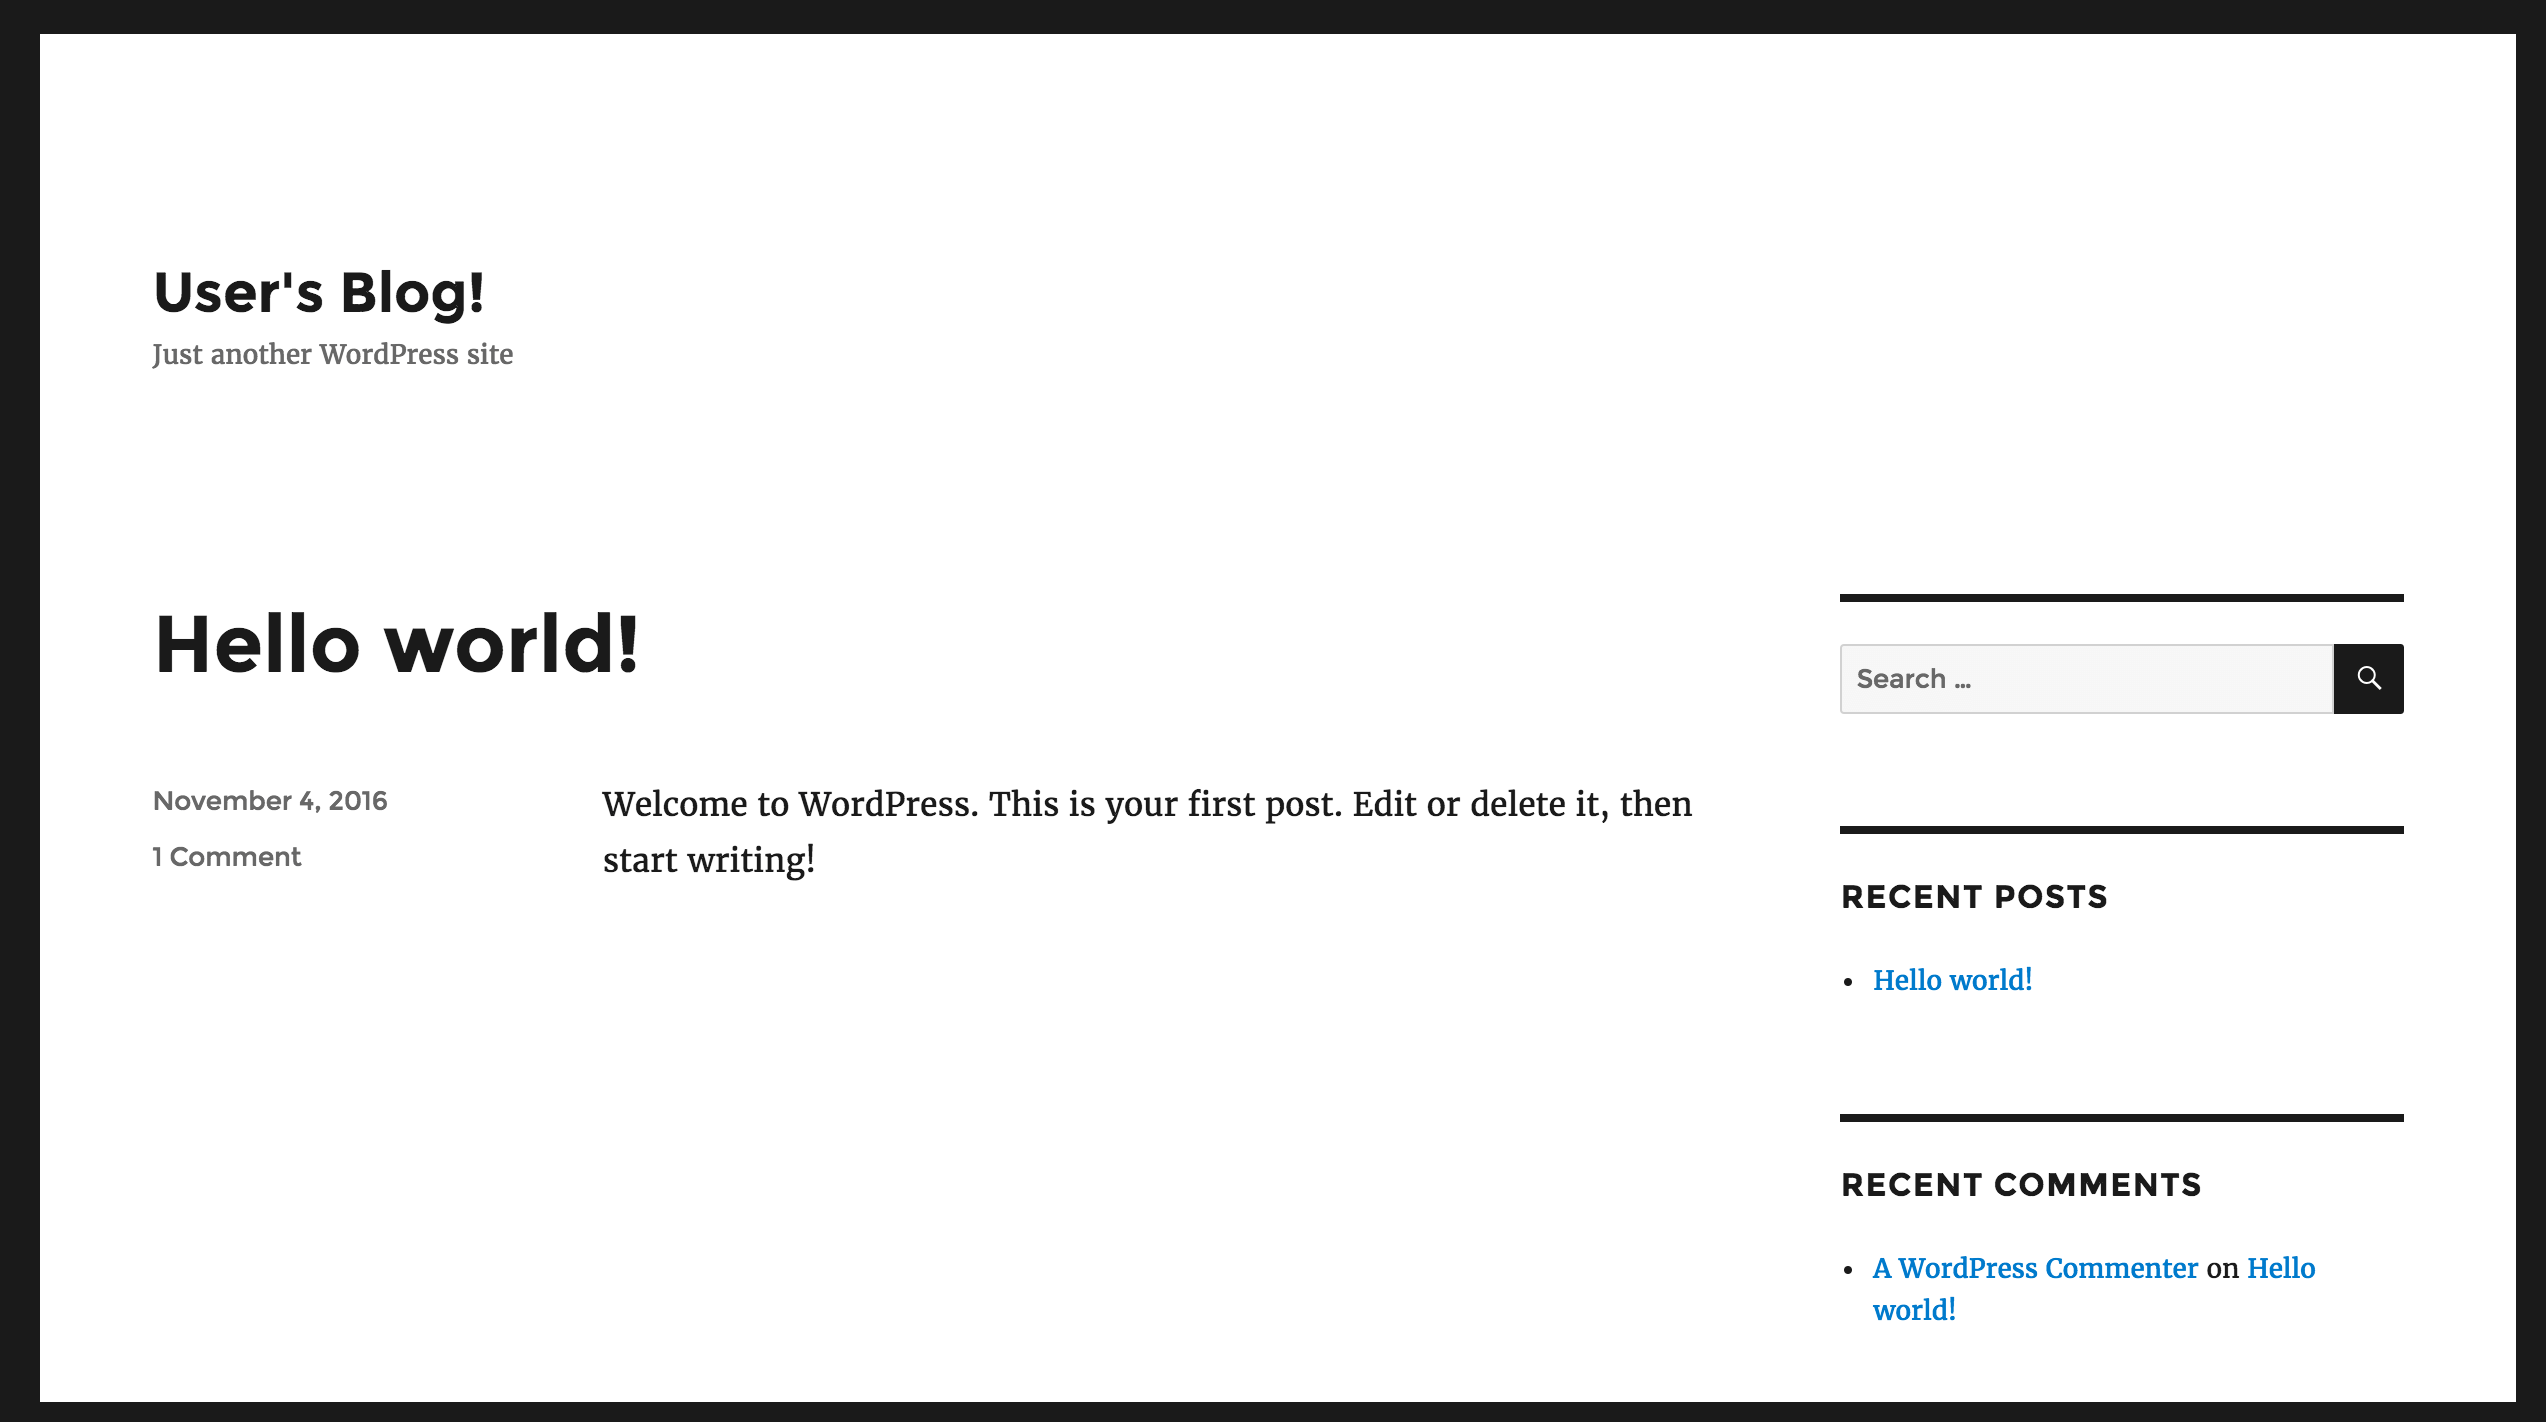
Access the application by browsing to the Docker machine IP address. You should see something like this:

