Create an EMP Development Environment with Bitnami Containers
Introduction
More and more developers are switching over to Docker containers for development, because they are portable, easy to use and consistent. By using a common Docker-based development environment, a distributed team can work together in harmony and eliminate many of the technical issues seen when collaborating on a programming project. Docker containers also require less maintenance overhead and server resources when compared to bare metal or virtual machines.
If you’re a PHP developer, you too can gain the benefits of Docker with Bitnami’s development containers. This guide walks you through the process of combining Bitnami’s NGINX, PHP-FPM and MariaDB containers to create an EMP development environment for your PHP application. By following these steps, you will benefit from a consistent, secure and up-to-date development environment that is easy to reproduce and share with others, and also closer to what you’re likely to see in production.
TIP: You can also use Apache instead of NGINX.
Assumptions and prerequisites
This guide focuses on combining three Bitnami images to run an example PHP application with database support:
- Bitnami’s MariaDB image will provide the database server.
- Bitnami’s PHP-FPM image will provide PHP processing for the application.
- Bitnami’s NGINX image will serve the application and delegate PHP processing to the PHP-FPM container.
The example application used in this guide is phpMiniAdmin, a lightweight, browser-based database management tool, but you can also use your own PHP application if you wish.
This guide will assume that you already have a Docker environment with Docker Compose installed.
TIP: Windows users can refer to our guide for installing Docker Toolbox for Windows.
Step 1: Get the application
In your Docker environment, create a directory for your application, then copy or clone your application’s source code into the directory. If you’re using the example phpMiniAdmin application, execute the following commands to create the directory and download the source code:
$ mkdir myapp
$ curl -o myapp/phpminiadmin.php https://raw.githubusercontent.com/osalabs/phpminiadmin/master/phpminiadmin.php%
Step 2: Configure the NGINX server block
Create a folder named nginx-vhost/ in your application directory:
$ mkdir myapp/nginx-vhost
Create a file named myapp.conf in the nginx-vhost/ directory with the following contents:
server {
  listen 0.0.0.0:8080;
  server_name myapp.example.com;

  root /app;
  index index.php;

  location / {
    try_files $uri $uri/ /index.php?q=$uri&$args;
  }

  location ~ \.php$ {
    fastcgi_pass php-fpm:9000;
    fastcgi_index index.php;
    fastcgi_param SCRIPT_FILENAME $document_root$fastcgi_script_name;
    include fastcgi_params;
    }
}
This configuration file tells NGINX to pass all PHP files to PHP-FPM for processing using the FastCGI interface, and also sets the document root for the server block to the /app directory.
Notice that this configuration file uses php-fpm as the name for the PHP-FPM host and assumes the application’s source code is in the /app directory. As you’ll see in the next step, both the host name and volume mapping will be defined in the Docker Compose file.
This is also a good time to map the server name myapp.example.com to the IP address of the server where Docker is installed. The easiest way is to add this entry to the local hosts file. For a Linux- or OS X-based host, execute the following command:
$ echo '127.0.0.1 myapp.example.com' | sudo tee -a /etc/hosts
NOTE: The IP address may not be 127.0.0.1 if you are not running Docker in your local environment. In this case, replace 127.0.0.1 with the correct IP address of the server where Docker is installed.
Step 3: Create the Docker Compose file
The next step is to orchestrate Bitnami’s NGINX, PHP-FPM and MariaDB containers into a development environment and connect them with each other. Docker Compose is the ideal tool for this task. Within your application directory, create a Docker Compose file named docker-compose.yml and fill it with the content below:
version: '2'

services:
  nginx:
    image: bitnami/nginx:latest
    ports:
      - 80:8080
    volumes:
      - ./nginx-vhost/myapp.conf:/bitnami/nginx/conf/vhosts/myapp.conf
      - .:/app

  mariadb:
    image: bitnami/mariadb:latest
    environment:
      - MARIADB_ROOT_PASSWORD=cb37trwso*
    volumes:
      - mariadb_data:/bitnami/mariadb

  php-fpm:
    image: bitnami/php-fpm:latest
    volumes:
      - .:/app

volumes:
  mariadb_data:
    driver: local
This Docker Compose definition covers three containers. Let’s look at each in detail.
-
The NGINX container uses Bitnami’s NGINX image and runs on port 8080. It can address the PHP-FPM container using the php-fpm hostname. It mounts the application source at the /app path so that NGINX can serve the application’s static assets (images, scripts and so on). Finally, the NGINX container’s port 8080 is exposed on the host port 80, making the application accessible over the network.
NOTE: Ensure that port 80 on the server where Docker is installed is not already in use and that your host’s firewall allows inbound access on that port.
-
The MariaDB container uses Bitnami’s MariaDB image and configures it with an administrator password using the MARIADB_ROOT_PASSWORD environment variable. The container is configured to use mariadb as the hostname, and mounts the MariaDB data directory at the /bitnami path of the container to ensure persistence of the MariaDB data.
At startup, the MariaDB container will set the default MariaDB administrator account username to root, although you can override this if you wish with the MARIADB_ROOT_USER variable. You can also configure a “regular” database user account and a fresh, empty database by specifying the additional MARIADB_USER, MARIADB_PASSWORD and MARIADB_DATABASE variables. These same credentials should be used by your application to connect to the MariaDB database server.
NOTE: For security reasons, it’s highly recommended that you use a different password from the value shown above.
-
The PHP-FPM container uses Bitnami’s PHP-FPM image, and mounts the current directory (containing the application source) at the /app path of the container (you’ll remember this path was configured earlier as the virtual host’s document root).
TIP: If your PHP application is configured to use a different directory as the document root (as many PHP frameworks do), modify this mount point accordingly.
Step 4: Start the containers
Start the containers with the command below:
$ docker-compose up -d
Check that the containers are all running with a quick docker ps. You should see something like this:
Step 5: Test the application
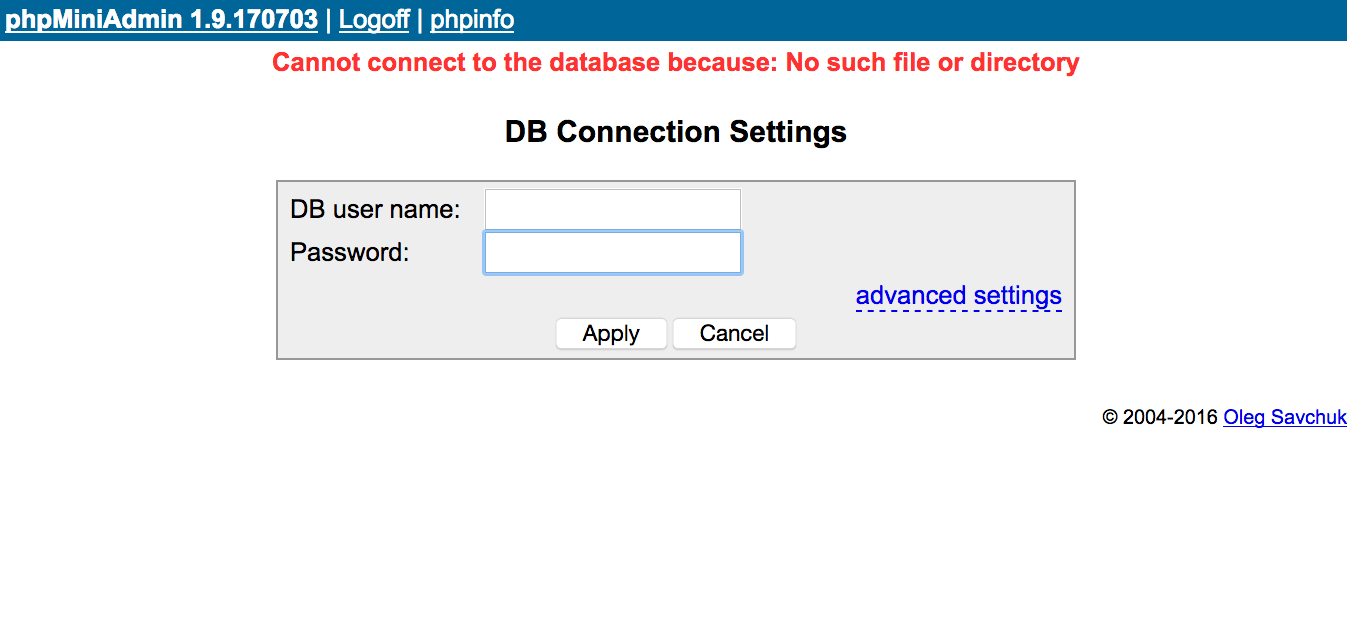
Browse to the application URL - in this example, http://myapp.example.com/phpminiadmin.php or http://IP-ADDRESS/phpminiadmin.php where IP-ADDRESS is the IP address of the server where Docker is installed or localhost if you are using a local Docker environment - and you should see your PHP application running.
If you’re using phpMiniAdmin, this is what you should see:
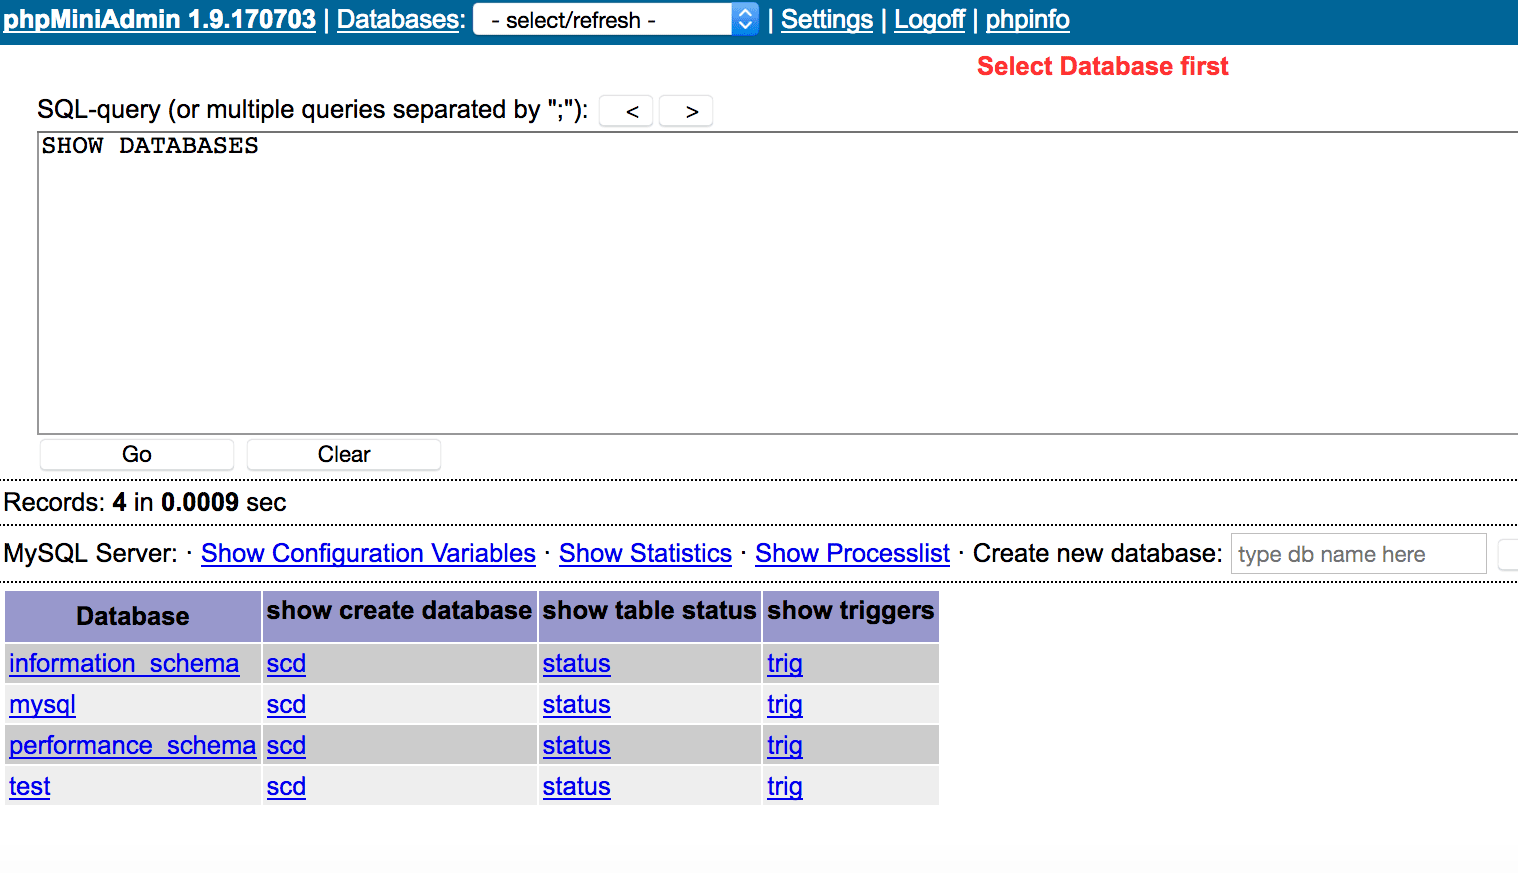
Click “advanced settings” and log in with database username root, MySQL host name mariadb and the password specified in the Docker Compose file. You should now have access to the phpMiniAdmin database management interface, as shown below. You can use this interface to create databases and tables and execute SQL queries on your MariaDB database server.
At this point, your EMP environment is fully operational, and you can begin (or continue) developing your PHP application in the myapp/ directory on the server where Docker is installed. Remember that the myapp/ directory is mounted at the /app path of the PHP-FPM and NGINX containers, so any changes you make will be immediately reflected when you refresh the application URL.
Useful links
To learn more about the topics discussed in this guide, use the links below:


