Get Started With Bitnami Charts using Azure Marketplace Kubernetes Applications
Introduction
Microsoft Azure is a flexible and versatile cloud platform for enterprise use cases, while Kubernetes is quickly becoming the standard way to manage application containers in production environment. Azure Kubernetes Service (AKS) brings these two solutions together, allowing users to quickly and easily create fully managed Kubernetes clusters.
This guide walks you, step by step, through the process of provisioning a new Kubernetes cluster on Microsoft Azure using AKS and then deploying an application to the cluster using a Bitnami Helm chart.
Overview
This guide will introduce you to AKS by provisioning a Kubernetes cluster and deploying the NGINX Open Source packaged by Bitnami Helm chart on it. This will give you a pre-configured NGINX Open Source deployment that you can start using right away. But NGINX Open Source is just an example: there are many other Bitnami applications to choose from, and they’re all equally easy to set up.
Here are the steps you’ll follow in this tutorial:
- Provision a Kubernetes cluster and deploy the NGINX Open Source Helm chart
- Access the AKS dashboard
- Access the NGINX Open Source service
The next sections will walk you through these steps in detail.
Assumptions and prerequisites
This guide assumes that:
- You have a Microsoft Azure account with an active subscription. If you don’t, create a new account for free.
Step 1: Provision a Kubernetes cluster and deploy the NGINX Open Source Helm chart
-
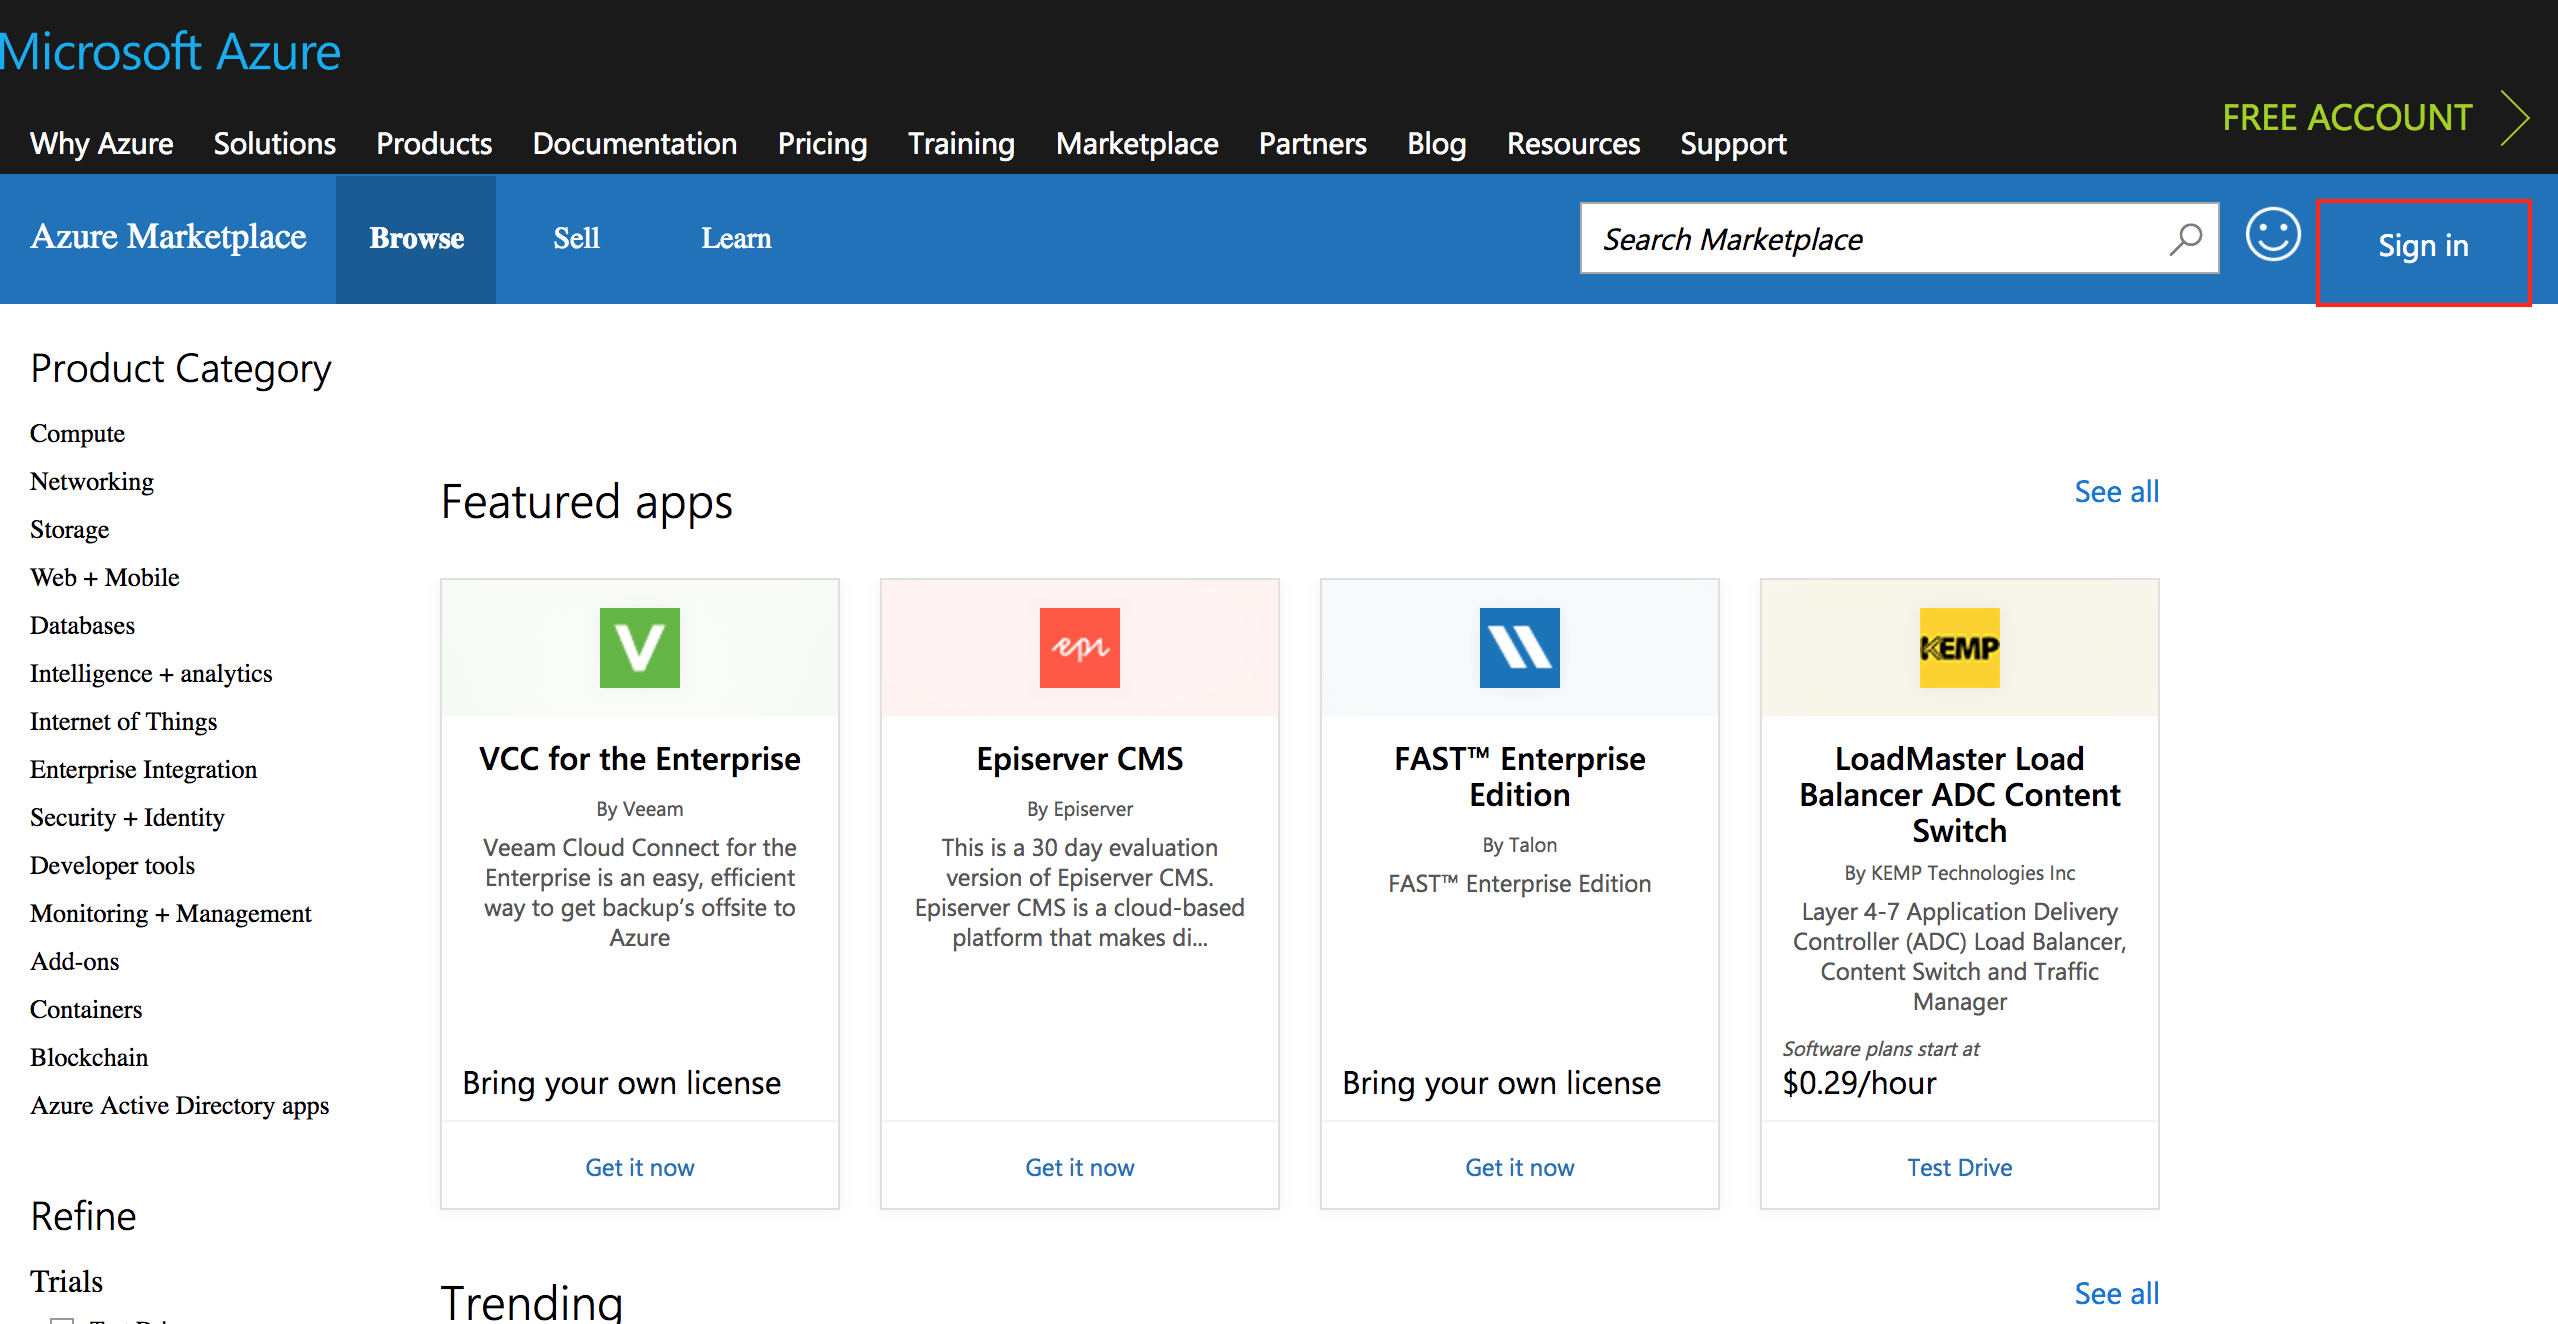
Log in to the Microsoft Azure Marketplace.
-
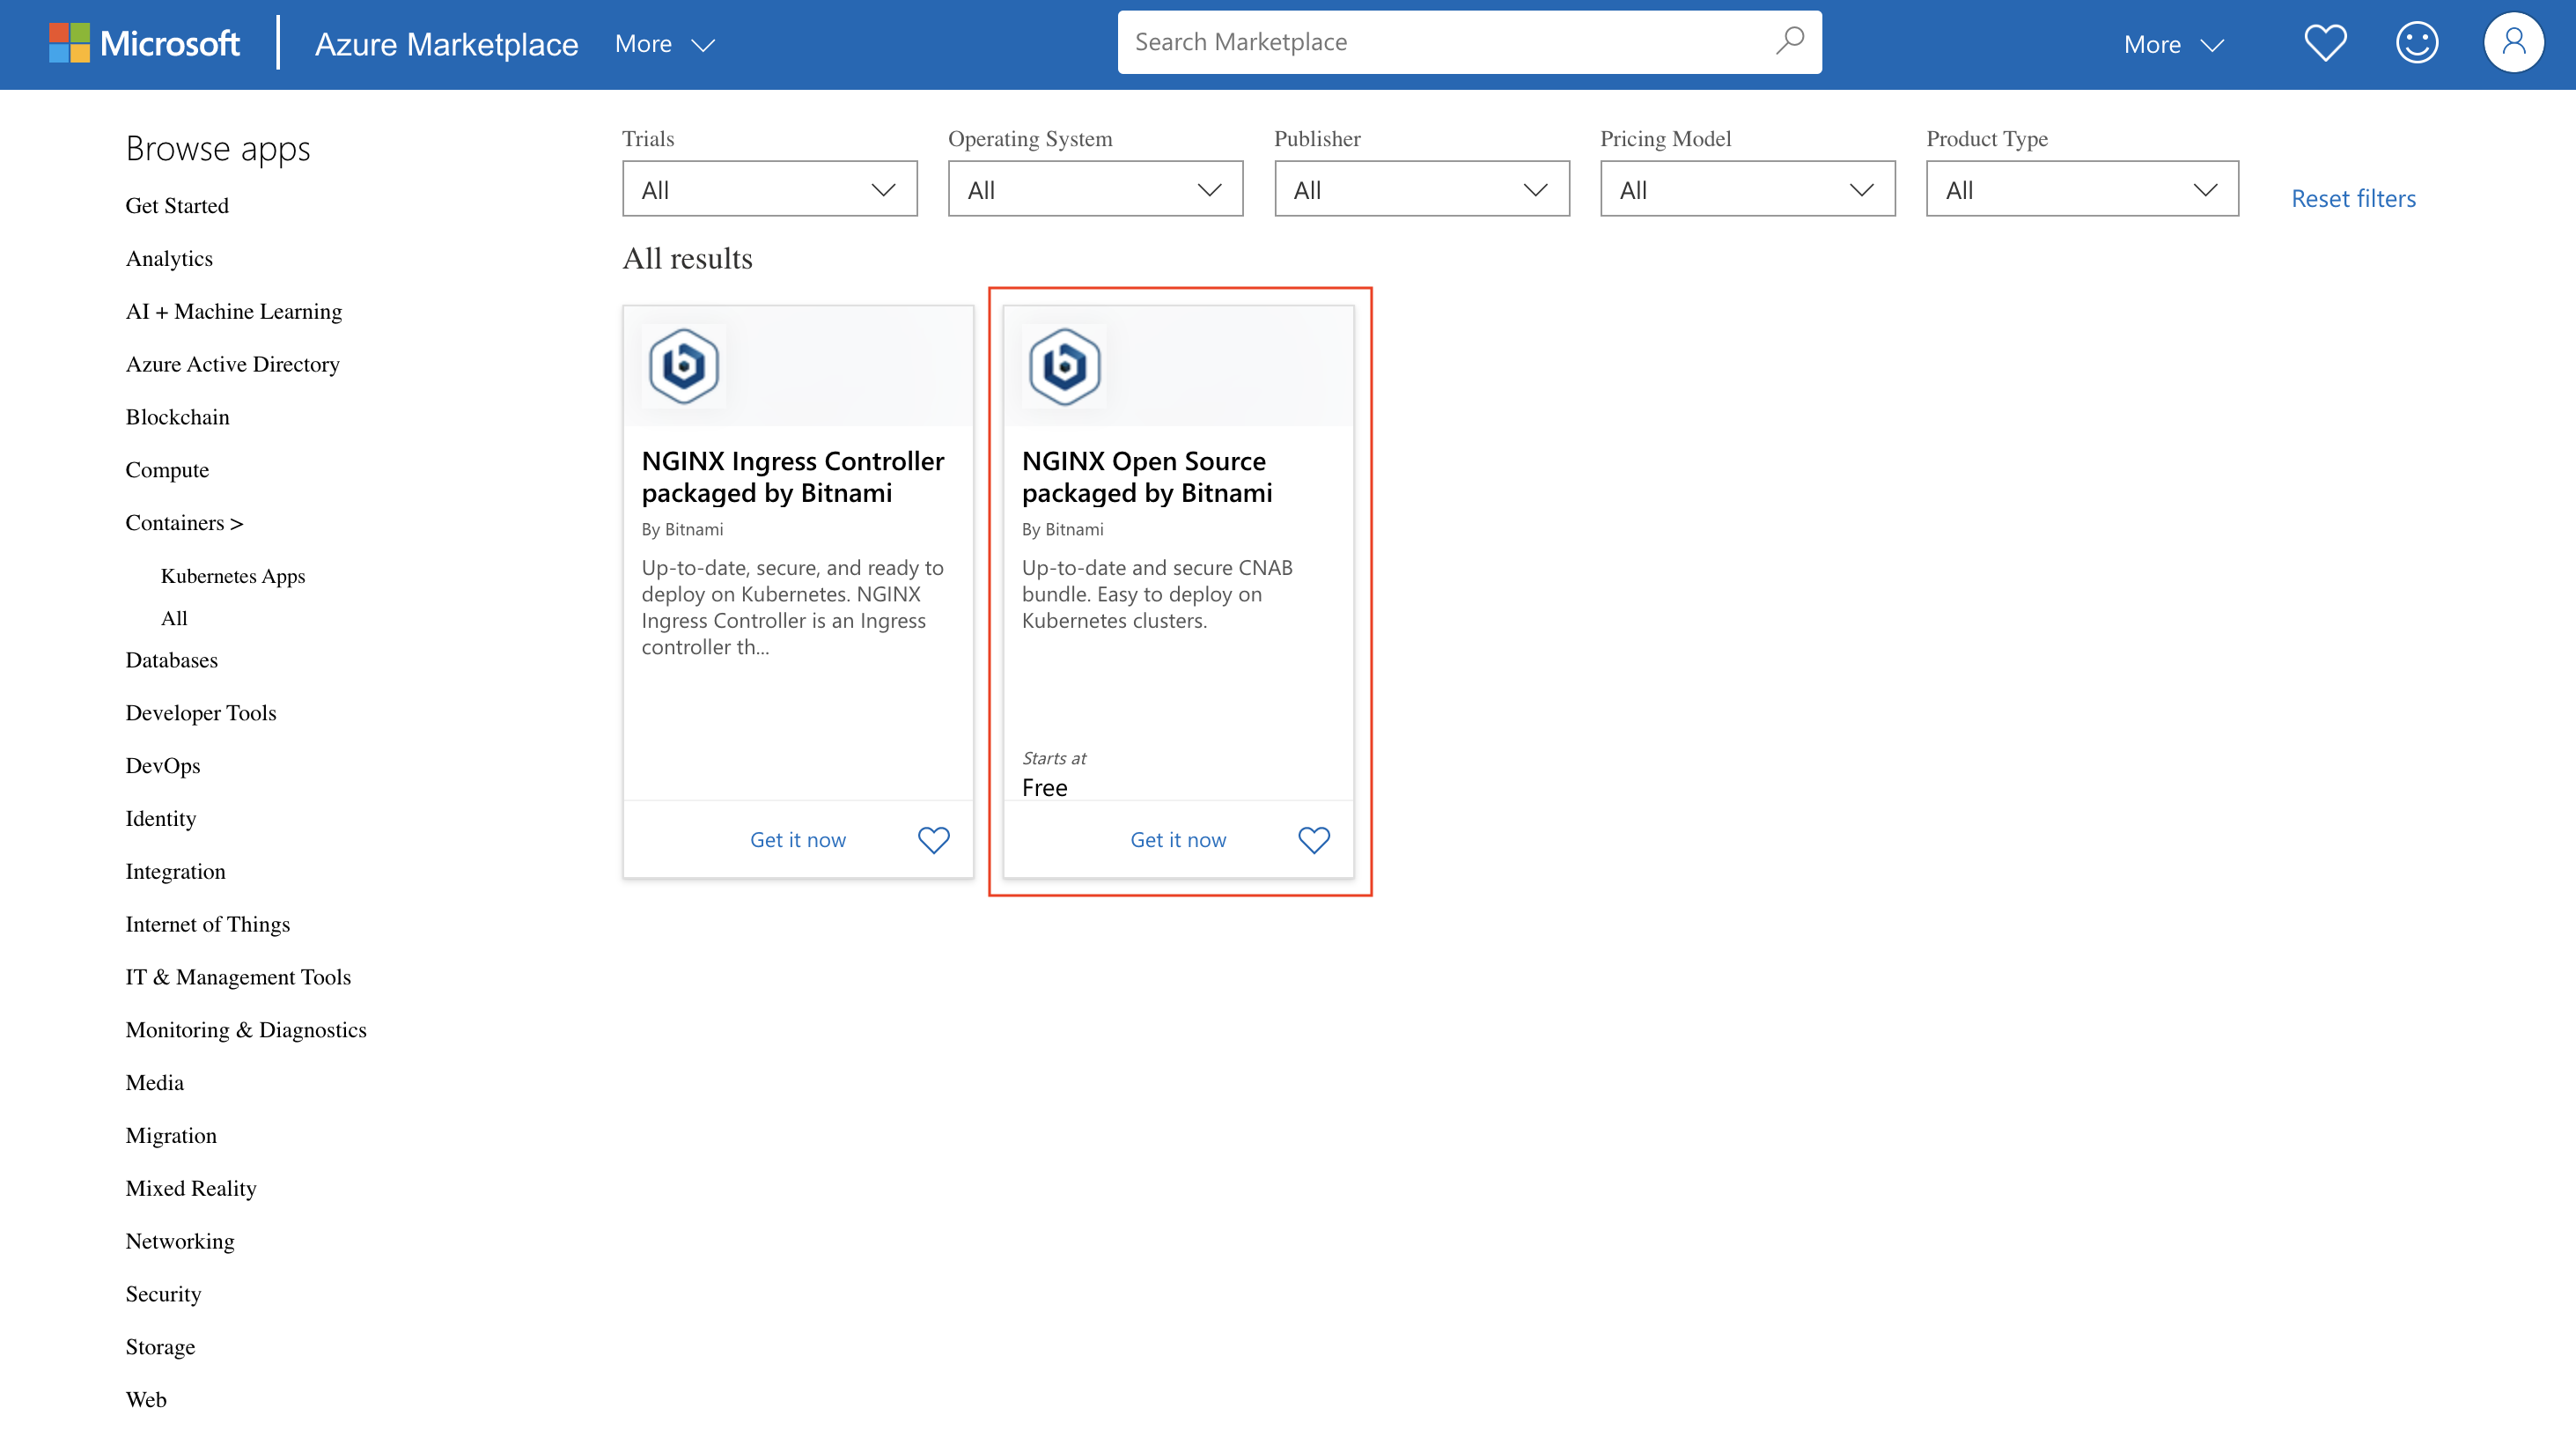
Search for the NGINX Open Source offer by entering the search term “bitnami nginx” in the search bar at the top.
-
Filter by “Containers > Kubernetes Apps”.
-
Select the NGINX Open Source packaged by Bitnami in the list of search results.
-
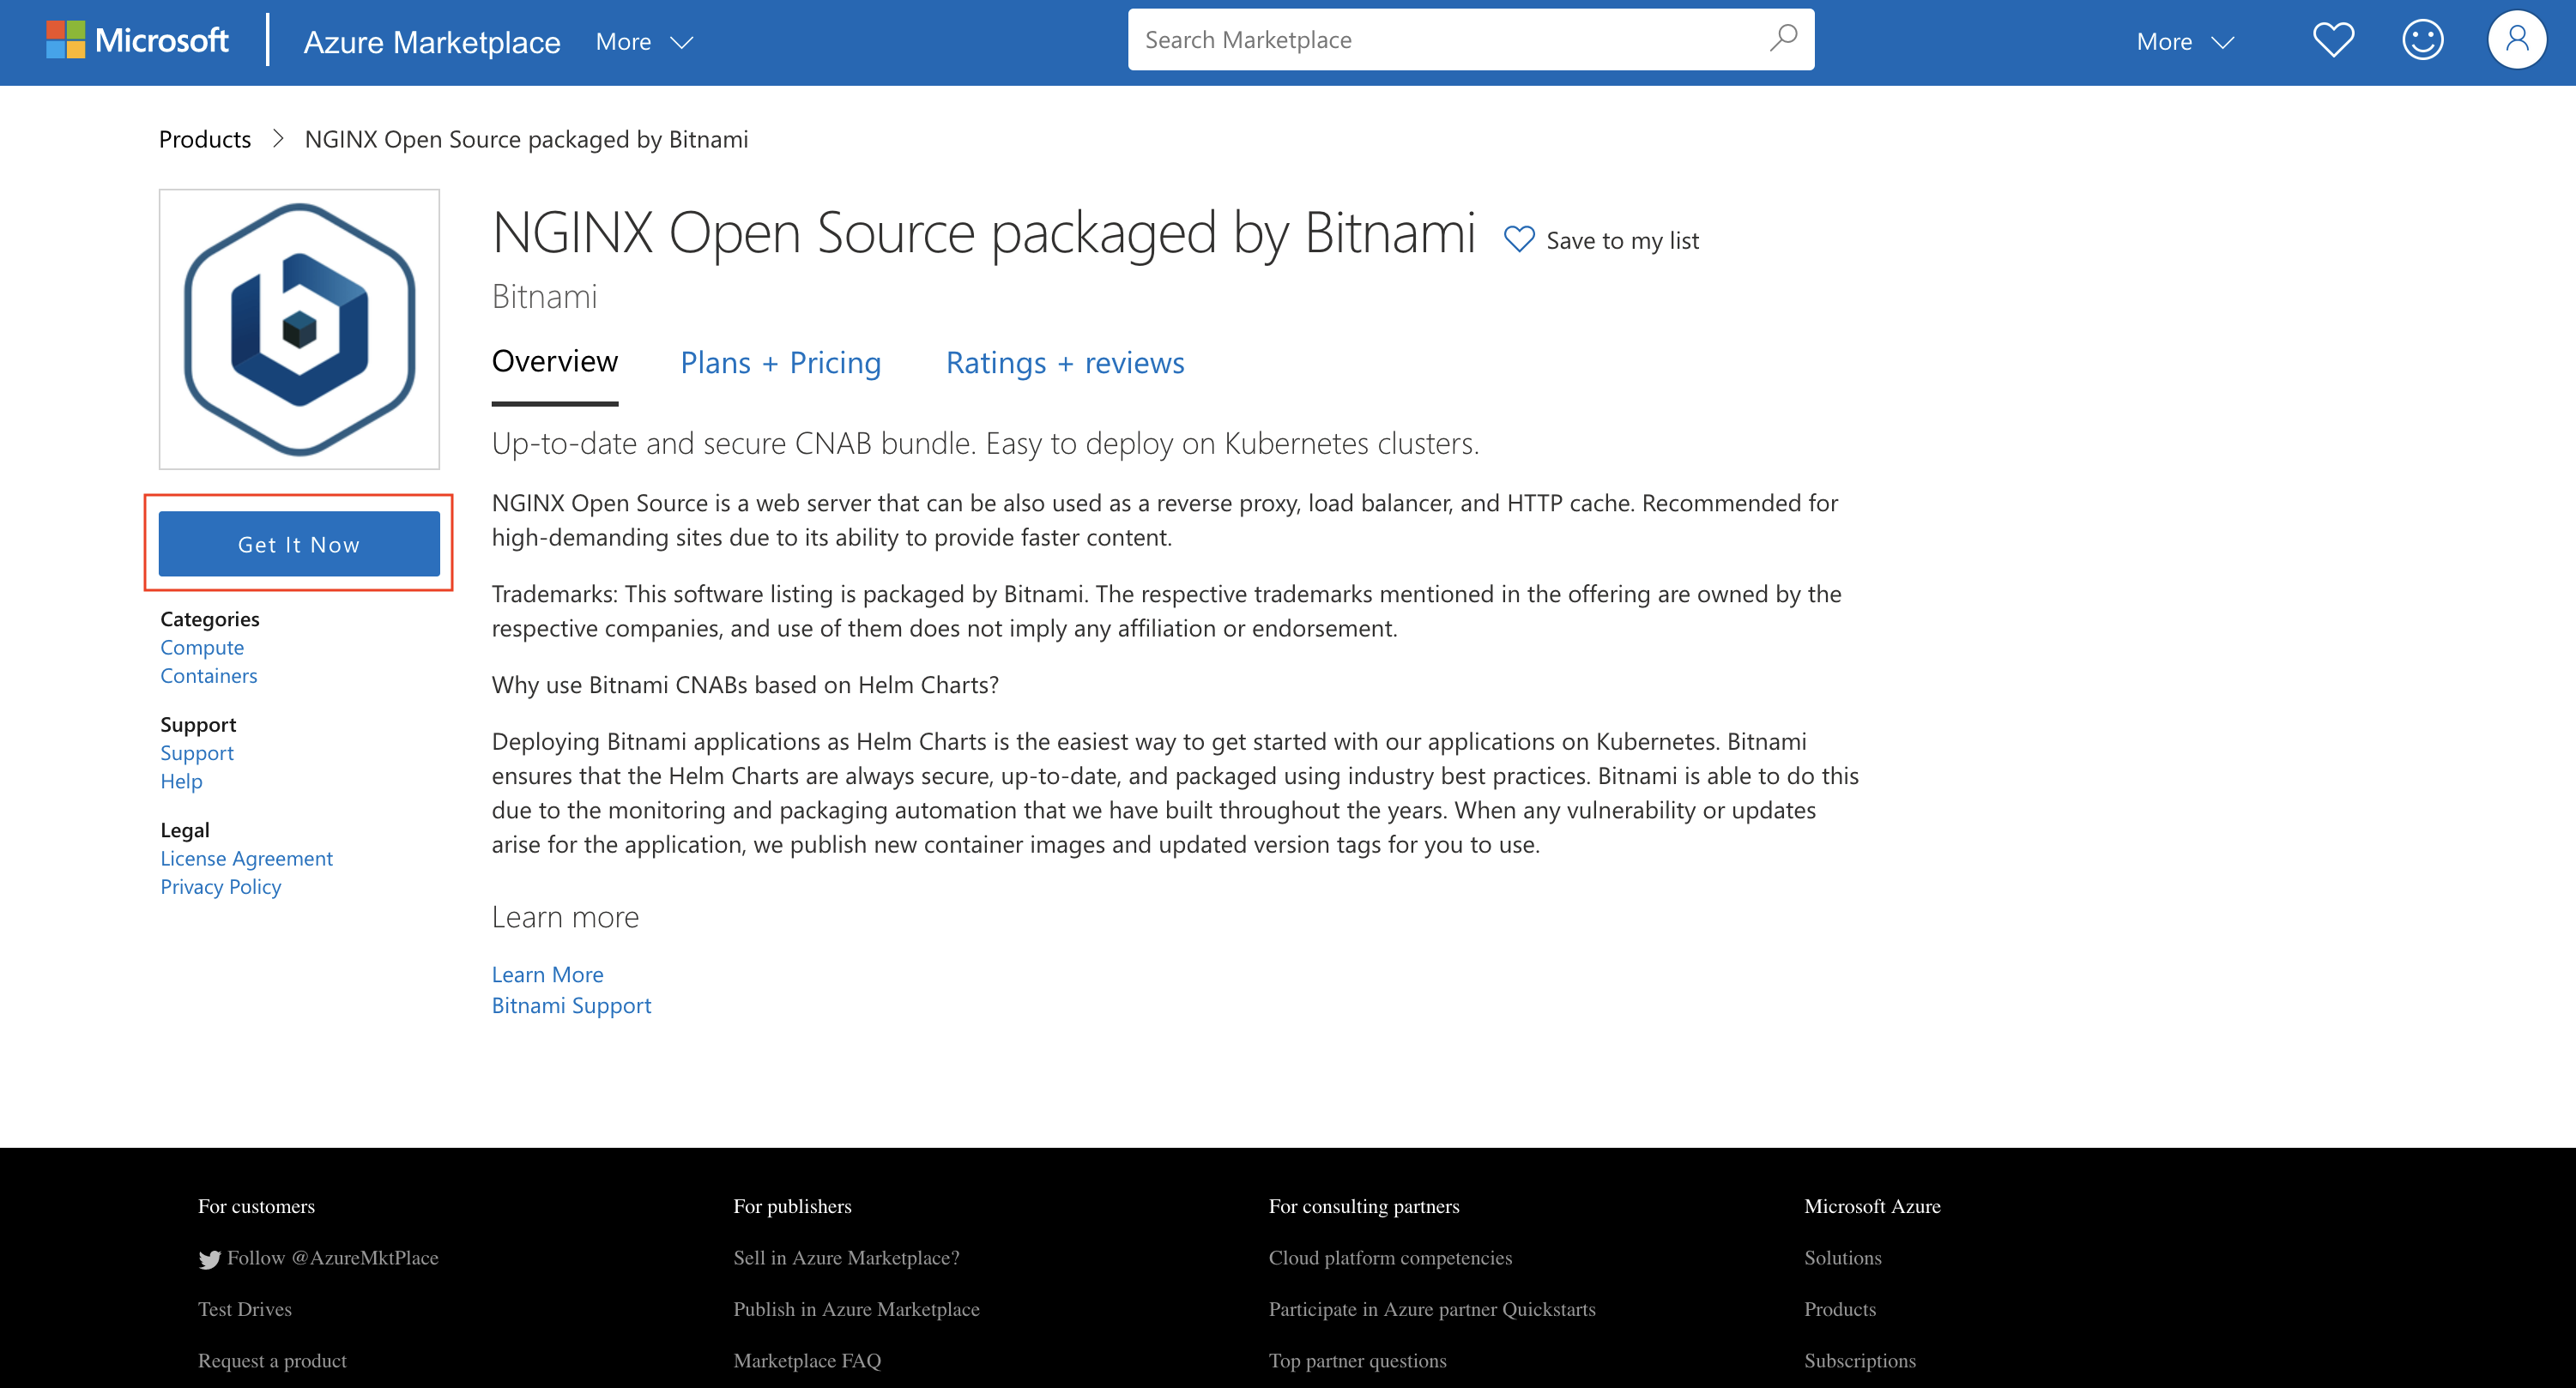
On the resulting detail page, review the description and click “Get it now” to proceed.
-
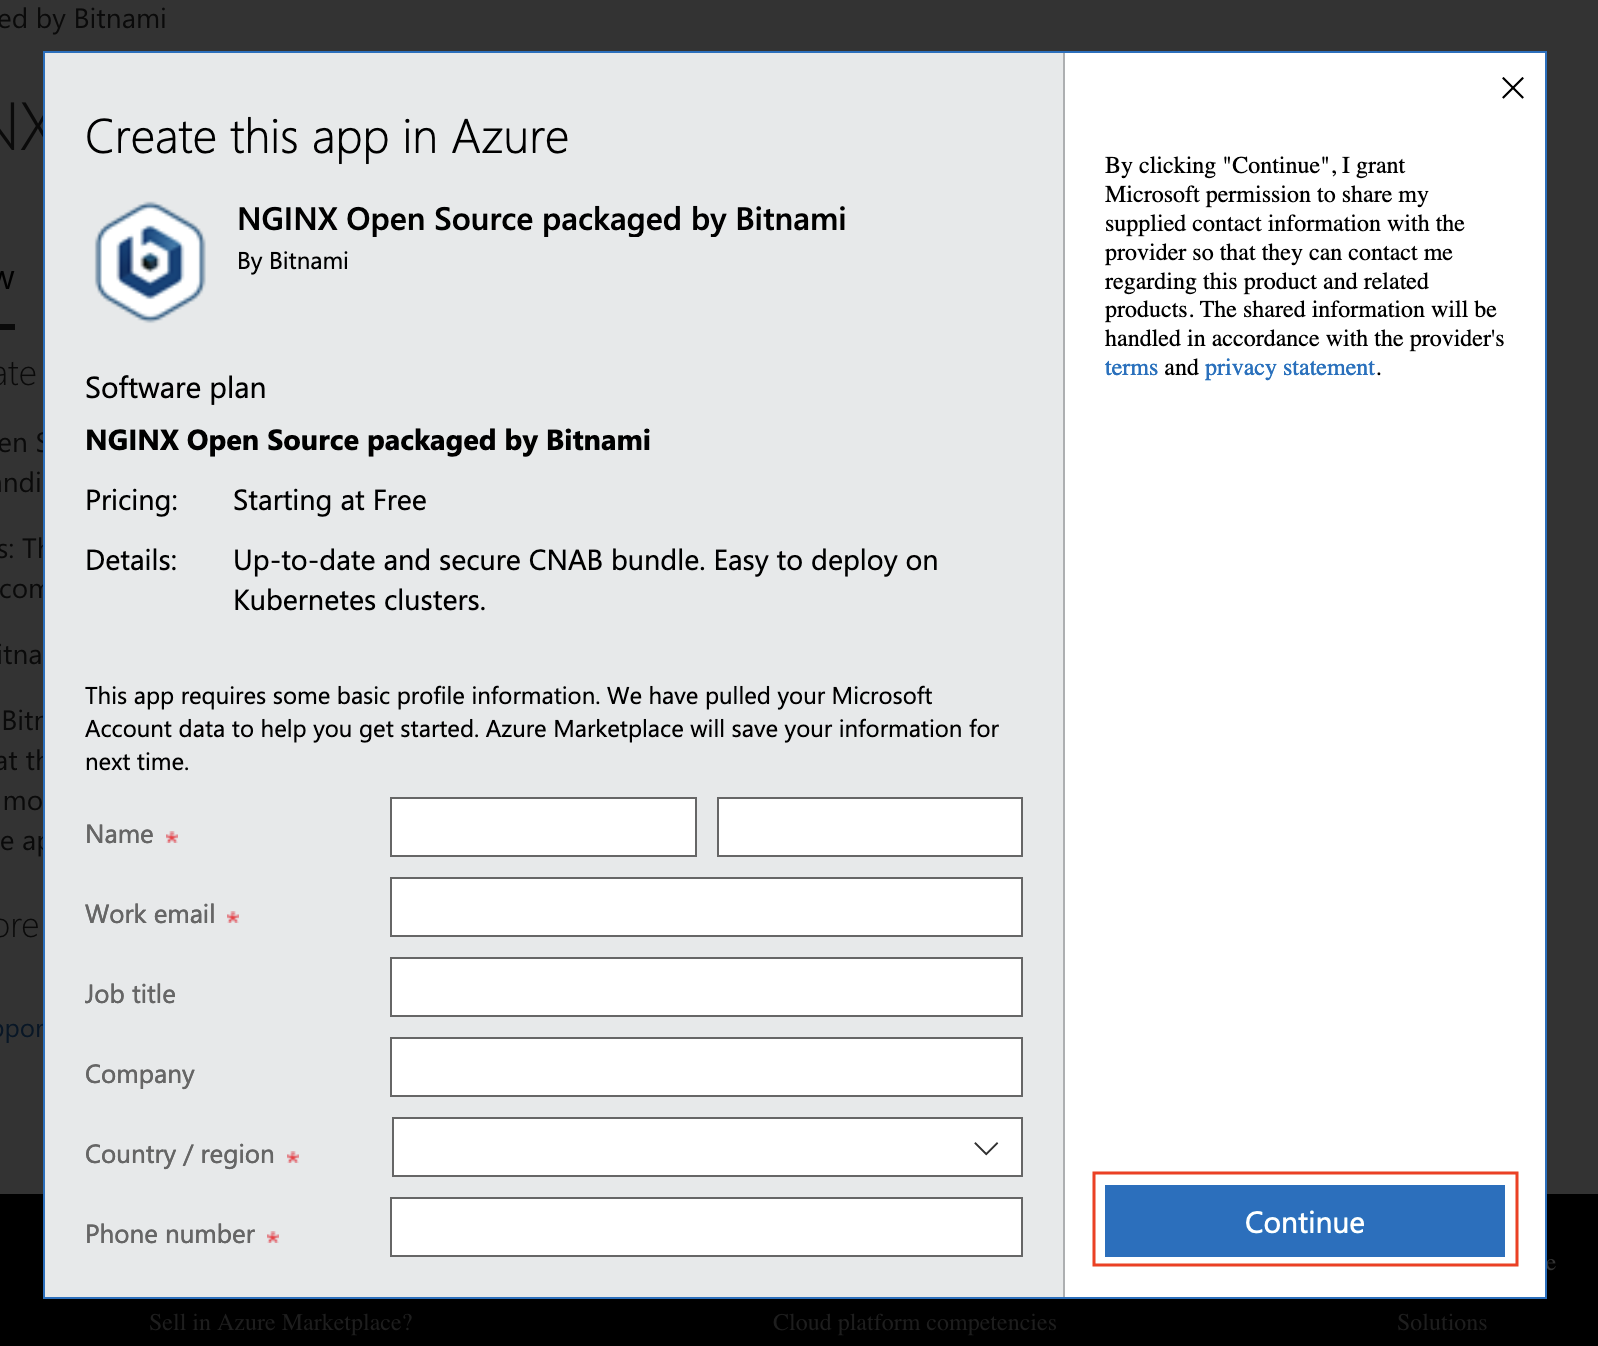
On the resulting dialog, check the terms and conditions of the software plan and accept them by clicking “Continue”. You will be redirected to the Microsoft Azure Portal.
-
Click on the account you want to use for the provisioning of resources.
-
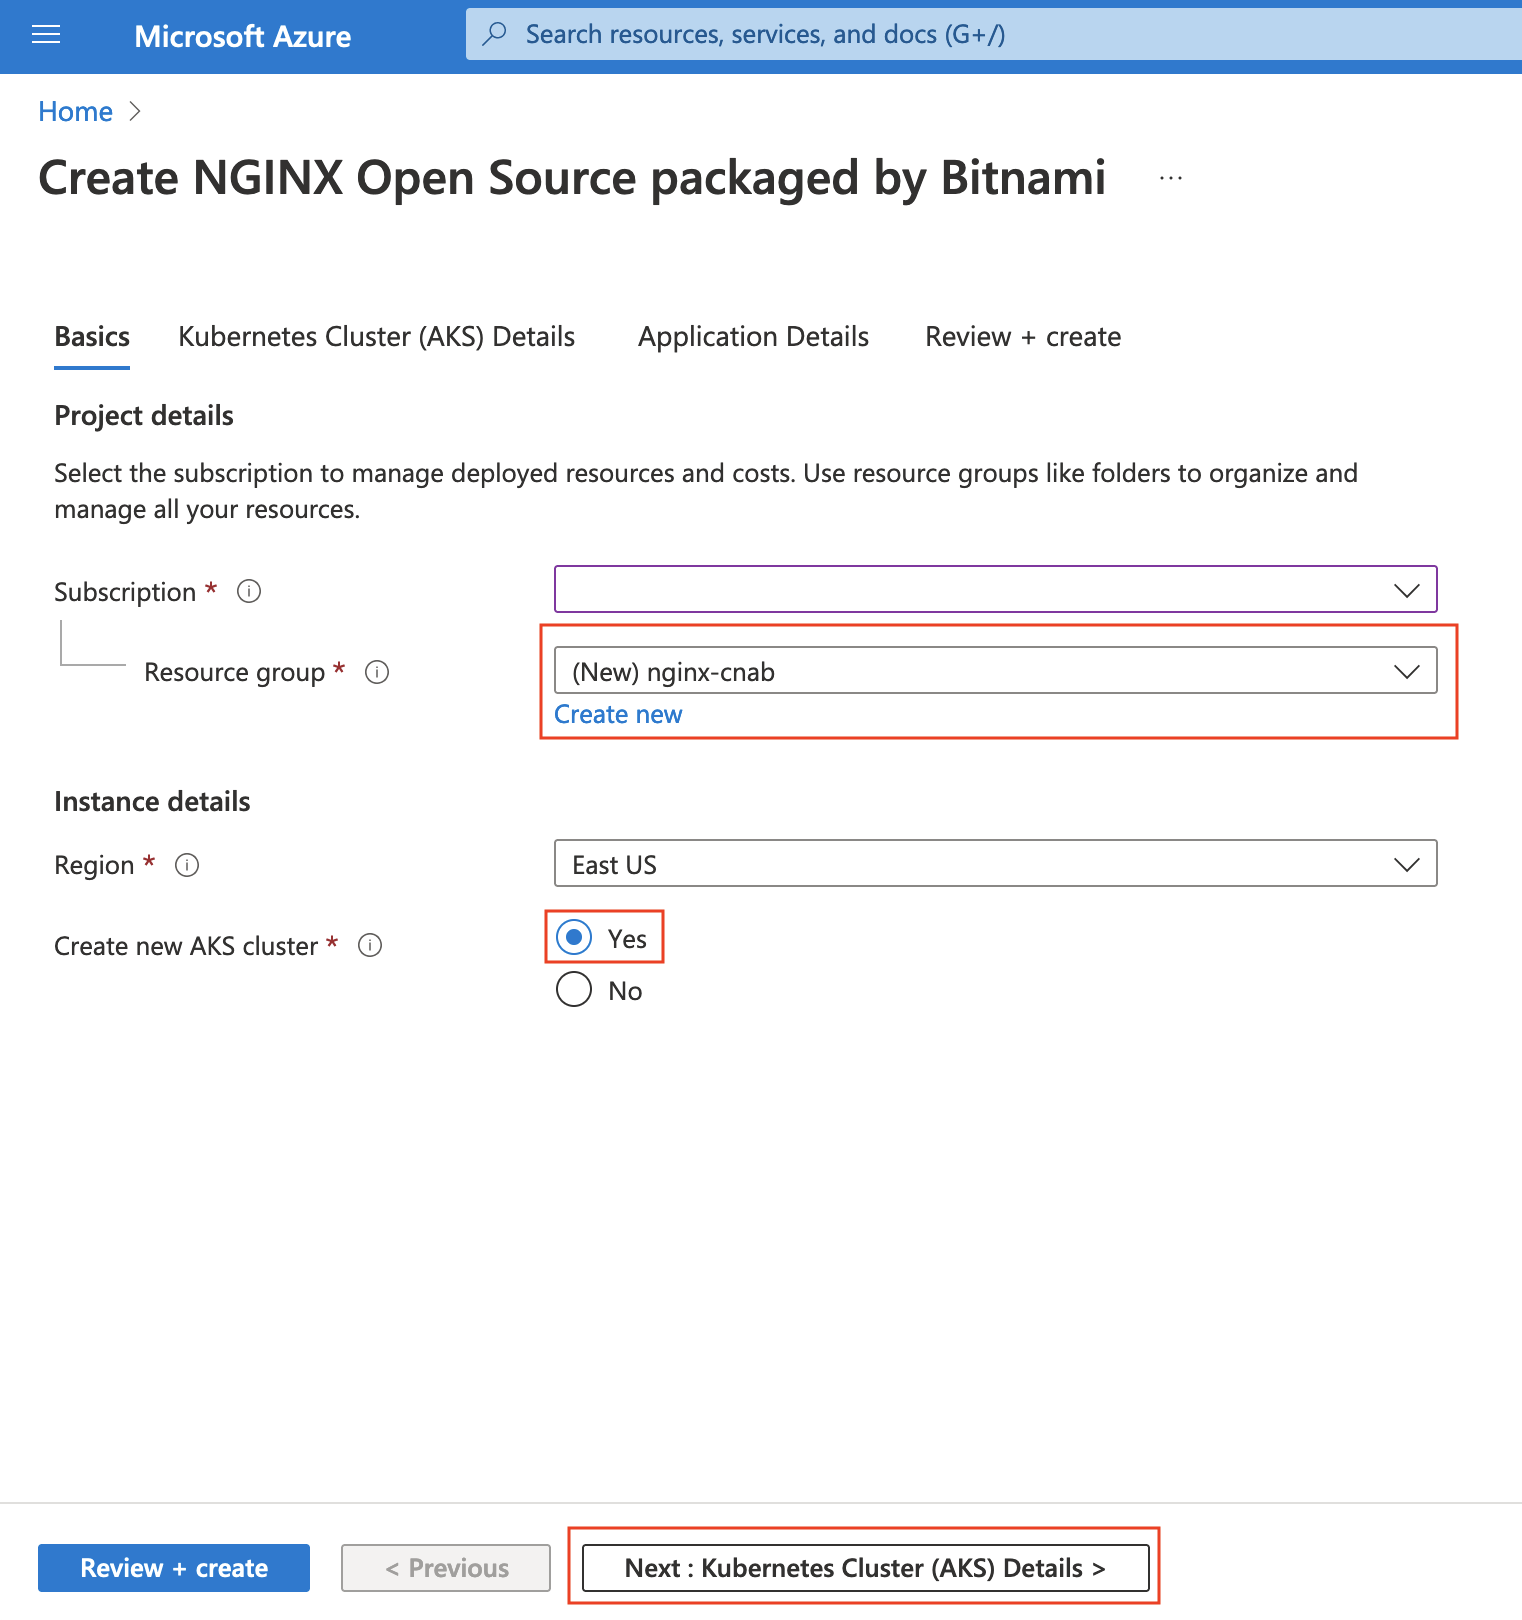
In “Create NGINX Open Source packaged by Bitnami -> Basics” complete the required fields. Create a new resource group, a new AKS cluster and click “Next” to continue.
-
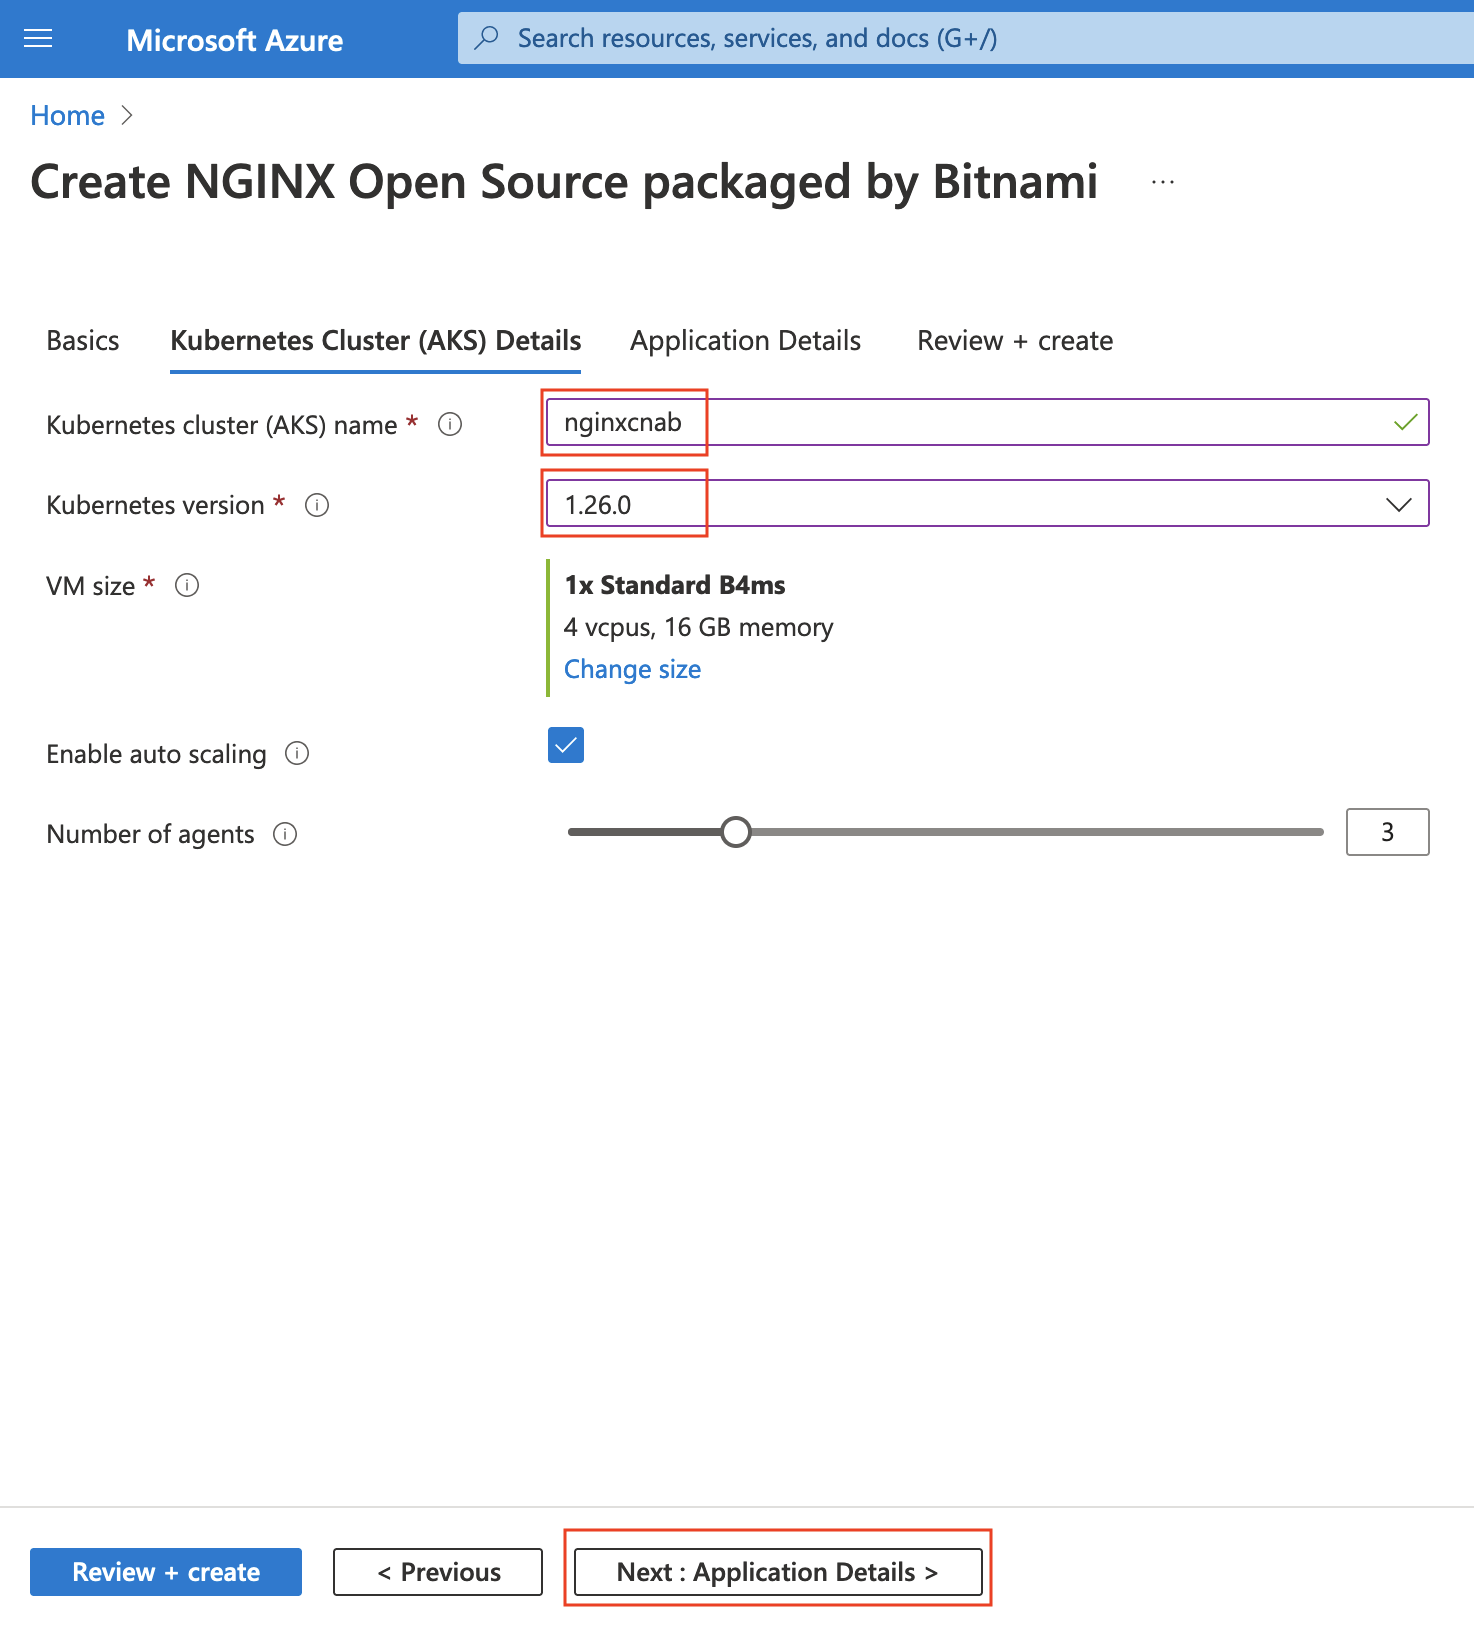
In “Kubernetes Cluster (AKS) Details” configure the settings for the Kubernetes Cluster. At least set a name for the cluster and select a version. Click “Next” to continue.
-
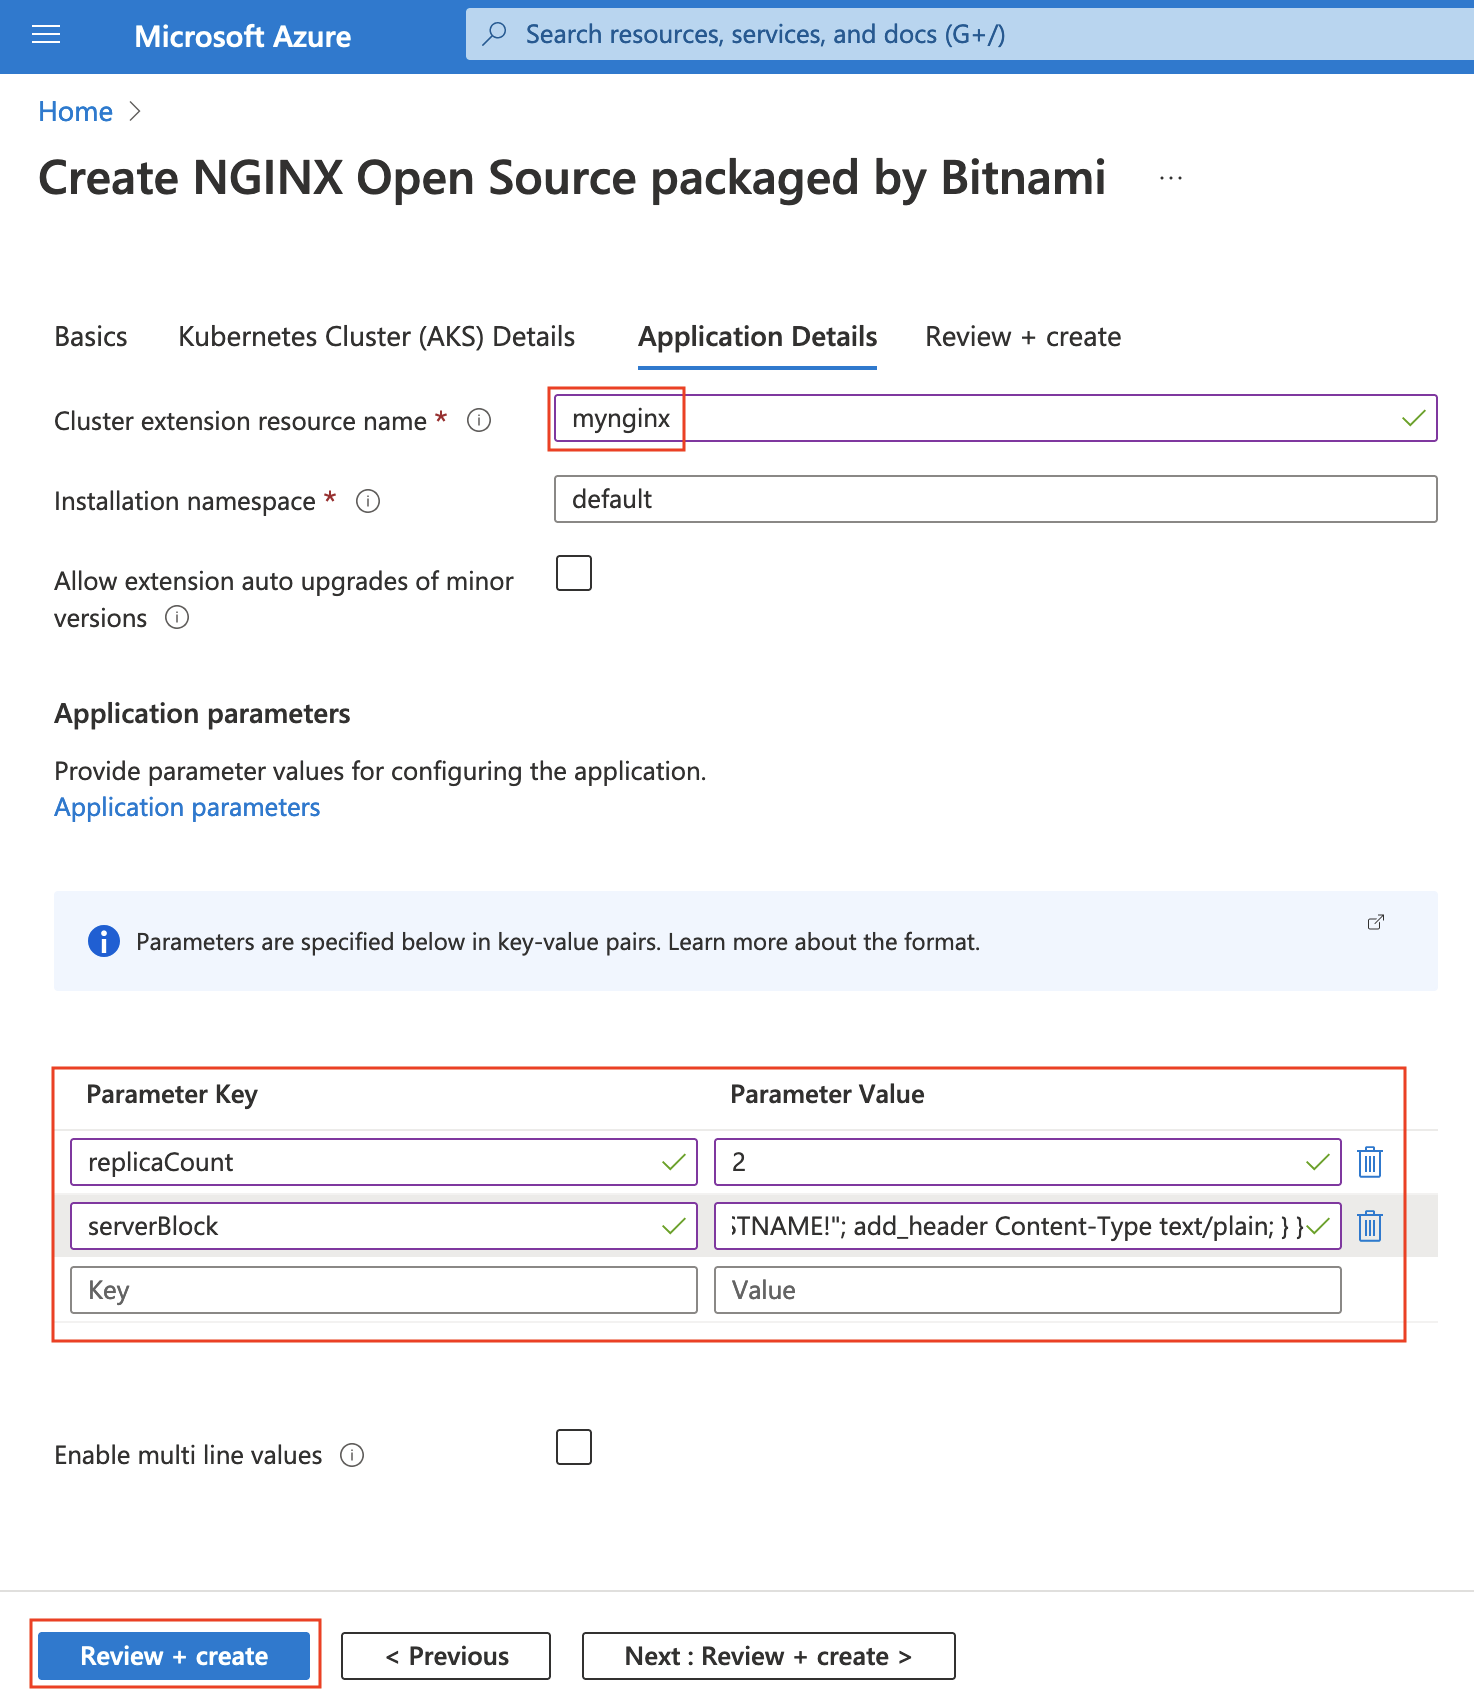
In “Application Details” define the cluster extension resource name and provide some application parameters. For this tutorial, set 2 replicas and a basic server block that NGINX Open Source will serve:
- replicaCount ->
2 - serverBlock ->
server { listen 0.0.0.0:8080; location / { return 200 "Hello from $HOSTNAME!"; add_header Content-Type text/plain; } }
- replicaCount ->
-
Click “Create + Review” to continue.
-
At this point, Azure will run a final validation. On the resulting page, you can see a summary of the provided information. Click on “Create”.
-
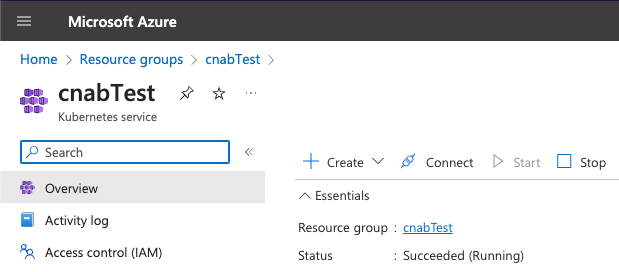
Once the deployment is finished, click on the AKS cluster resource, nginxcnab.

Step 2: Access the AKS dashboard
-
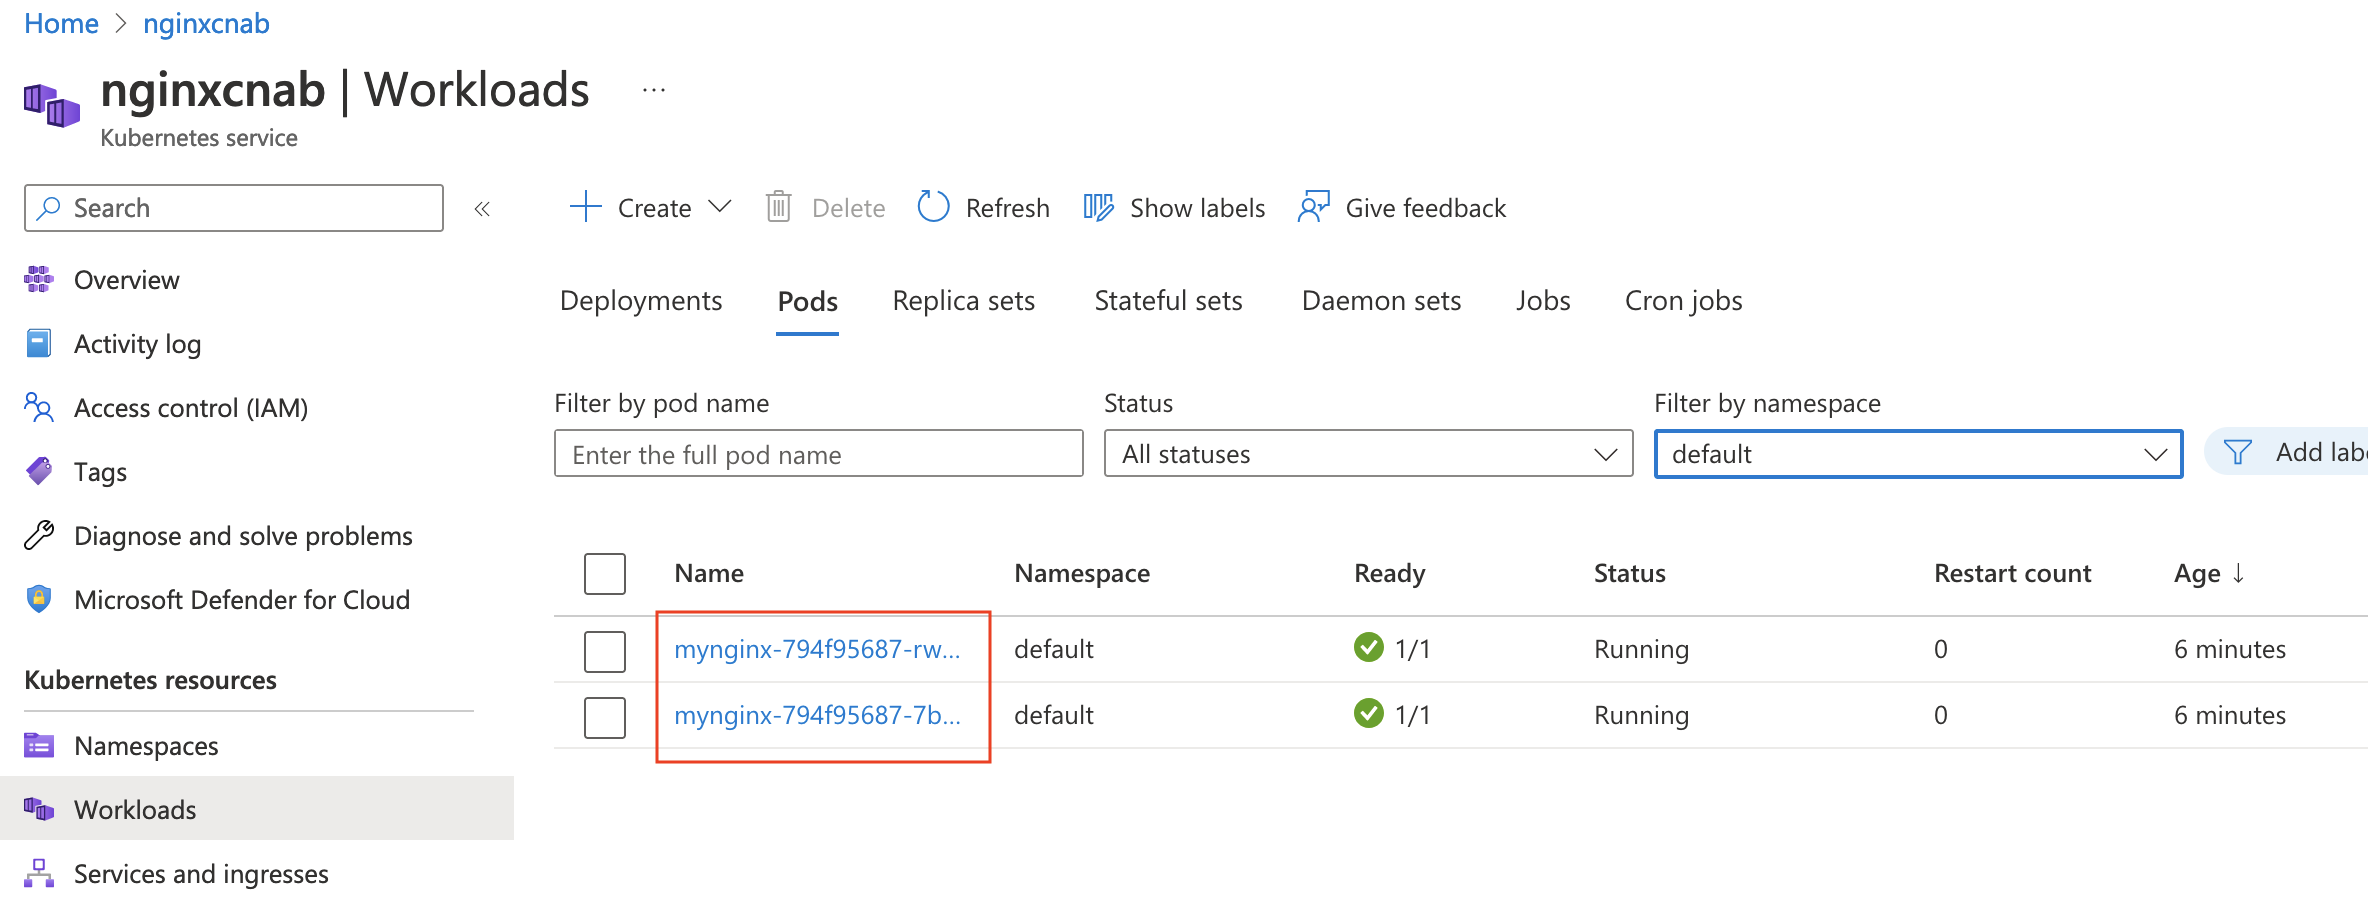
In the AKS dashboard, click on “Workloads” and then on the “Pods” tab to see the 2 replica pods of the NGINX Open Source deployment.
-
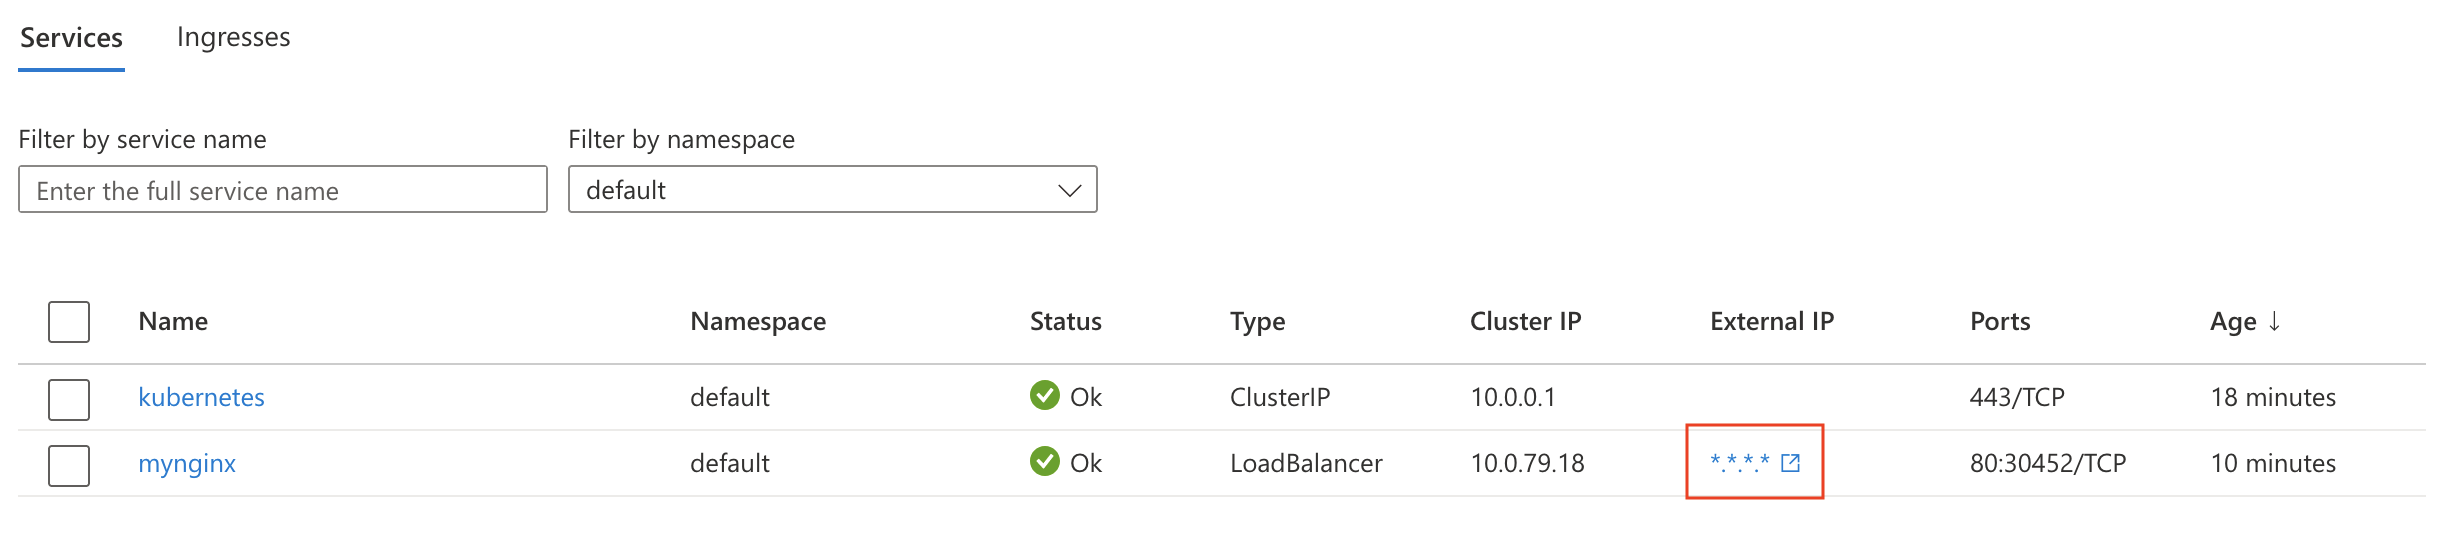
The NGINX Open Source packaged by Bitnami Helm chart deploys a service of type LoadBalancer. Click on “Services and ingresses” to obtain the external IP address.
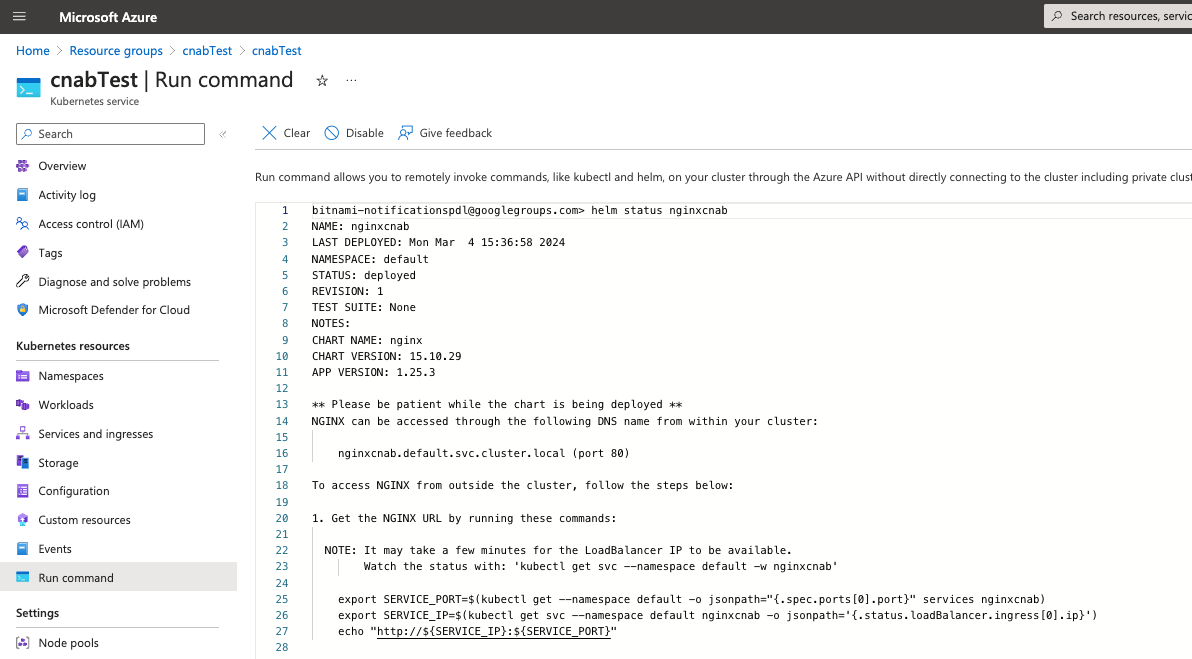
Step 3: Get the usage instructions
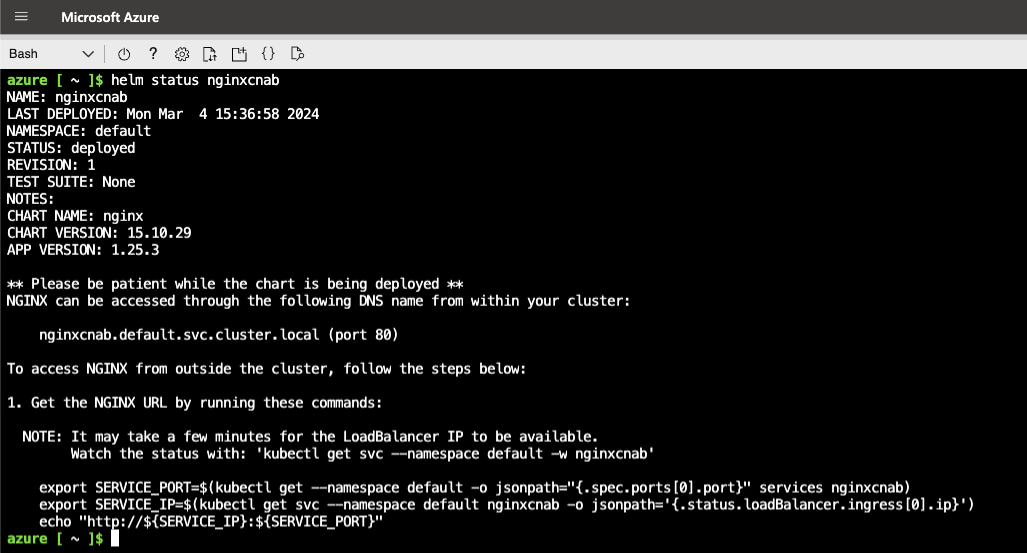
There are different ways to obtain the usage instructions details of the Helm chart you just deployed. This instructions show how to get different information such as the password or tokens that the deployment creates during the process (if any) and how to access the solution. If you already have access to the cluster you used to deploy the chart, you can simply run the following command to get the information
helm status NAME
However, if you have not configured the required credentials to run this command, you can use the web interface to get that information.
-
In the AKS dashboard, access the cluster information and click on the “Connect” button available in the menu.
-
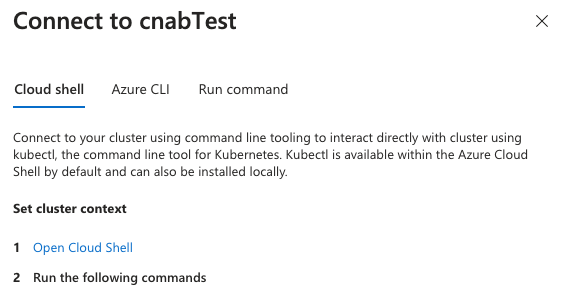
Follow the instructions to connect to the cluster
-
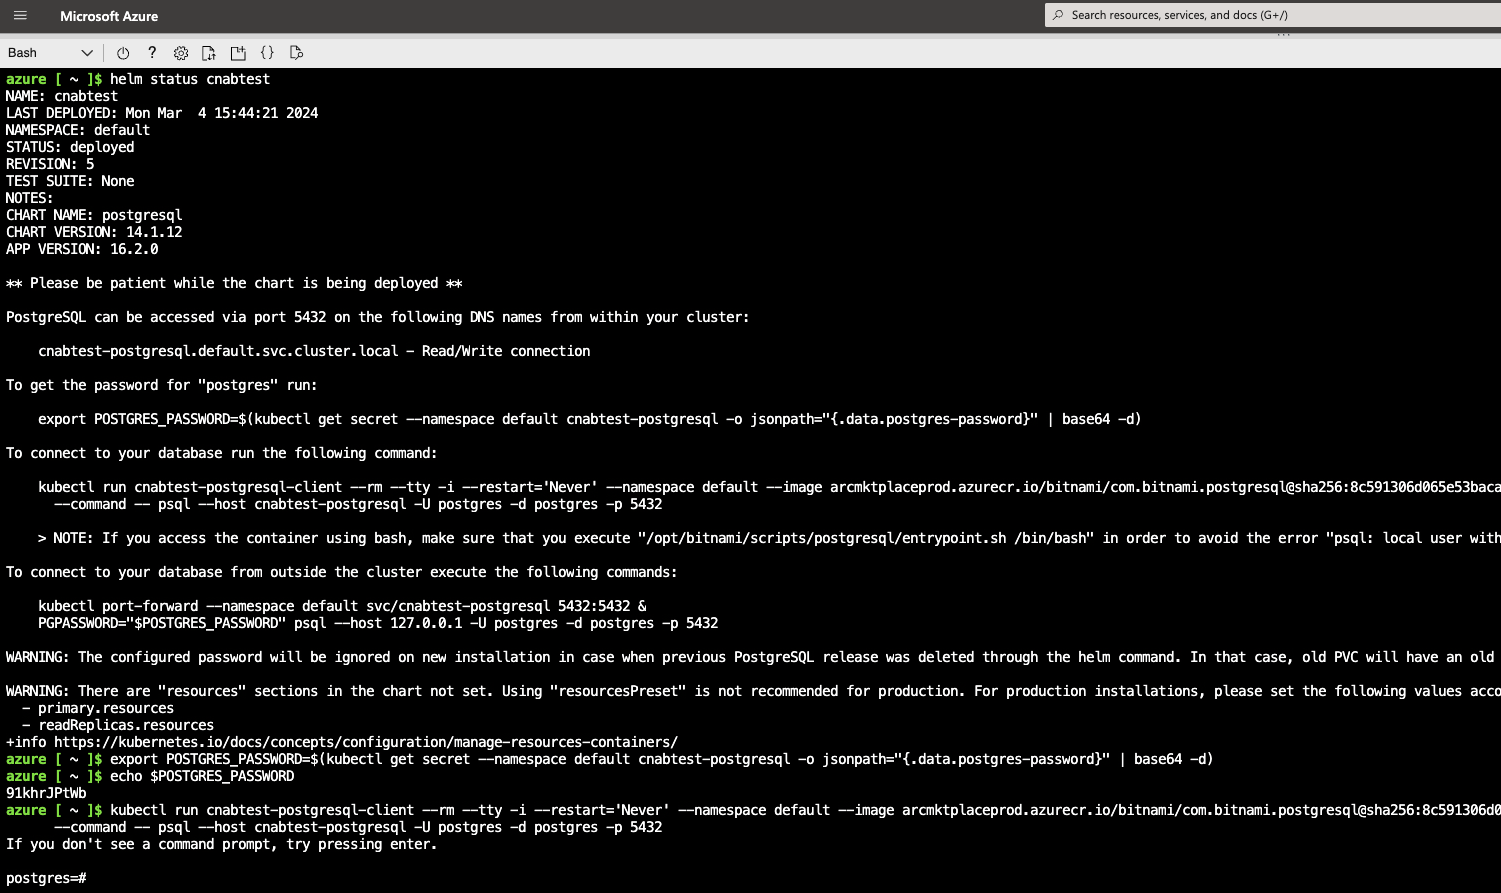
You can either open Cloud Shell to connect to the cluster
-
Or run the command under the “Run command” menu
-
INFO: In case the solution generates any password during the process, you can obtain it easily by following the usage instructions
Step 4: Access the NGINX Open Source service
-
Access the external IP to receive the message defined in the NGINX Open Source server block before. The LoadBalancer service will alternatively point to each of the replicas so you will receive greetings from different pods:
  $ curl http://EXTERNAL_IP/
  Hello from mynginx-794f95687-rwg7b!
  $ curl http://EXTERNAL_IP/
  Hello from mynginx-794f95687-7bkkk!
Useful links
To learn more about the topics discussed in this tutorial, use the links below: