Get started with Harbor
To get started, we suggest the following steps:
Step 1: Configure an HTTPS certificate with Let’s Encrypt
Harbor requires HTTPS in order to be able to use it as a registry for Docker or Helm. In order to support HTTPS, a valid HTTPS certificate needs to be configured for the instance.
For more information, check this guide to learn how to generate and install an HTTPS certificate using Let’s Encrypt.
Step 2: Login to Harbor and create a new registry
First, obtain the application and server credentials. Afterwards, go to https://SERVER-IP/ and enter the login credentials for your instance.
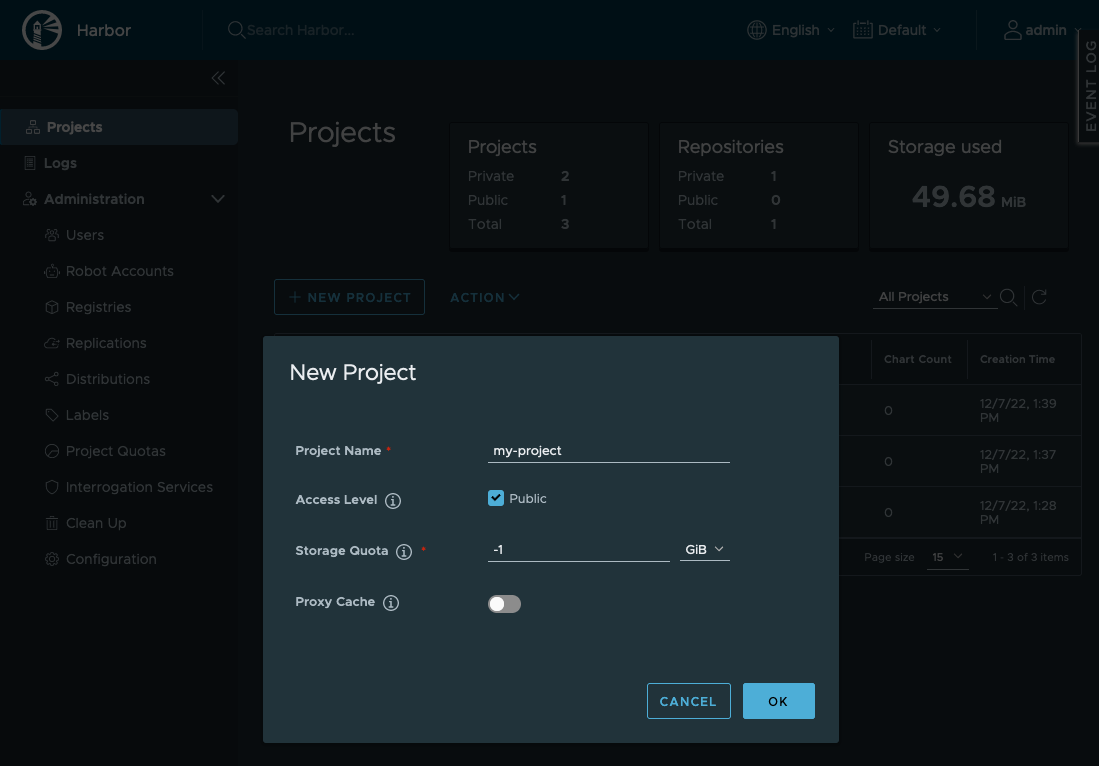
Once logged in, go to “Projects > New Project” and enter the project details. Then, click on “OK” to create the new registry.
Step 3: Push a container image to Harbor
Note: This requires HTTPS to be fully enabled in your Harbor instance, with a valid HTTPS certificate.
In your local machine, execute the command below to log in to your Harbor instance. Use the previously obtained credentials:
$ docker login SERVER-IP
Then, tag your new image and push it to the registry. Remember to replace the IMAGE_NAME and REGISTRY_NAME placeholders below with the appropriate values and execute the command:
$ docker tag IMAGE_NAME SERVER-IP/REGISTRY_NAME/IMAGE_NAME
$ docker push SERVER-IP/REGISTRY_NAME/IMAGE_NAME
Step 4: Scan a container image with Trivy
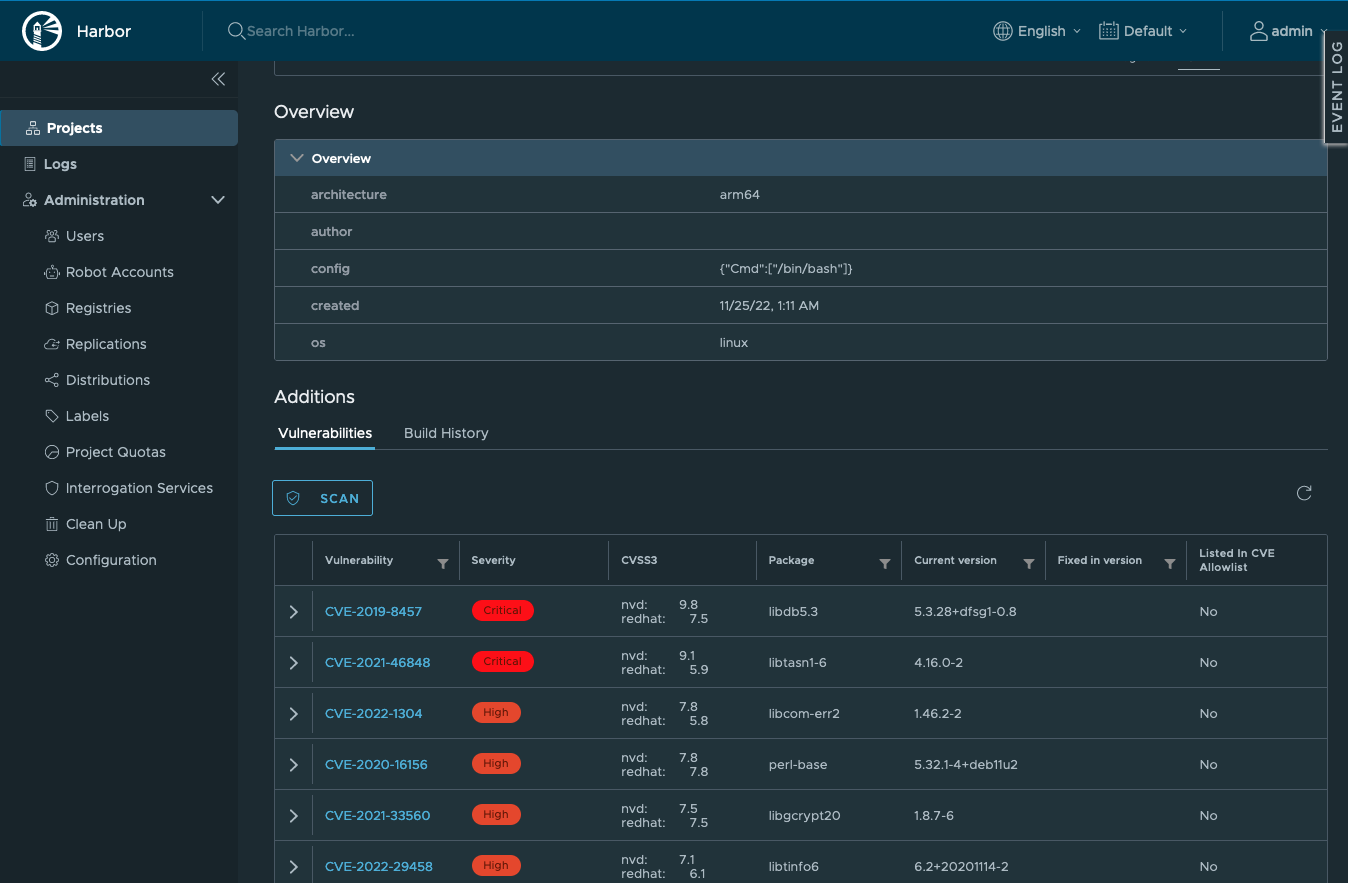
First, navigate to the container image tag that was pushed. To do so, in the Harbor UI, navigate to “Projects”, select your project, go to the repository for the container image, and click on the artifact for the container image tag.
Then, go to “Additions > Vulnerabilities” and click on “Scan”. After a few seconds, the scan results will be shown.
Step 5: Sign a container image
Sign with cosign
Note: This requires the image to be already present in the Harbor registry, and for you to install and configure the cosign tool in your local machine. Refer to the official guide for more information on how to get started.
To sign the container image with cosign, execute the command below. Remember to replace the COSIGN_KEY, IMAGE_NAME and REGISTRY_NAME placeholders with the proper values.
$ cosign sign --key COSIGN_KEY SERVER-IP/REGISTRY_NAME/IMAGE_NAME
Sign with Notary
Note: This requires HTTPS to be fully enabled in your Harbor instance, with a valid HTTPS certificate.
To sign the container image with Notary, execute the commands below. Remember to replace the IMAGE_NAME and REGISTRY_NAME placeholders below with the appropriate values:
$ export DOCKER_CONTENT_TRUST=1
$ export DOCKER_CONTENT_TRUST_SERVER=SERVER-IP/notary
$ docker push SERVER-IP/REGISTRY_NAME/IMAGE_NAME