Password-protect access to an application with Apache
To configure Apache to request a username and password when accessing your application, follow these steps:
-
At the console, type the following commands. Remember to replace APPNAME, USERNAME and PASSWORD with the application name (for example, wordpress), and desired username and password, respectively.
$ sudo /opt/bitnami/apache/bin/htpasswd -cb /opt/bitnami/apache/APPNAME_users USERNAME PASSWORD -
Edit the /opt/bitnami/apache/conf/vhosts/APPNAME-vhost.conf file to add the following lines:
  <VirtualHost 127.0.0.1:443 _default_:443>
    ...
    <Directory "/opt/bitnami/APPNAME">
      ...
      AuthType Basic
      AuthName MyAuthName
      AuthUserFile "/opt/bitnami/apache/APPNAME_users"
      Require valid-user
In addition, find the line containing Require all granted in the same file and comment it by placing a hash (#) symbol before it, as shown below:
# Require all grantedIf your application has a proxy, add the following lines at the end of the file:
... <Location /> AuthType Basic AuthName "Authentication required" Require valid-user AuthUserFile "/opt/bitnami/apache/APPNAME_users" </Location> </VirtualHost> -
Edit the /opt/bitnami/apache/conf/vhosts/APPNAME-https-vhost.conf file to add the following lines:
  <VirtualHost 127.0.0.1:443 _default_:443>
    ...
    <Directory "/opt/bitnami/APPNAME">
      ...
      AuthType Basic
      AuthName MyAuthName
      AuthUserFile "/opt/bitnami/apache/APPNAME_users"
      Require valid-user
In addition, find the line containing Require all granted in the same file and comment it by placing a hash (#) symbol before it, as shown below:
# Require all grantedIf your application has a proxy, add the following lines at the end of the file:
... <Location /> AuthType Basic AuthName "Authentication required" Require valid-user AuthUserFile "/opt/bitnami/apache/APPNAME_users" </Location> </VirtualHost> -
Restart the Apache server:
$ sudo /opt/bitnami/ctlscript.sh restart apache
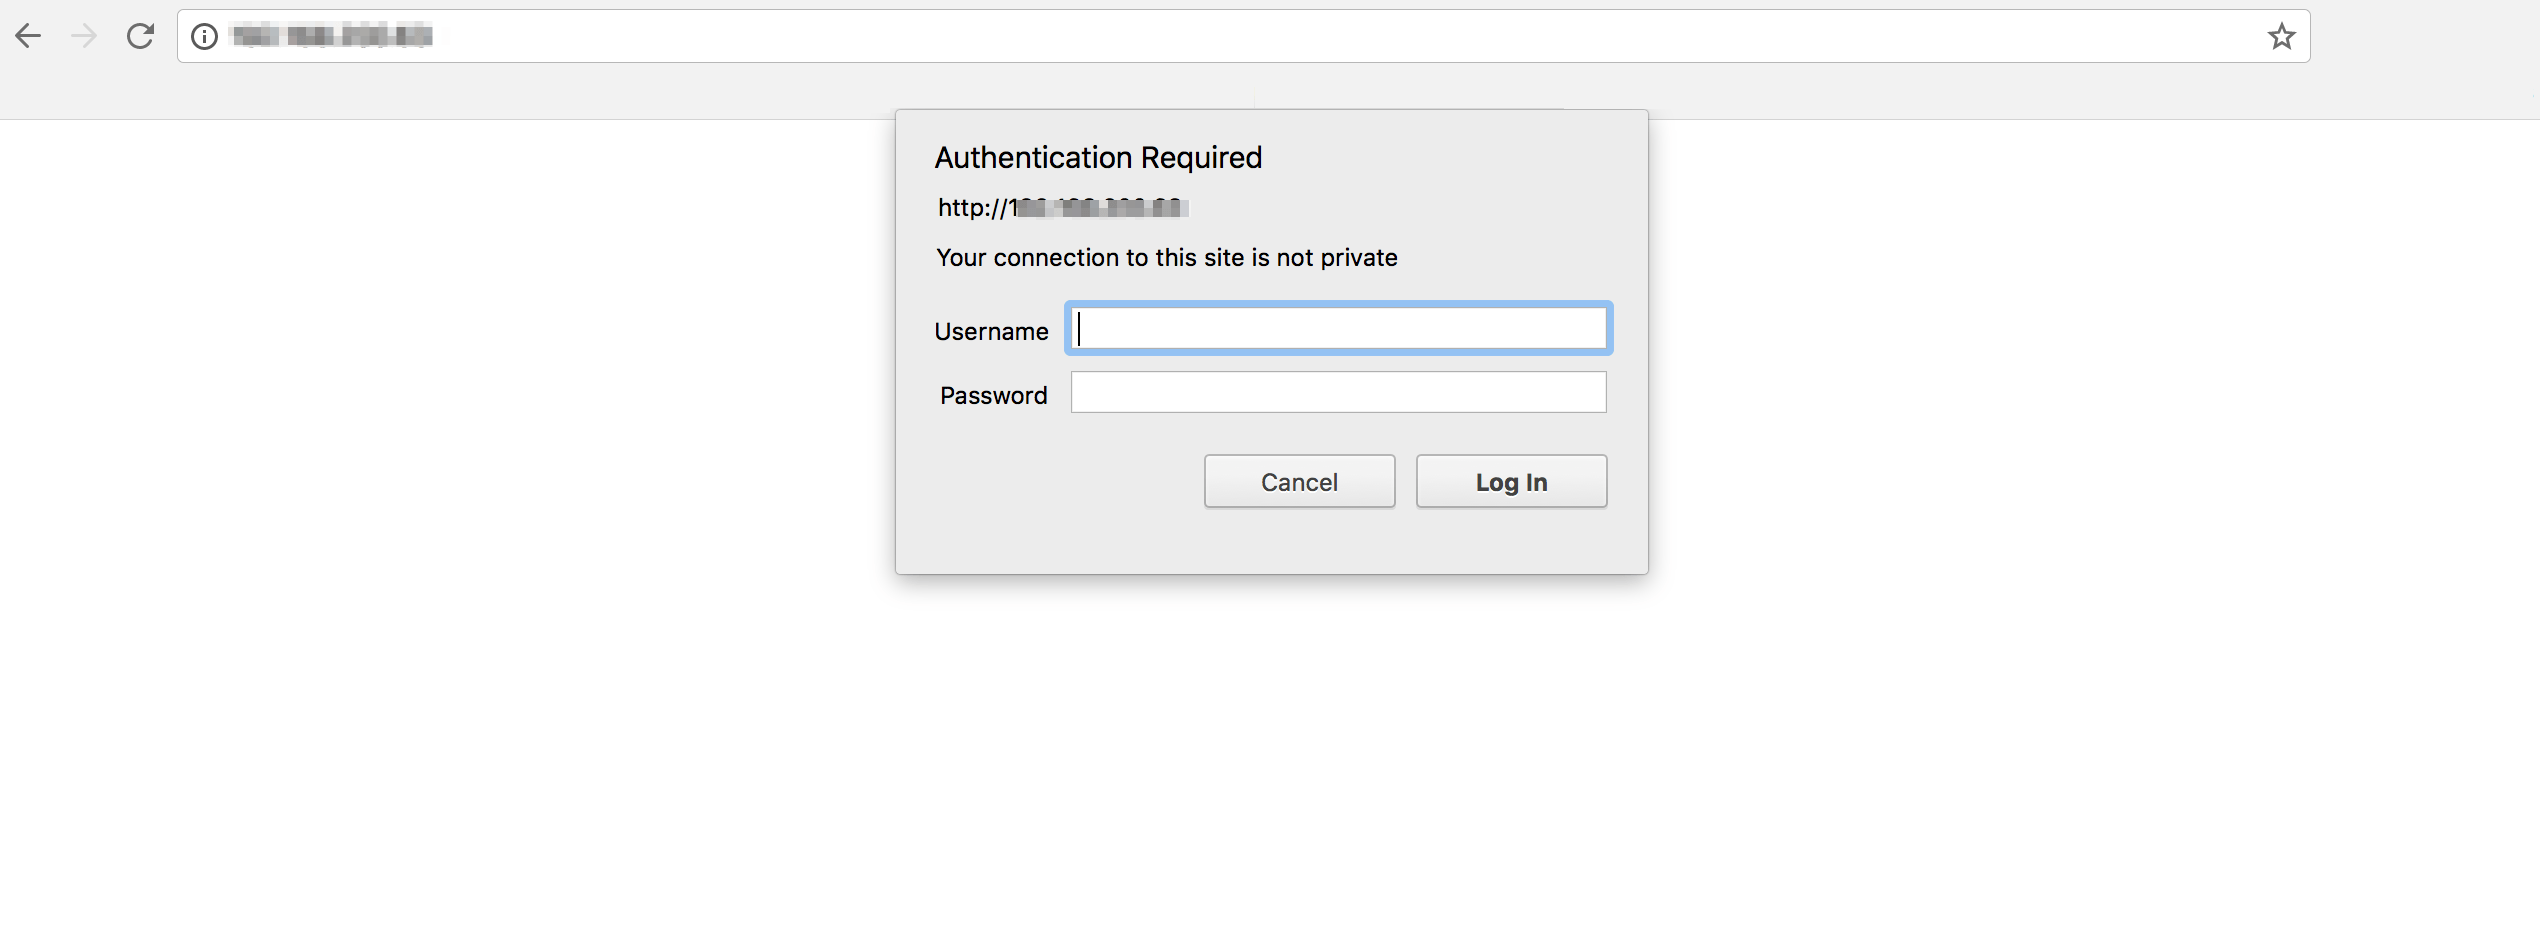
When accessing the application, you will see the following authentication popup window. Enter the username and password that you have defined in the first step:
To change the password later, run the htpasswd utility without the -c switch and replace the USERNAME placeholder with the username of the account you wish to modify:
$ sudo /opt/bitnami/apache/bin/htpasswd /opt/bitnami/apache/APPNAME_users USERNAME
To add another user to the same file, run the htpasswd utility without the -c switch and replace the USERNAME and PASSWORD placeholders with the new username and password you wish to add.
$ sudo /opt/bitnami/apache/bin/htpasswd -b /opt/bitnami/apache/APPNAME_users USERNAME PASSWORD