Get Started with Bitnami Multi-Tier Solutions on Google Cloud Platform
Introduction
Google Cloud Platform is Google’s cloud-based hosting, storage and services platform. Built on the same infrastructure used by Google, it’s a great way to host simple websites as well as complex web applications in the cloud without worrying about security, scalability or performance.
If you’re looking to deploy Multi-Tier or clustered applications in the Google cloud, the easiest way to get started is with Bitnami. Bitnami provides ready-to-use Multi-Tier Solutions for Google Cloud Platform servers, so that you can get productive with your new application immediately. You can access and launch these Multi-Tier Solutions using the GCP Marketplace.
In this tutorial, I’ll walk you, step by step, through the process of using the GCP Marketplace to create and provision a Multi-Tier Solution on a Google Cloud Platform server. And since Google Cloud Platform currently offers a 60-day free trial, you’ll have plenty of time to experiment with your servers without worrying about being billed for usage.
Here are the steps you’ll follow in this tutorial:
- Register with Google Cloud Platform
- Configure a MongoDB with Replication template
- Configure SSH keys
- Connect and create a MongoDB database
The next sections will walk you through these steps in detail.
Step 1: Register with Google Multi-Tier Solutions
At the end of this step, you will have signed up for the Google Cloud Platform free trial. If you already have a Google Cloud Platform account, you may skip this step.
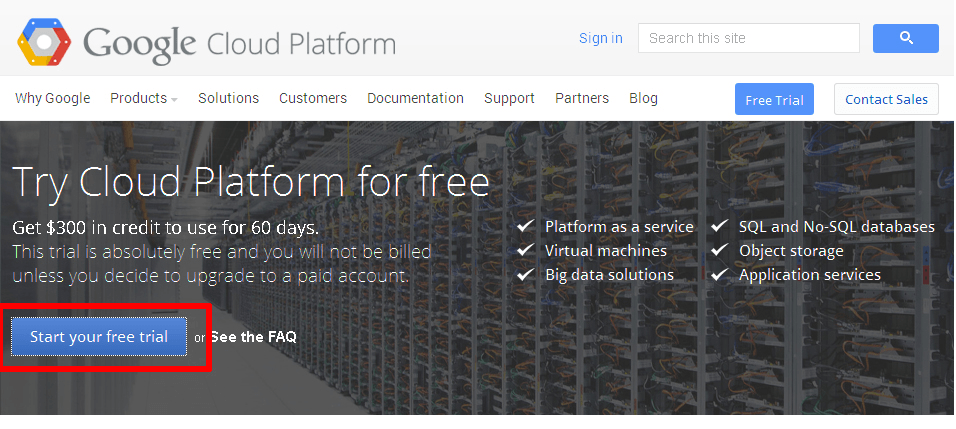
Begin by creating a Google Cloud Platform account, by browsing to https://cloud.google.com and choosing the “Start your free trial” option. You will need an existing Google account to log in and sign up for the free trial; if you don’t have one, you can create one here (remember to keep track of your account username and password, because you’ll need them in the next step).
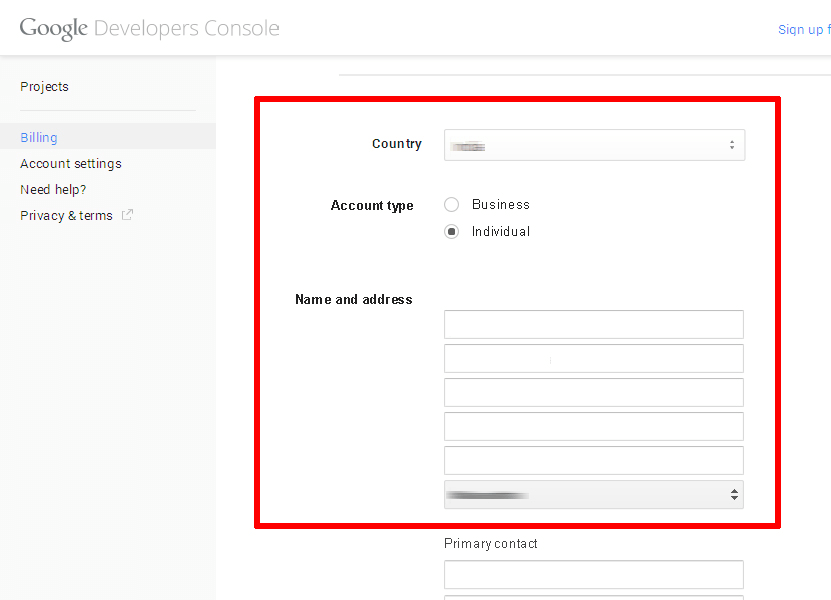
Once you’ve signed in, provide Google with some personal information and your credit card details.
It’s important to note that you’re signing up for a free trial and your credit card won’t be billed unless you migrate to a paid account. The trial includes $300 of free credit, valid for 60 days. Once the trial ends, your account will automatically be paused and you’ll only be charged if you explicitly choose to upgrade to a paid account.
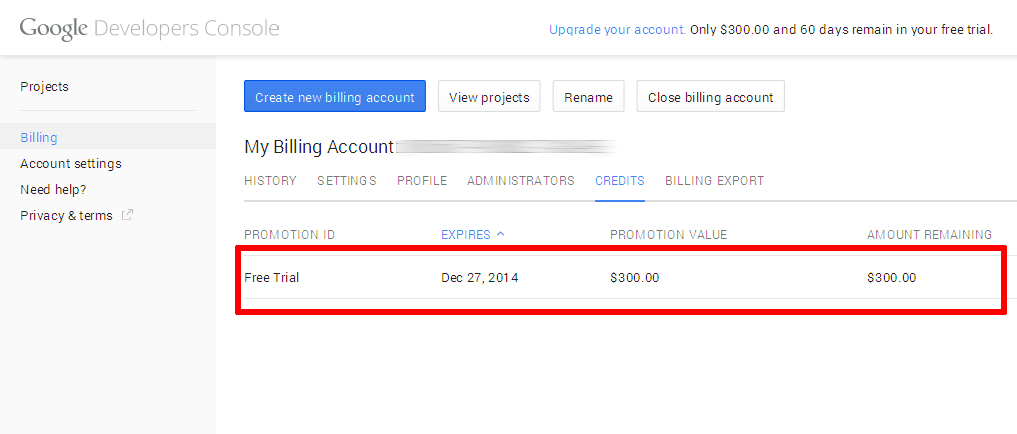
The Google elves will go away for a minute or so to verify your information and if all is well, you will be redirected to the Google Developers Console, which allows you to manage your billing account, create new projects and get support. You should see that your free trial is now active in the billing credits section.
You should also receive an account confirmation email, which tells you that your account is good to go.
Step 2: Configure MongoDB
At the end of this step, you will have configured a MongoDB with Replication deployment template.
In a MongoDB replica set, copies of the MongoDB database are maintained on separate server nodes. Spreading the data across multiple nodes significantly reduces the risk of application failure and data loss in the event of a hardware failure.
A MongoDB replica set consists of two types of nodes:
-
Server nodes: Each server node hosts its own copy of the MongoDB data. One node is designated as the primary node and receives all write operations, while other nodes are designated as secondary nodes and replicate the operations performed by the primary node on their own copies of the data set. If a primary node fails, one of the secondary nodes will become the new primary after an internal “election”.
-
Arbiter nodes: Arbiter nodes do not host any data. Their function is to provide an additional vote in replica set elections.
NOTE: In a replica set, you can have one primary node, zero or more secondary nodes, and zero or one arbiter node. The total number of server nodes in a replica set cannot be higher than 6 (1 primary and 5 secondaries). You can also add an optional extra one as arbiter.
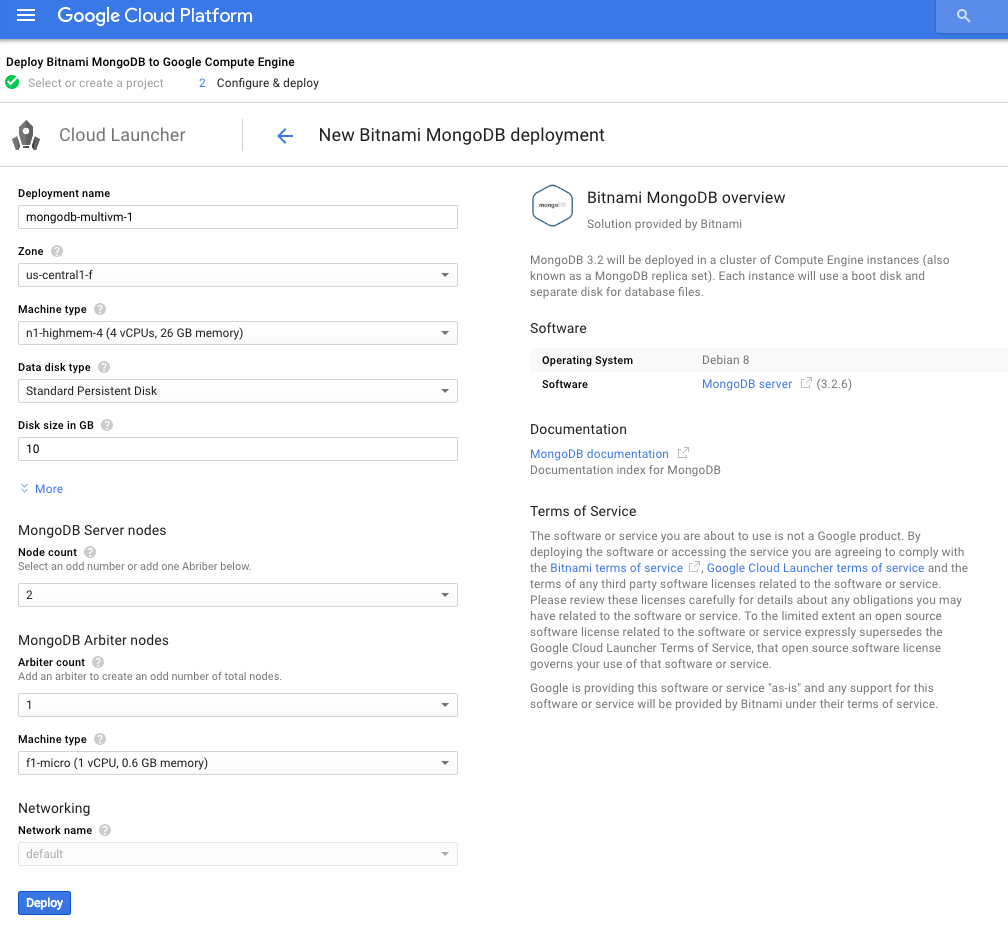
To use the Bitnami MongoDB with Replication template, launch it from the GCP Marketplace and you will be presented with a configuration screen like the one below:
Configure the template using the information below:
- Deployment name: Enter a unique identifier for the deployment.
- Zone: Select the geographic region of the data center hosting the deployment.
- Machine and disk type: Select the CPU, RAM and disk type appropriate to your requirements.
- Disk size in GB: Select storage capacity after carefully considering your data storage requirements.
- MongoDB server nodes: Select an odd number of server nodes or, using an even number of nodes, add an arbiter node
- MongoDB arbiter nodes: Add an arbiter node to ensure the total number of nodes in the replica set is an odd number
NOTE: Ensuring an odd number of total nodes avoids the risk of tied elections if a primary node becomes unavailable.
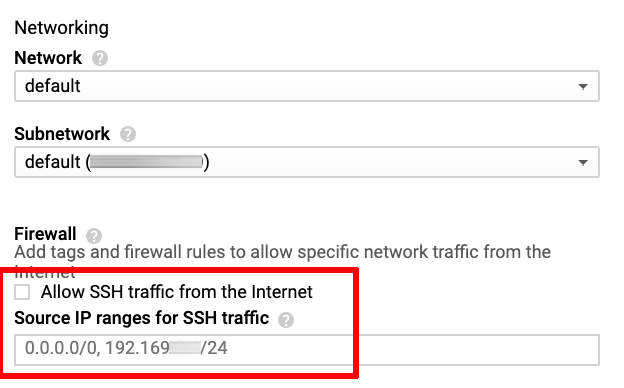
By default, Bitnami Multi-Tier Solution templates are deployed with port 22 (the SSH access port) disabled. This is to increase the overall security of the deployment. Bitnami recommends specifically enabling this port for SSH traffic from trusted IP addresses or IP address ranges at deployment time. To do so, follow these steps in the template configuration screen:
-
Find the “Firewall” section of the configuration template.
-
Check the box marked “Allow SSH traffic from the Internet”.
-
Add a list of trusted IP addresses or address ranges in the “Source IP ranges for SSH traffic” field. Set this value to 0.0.0.0/0 to allow SSH access from any IP address, or to a trusted IP address or IP address range to allow access from specific hosts only.
NOTE: If you do not enable SSH access for remote connections as described above, you will not be able to connect to the nodes via the Web console or an external SSH client.
Once configuration is complete, click “Deploy” to launch the deployment.
For more information on MongoDB replica sets, refer to the official documentation.
Step 3: Configure SSH keys
At the end of this step, you will have configured the MongoDB server for use with an external SSH client.
The GCP Marketplace requires the user to manually add a public SSH key using the server administration page. It then uses the user@hostname comment at the end of the public SSH key to decide which user account on the server should be associated with the key.
The steps below walk you through the process of configuring the MongoDB server for use with an external SSH client. It assumes that you will be logging in as the bitnami user. The same process can be followed for other users and server nodes as well.
Follow the steps:
-
Prepare an SSH key pair for use.
-
Log in to the Google Cloud Console and select your project.
-
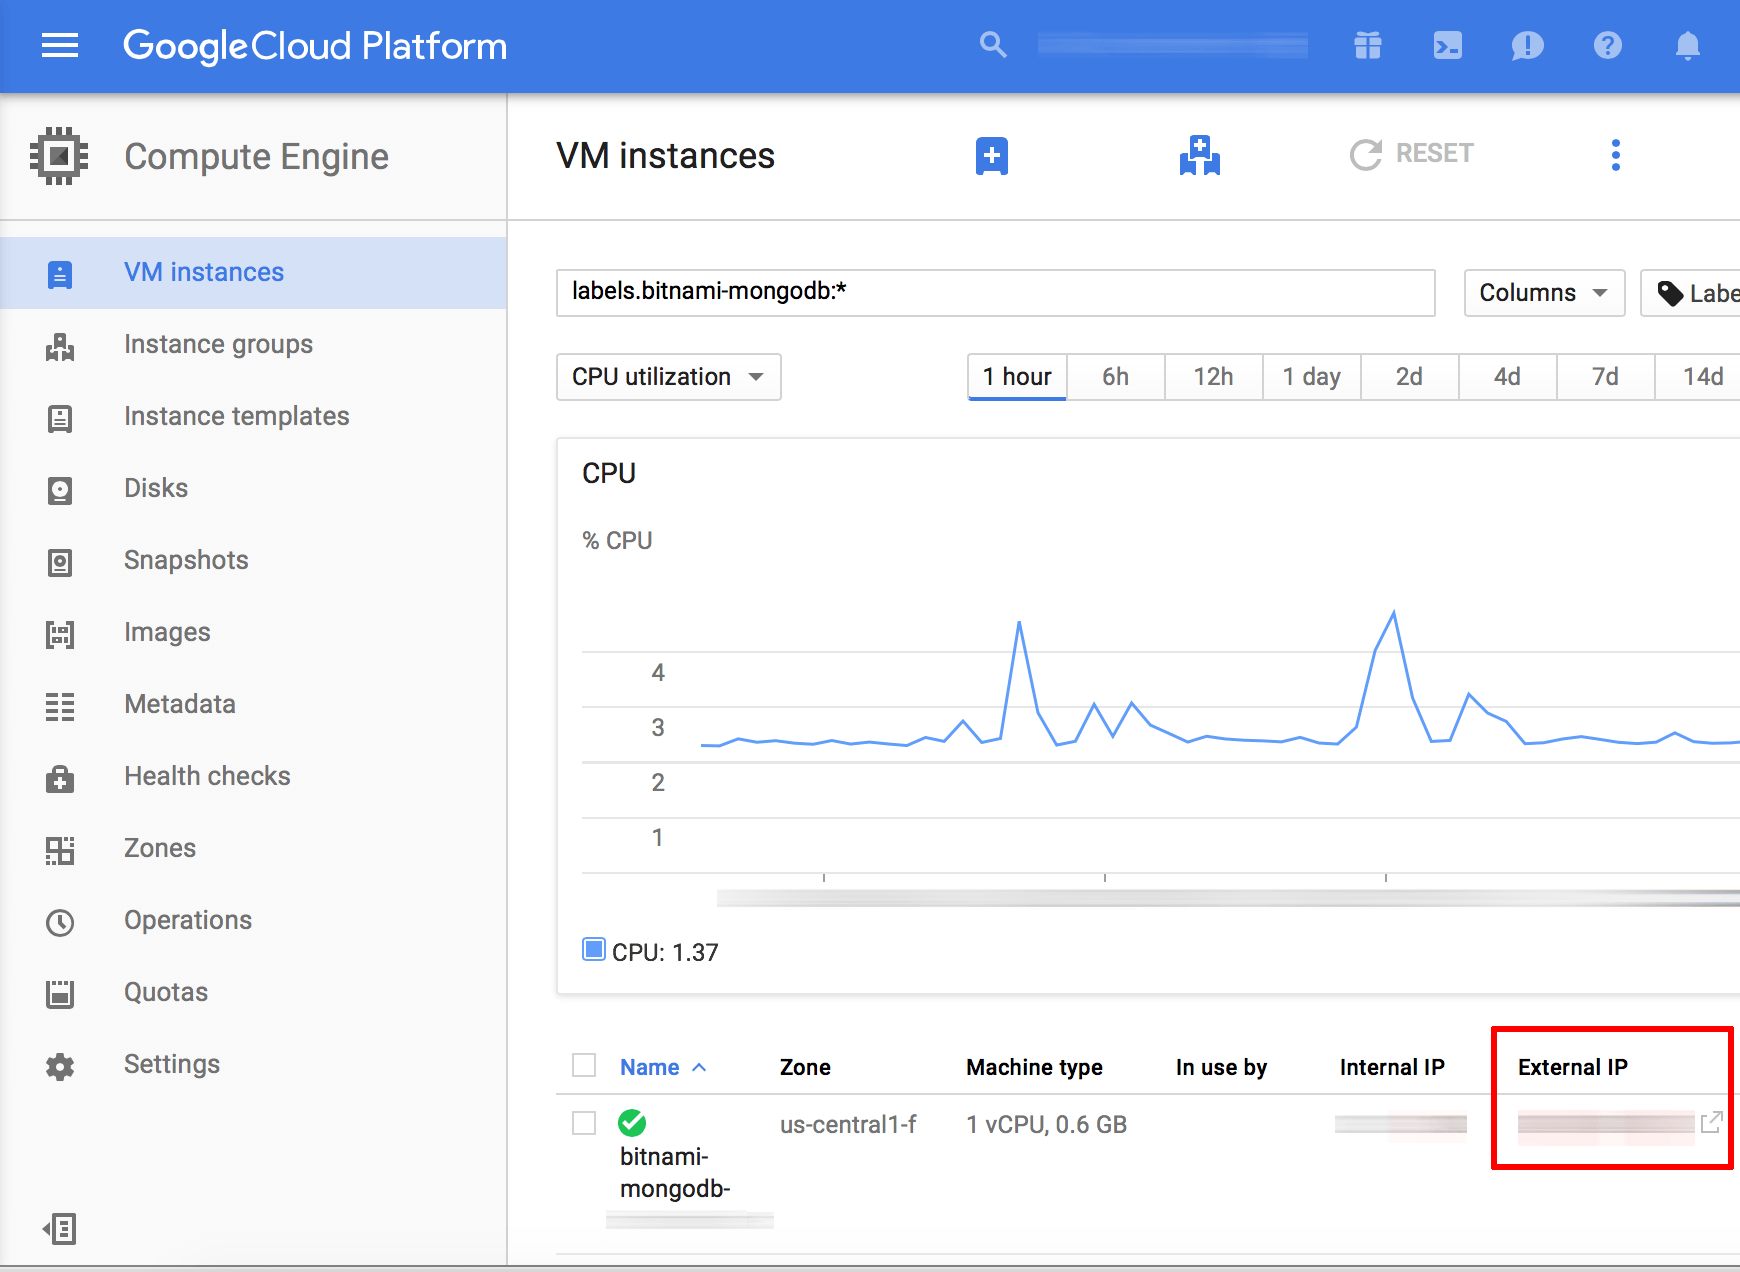
Navigate to the “Compute Engine -> VM Instances” page and select the MongoDB server node you wish to connect to. Note the public IP address of the instance.
-
Click the “Edit” link in the top control bar.
-
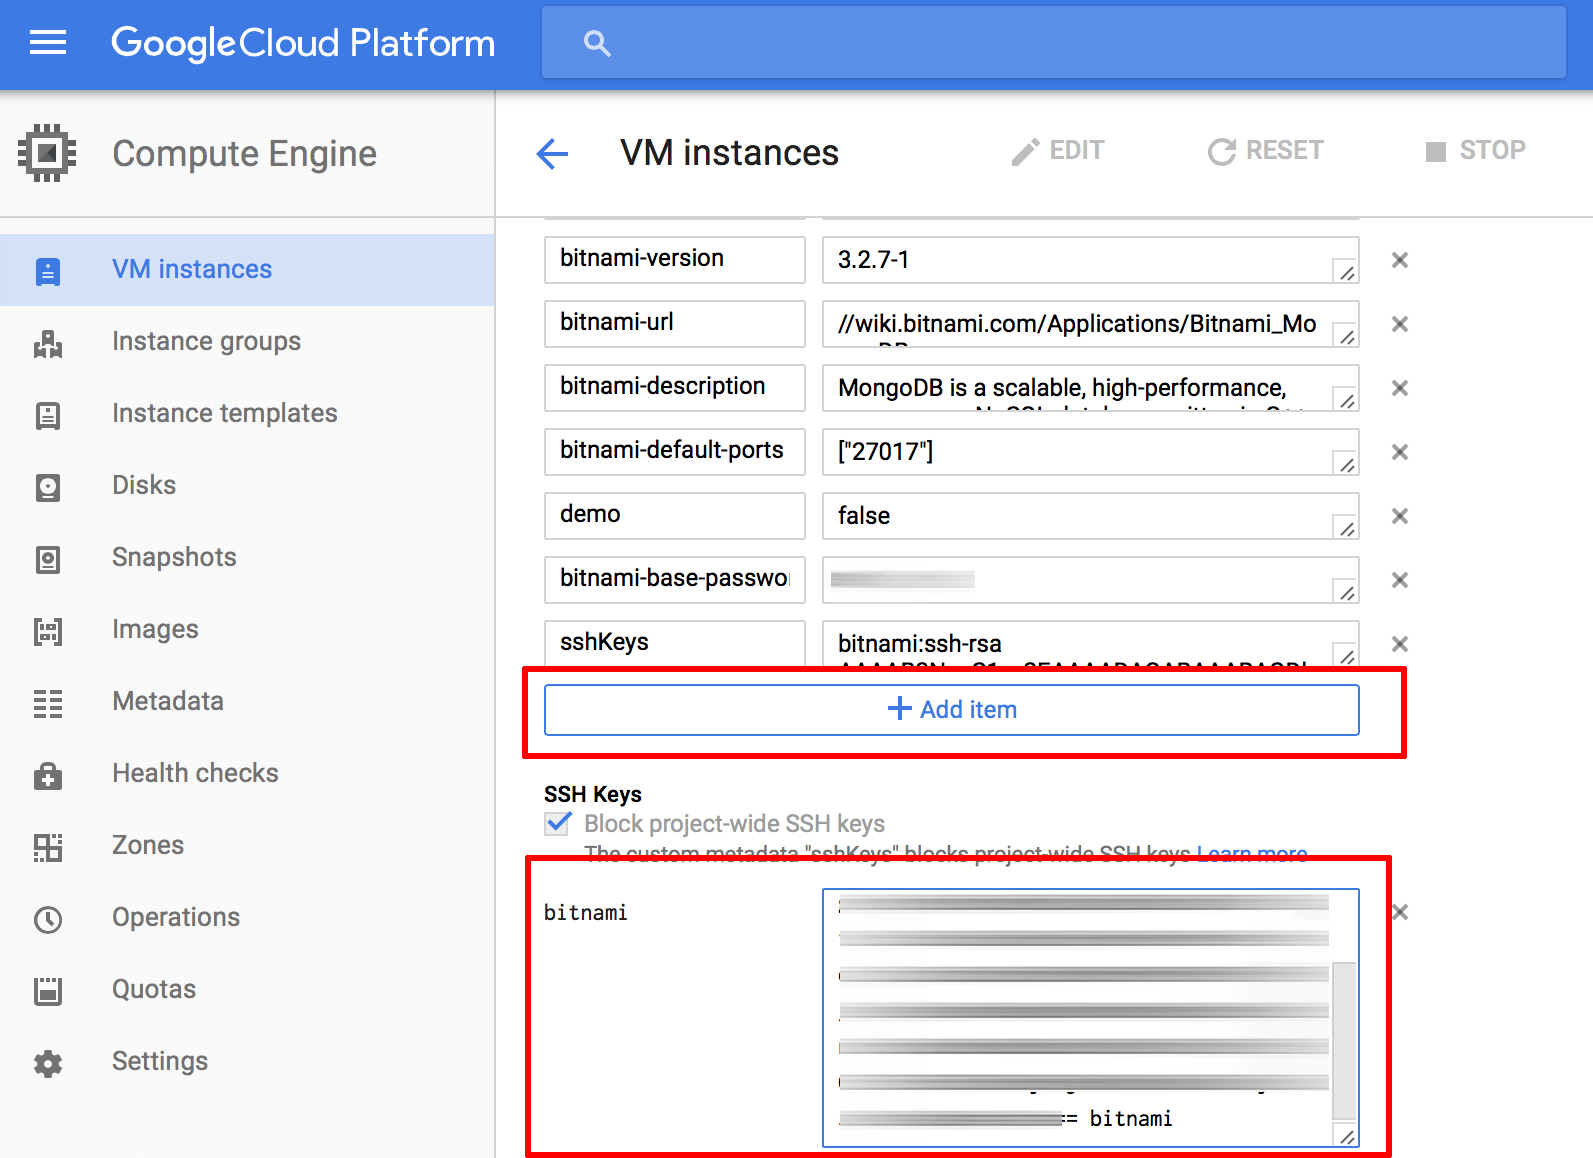
On the resulting page, copy and paste your public SSH key into the “SSH Keys” field.
-
Update the user@hostname comment at the end of the SSH key content to bitnami. This will associate the SSH key with the bitnami user account that is already present on the server. The “Username” next to the form field will update accordingly.
-
Add more keys as needed by clicking the “Add Item” button. Once done, save the changes by clicking the “Save” button.
You should now be able to use any third-party SSH client and the corresponding private SSH key to log in to the server as the bitnami user.
Step 4: Connect and create a MongoDB database
At the end of this step, you will have connected to the MongoDB replica set and created a new database.
At the server console, connect to MongoDB using a command like the one below.
$ mongo --host SERVER-IP --port 27017
This should launch the MongoDB shell.
Here are the basic commands to create a database for your application using the MongoDB shell. Note that this example creates a database name mydb and a user named myuser with password mypassword. Replace these example values with values suitable for your intended use when executing the commands below.
MongoDB shell version: 3.2.7
connecting to: 127.0.0.1:27017/admin
> db = db.getSiblingDB('mydb')
mydb
> db.createUser( { user: "myuser", pwd: "mypassword", roles: [ "readWrite", "dbAdmin" ]} )
Successfully added user: { "user" : "myuser", "roles" : [ "readWrite", "dbAdmin" ] }
> exit
Some applications may require specific privileges in the database. Consult the official installation steps in the application documentation.
Useful links
To learn more about the topics discussed in this tutorial, use the links below:

