Install plugins
The Bitnami Mattermost stack comes with a number of plugins already installed but disabled. To enable one of these pre-installed plugins:
-
Log in to Mattermost as an administrator.
-
Navigate to the “System Console -> Plugin Management” page.
-
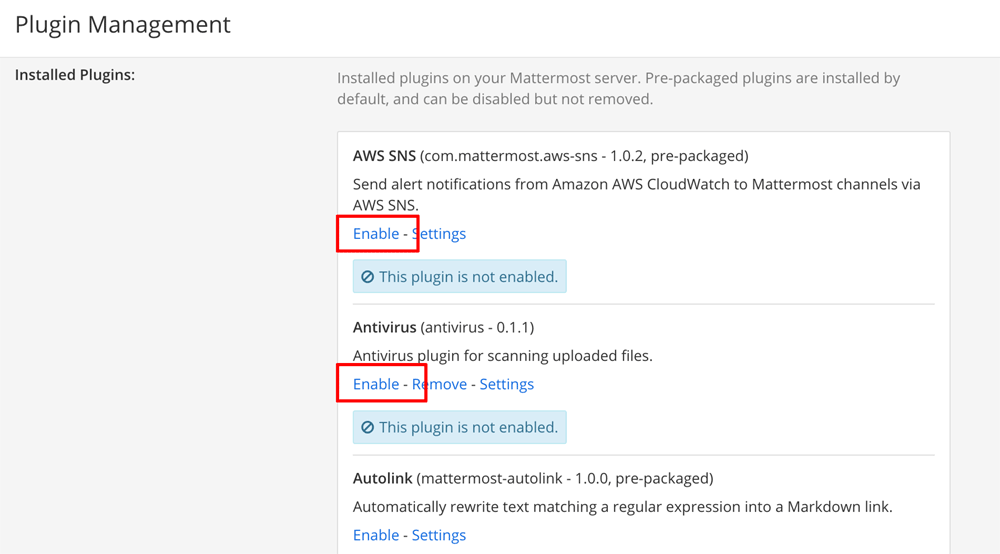
Review the list of installed plugins and click “Enable” to enable specific plugins.
NOTE: Some plugins require additional configuration and may fail to start unless properly configured. Refer to the plugin’s documentation for details.
To install a plugin that is not already included, you must download the plugin and then upload it to Mattermost. To do this, you must first enable plugin uploads in Mattermost by following these steps:
-
Log in to the server using SSH.
-
Edit the /opt/bitnami/mattermost/config/config.json file and change the EnableUploads variable to true:
... "PluginSettings": { "Enable": true, "EnableUploads": true, ... -
Save the changes and restart Mattermost:
$ sudo /opt/bitnami/ctlscript.sh restart mattermost
Each plugin comes with its own set of installation steps but the general process to add a new plugin to Mattermost is as follows:
-
Download the latest version of the plugin.
-
Log in to Mattermost as an administrator.
-
Navigate to the “System Console -> Plugin Management” page.
-
Click the “Choose File” button and upload the plugin.
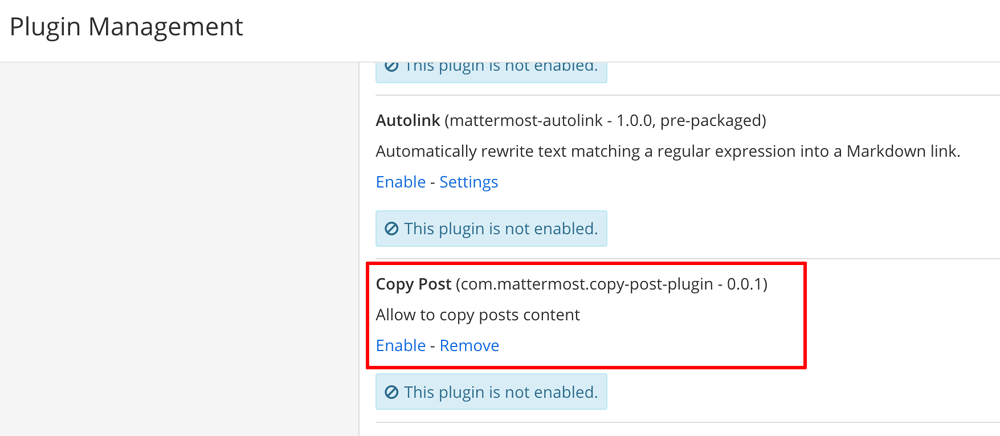
The plugin will now appear in the list of installed plugins.
-
Click “Enable” to enable the plugin.
NOTE: Some plugins require additional configuration and may fail to start unless properly configured. Refer to the plugin’s documentation for details.
Find a complete list of plugins at https://integrations.mattermost.com.


